
This article explains how to mount the GX1 on the Backpack Harness and put on the backpack for a scan. It covers attaching the Quick Mount, attaching the GX1, putting on the backpack safely, and tightening the fit for stable operation. Complete these steps each time the backpack is used.
Configure the Backpack Harness fit for the operator first. See Configure GX1 backpack fit.
What you will need
The GX1
The Backpack Harness, configured for the operator
The GX1 Quick Mount
A raised surface, such as a table or bench
Procedure
Step 1: Loosen all straps
Loosen the Shoulder Straps.
Loosen the Hip Belt.
Loosen the Sternum Strap.
Confirm all straps are loose and free of twists, so the Backpack Harness is easy to put on.
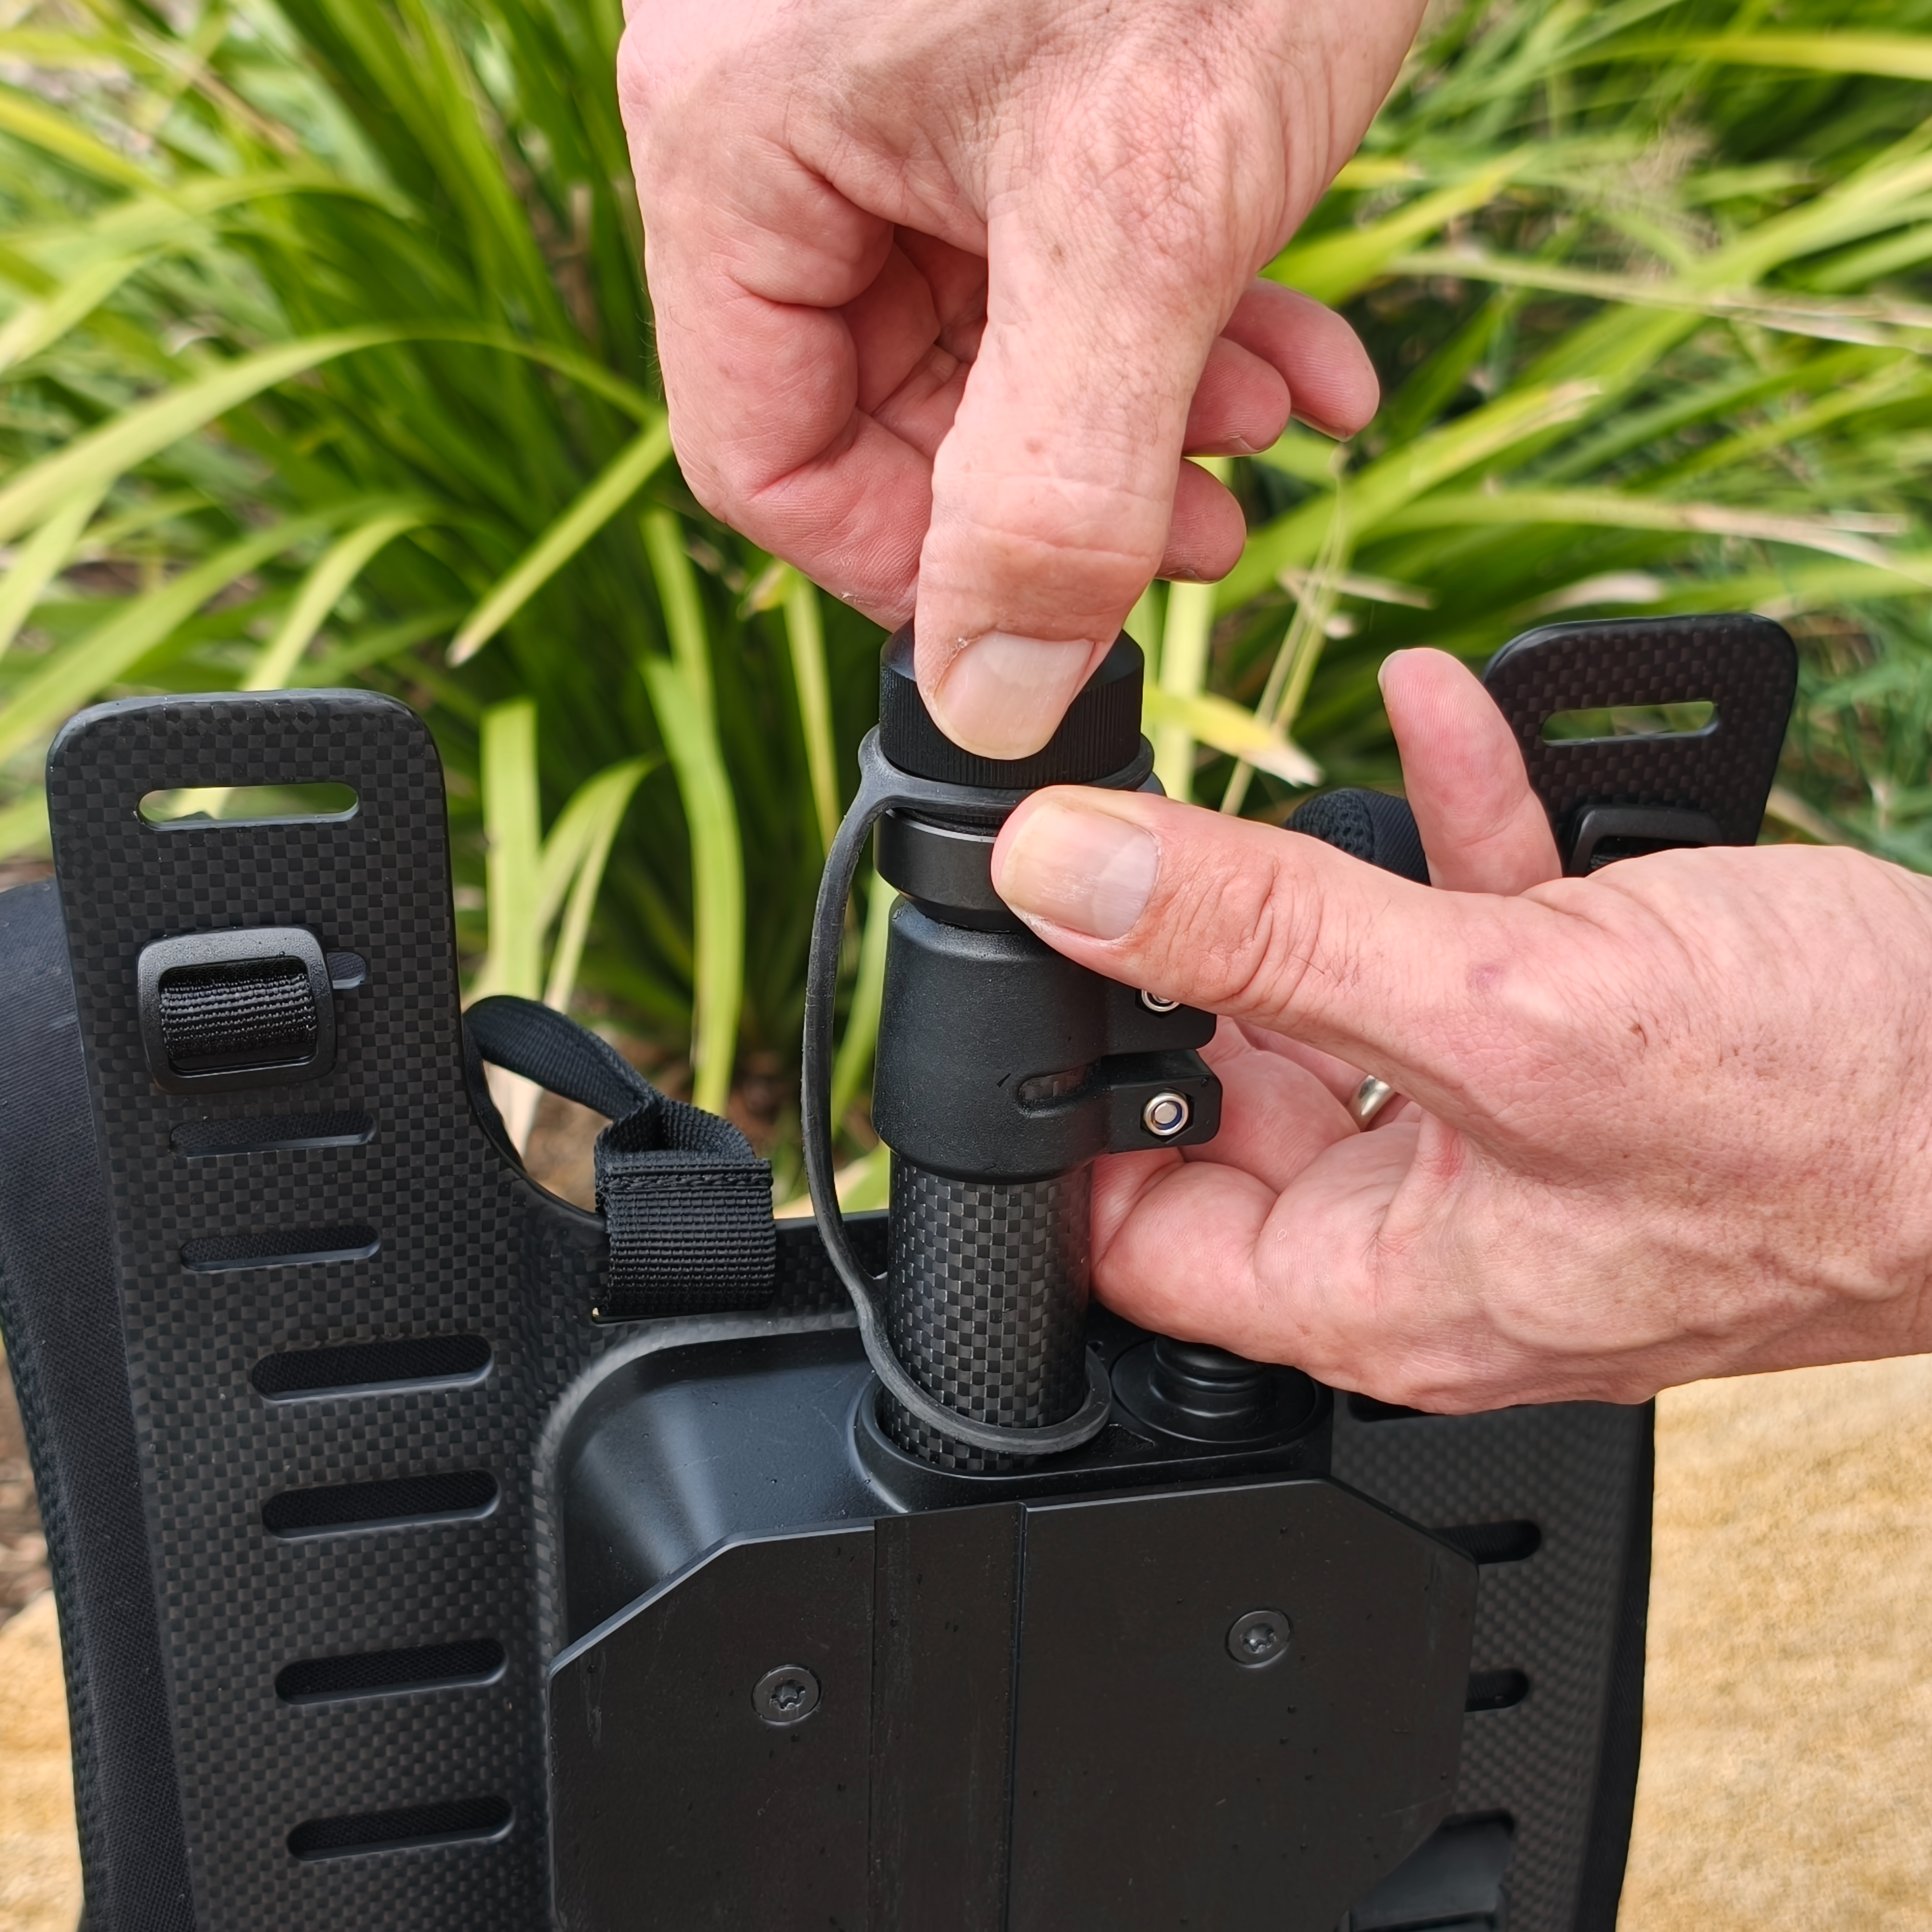
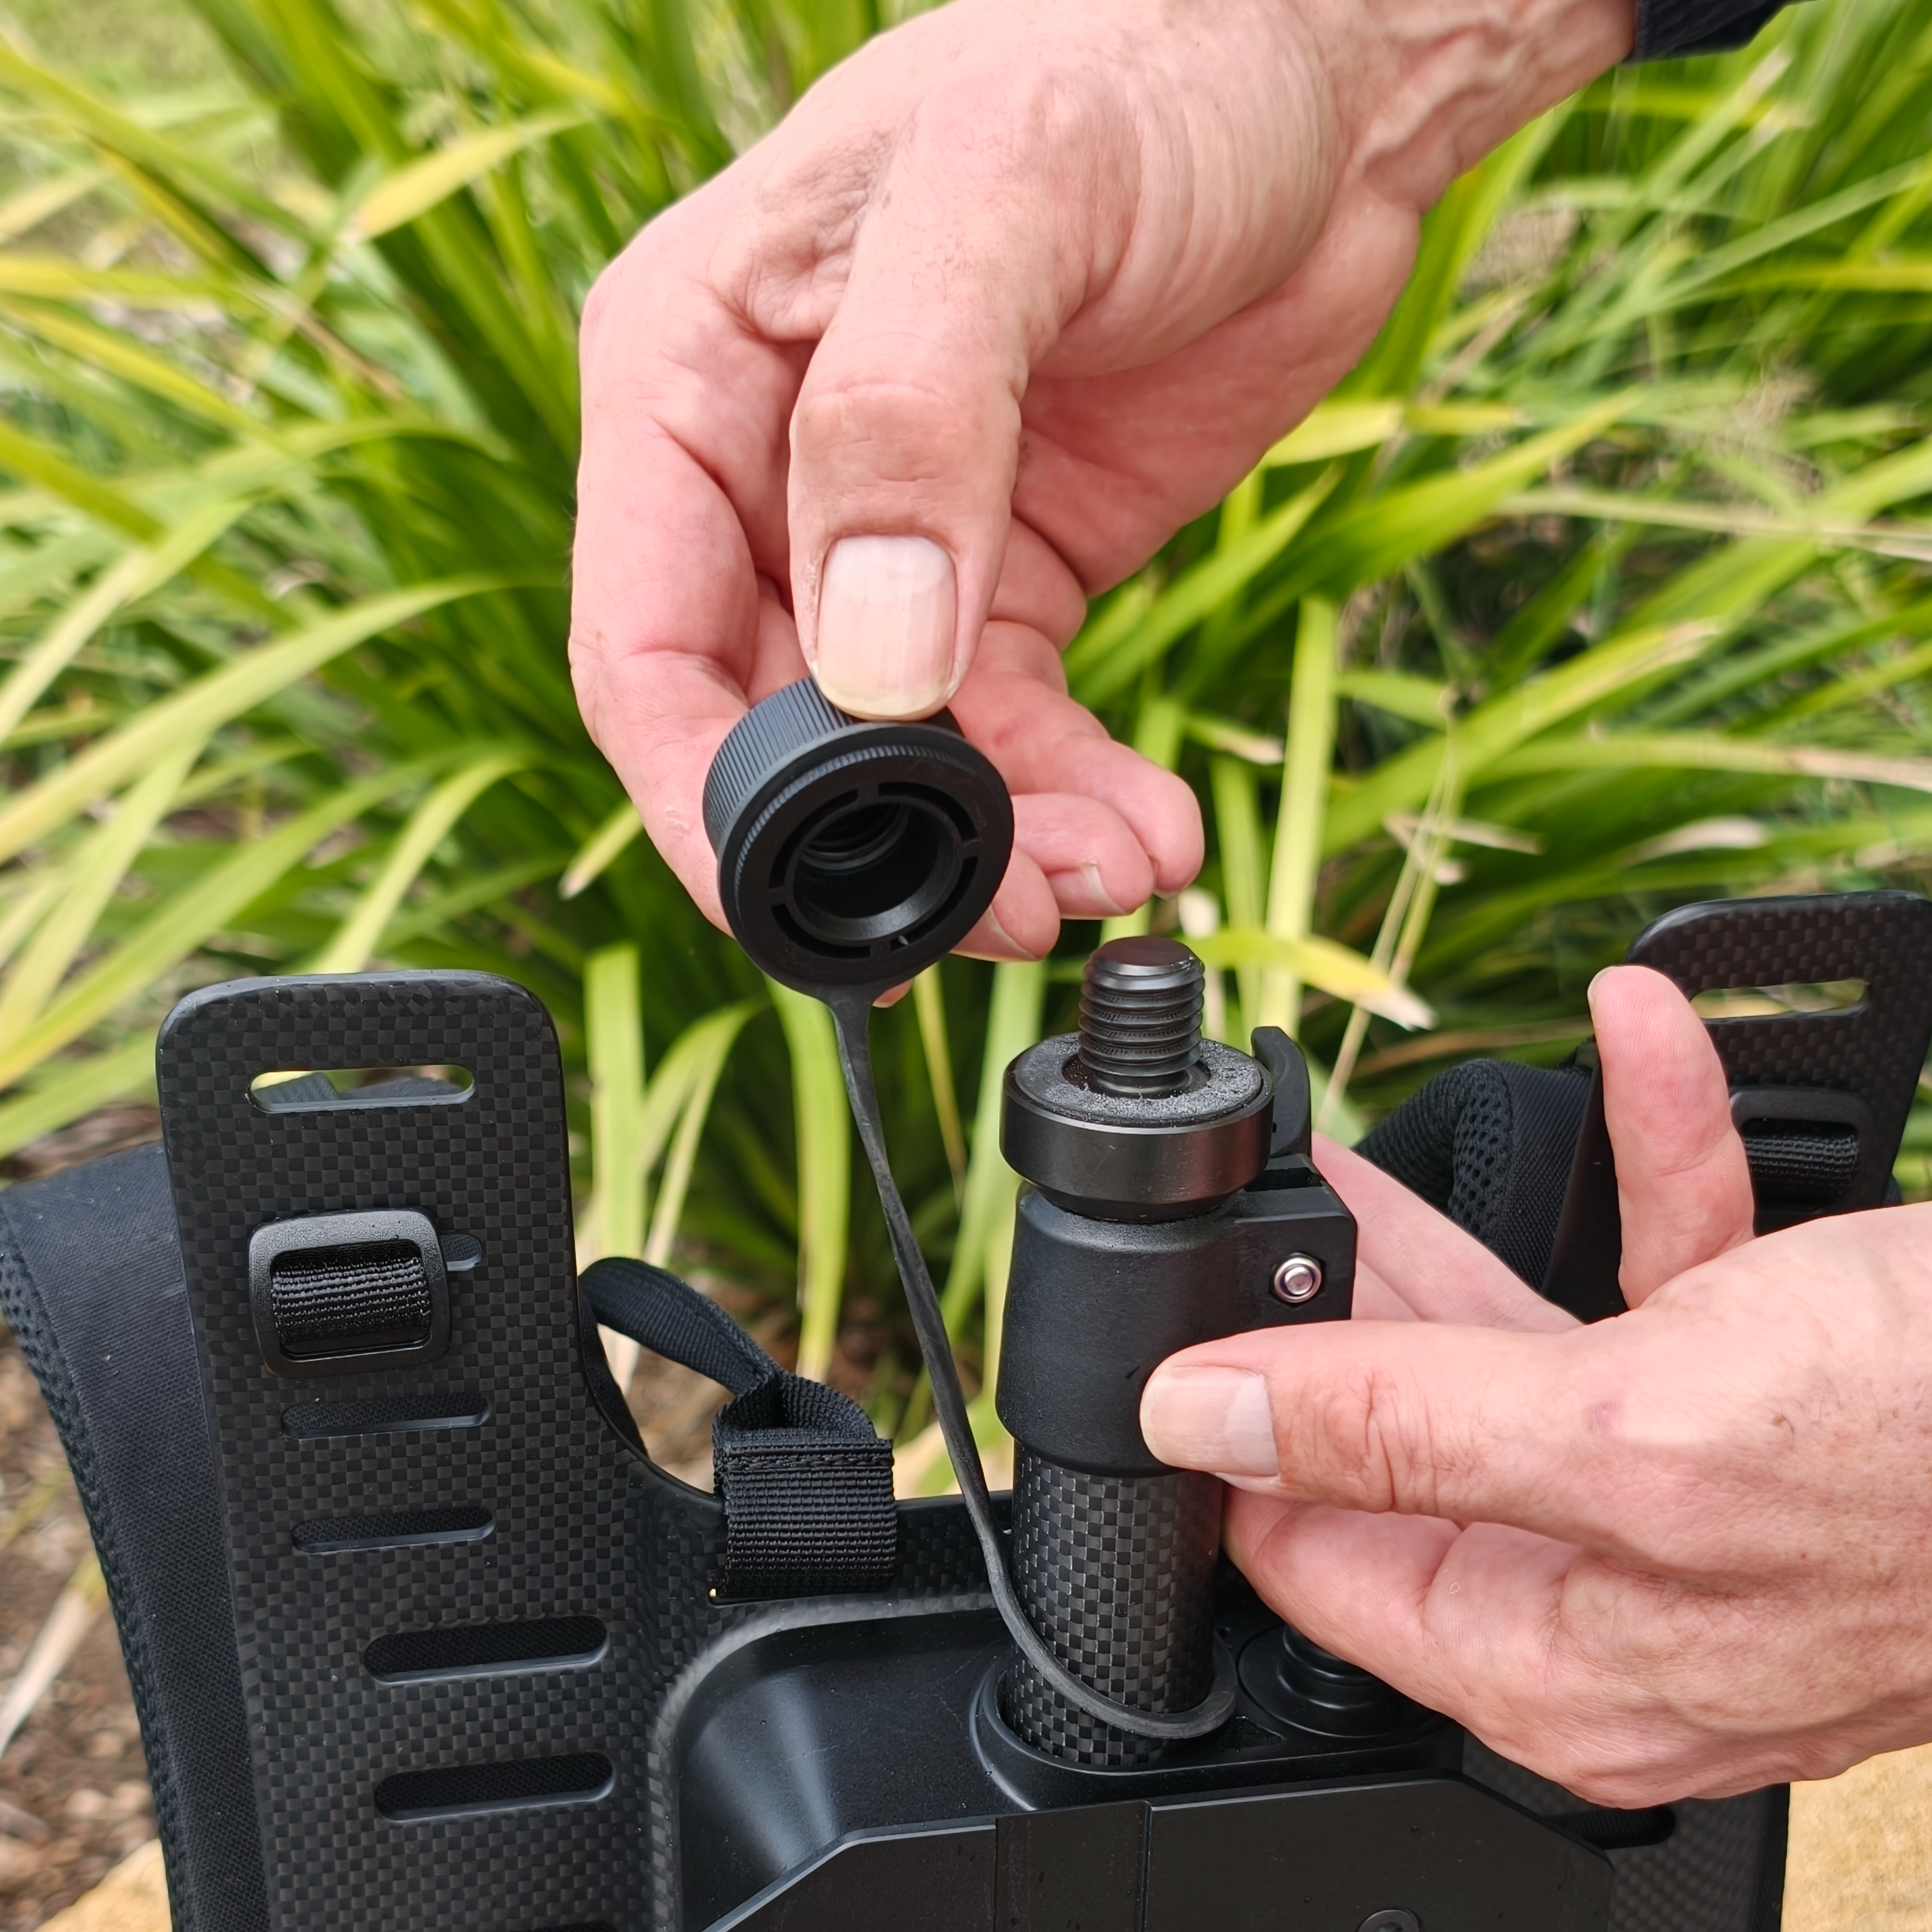
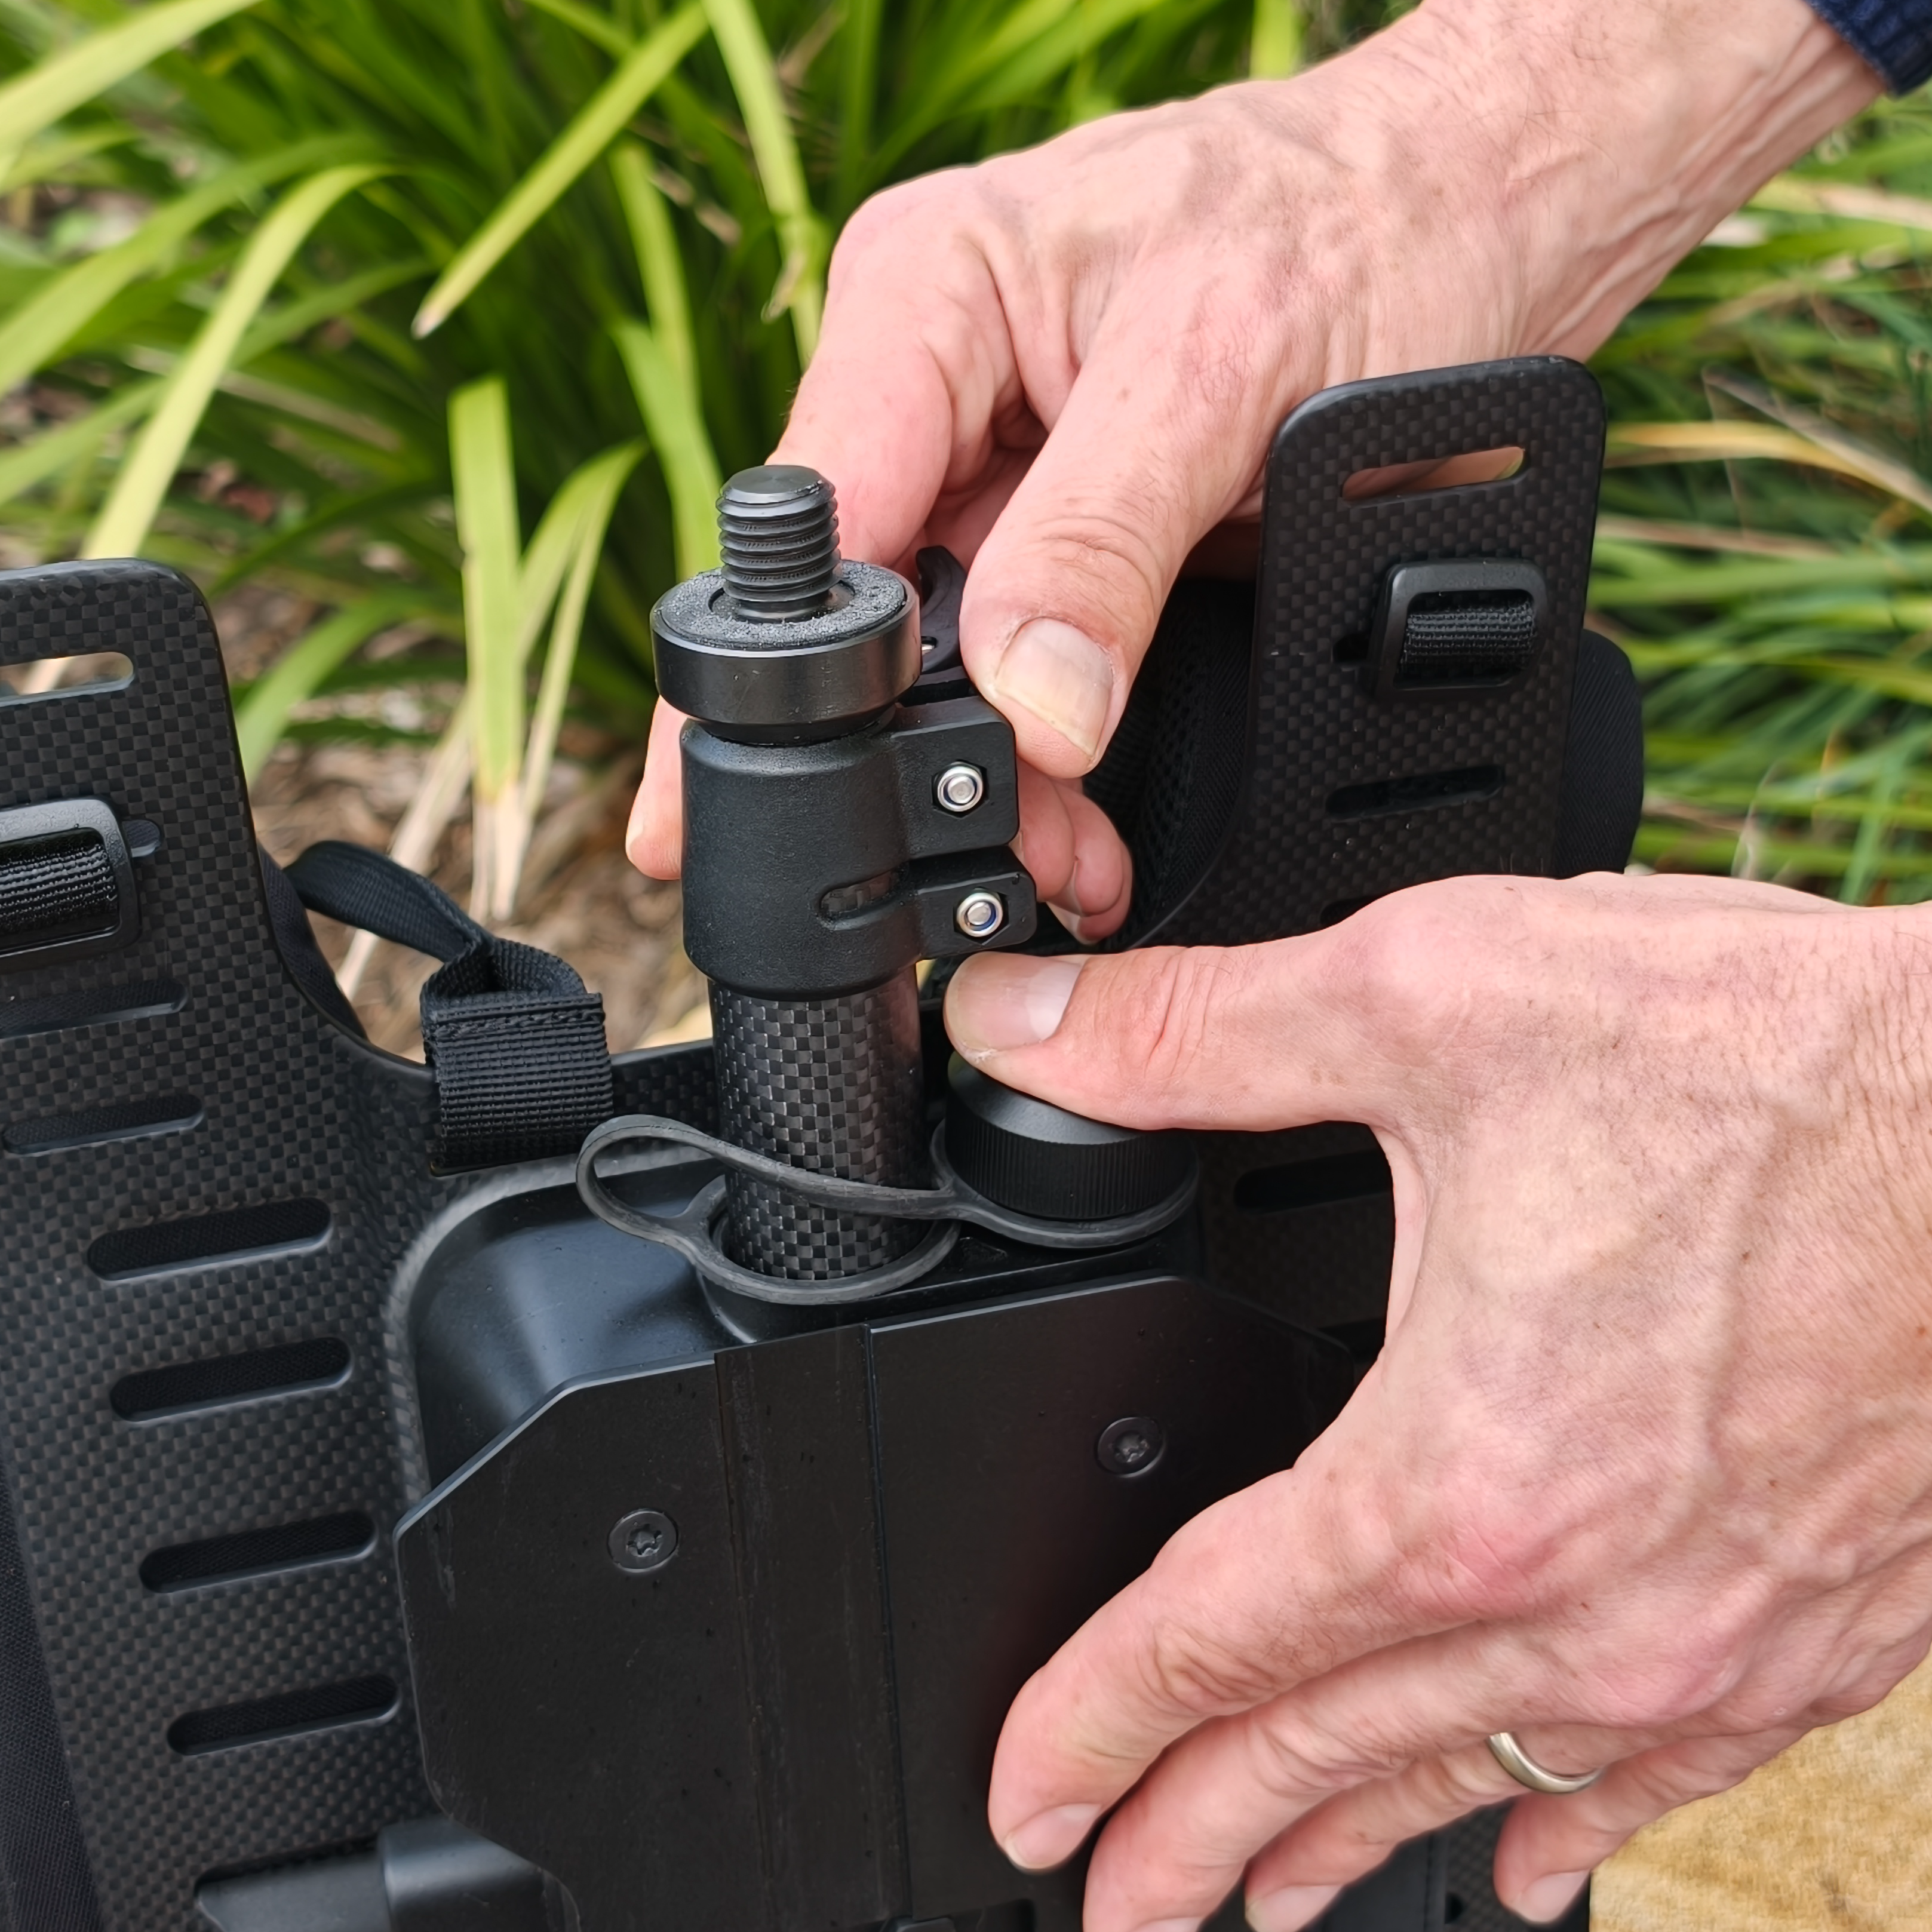
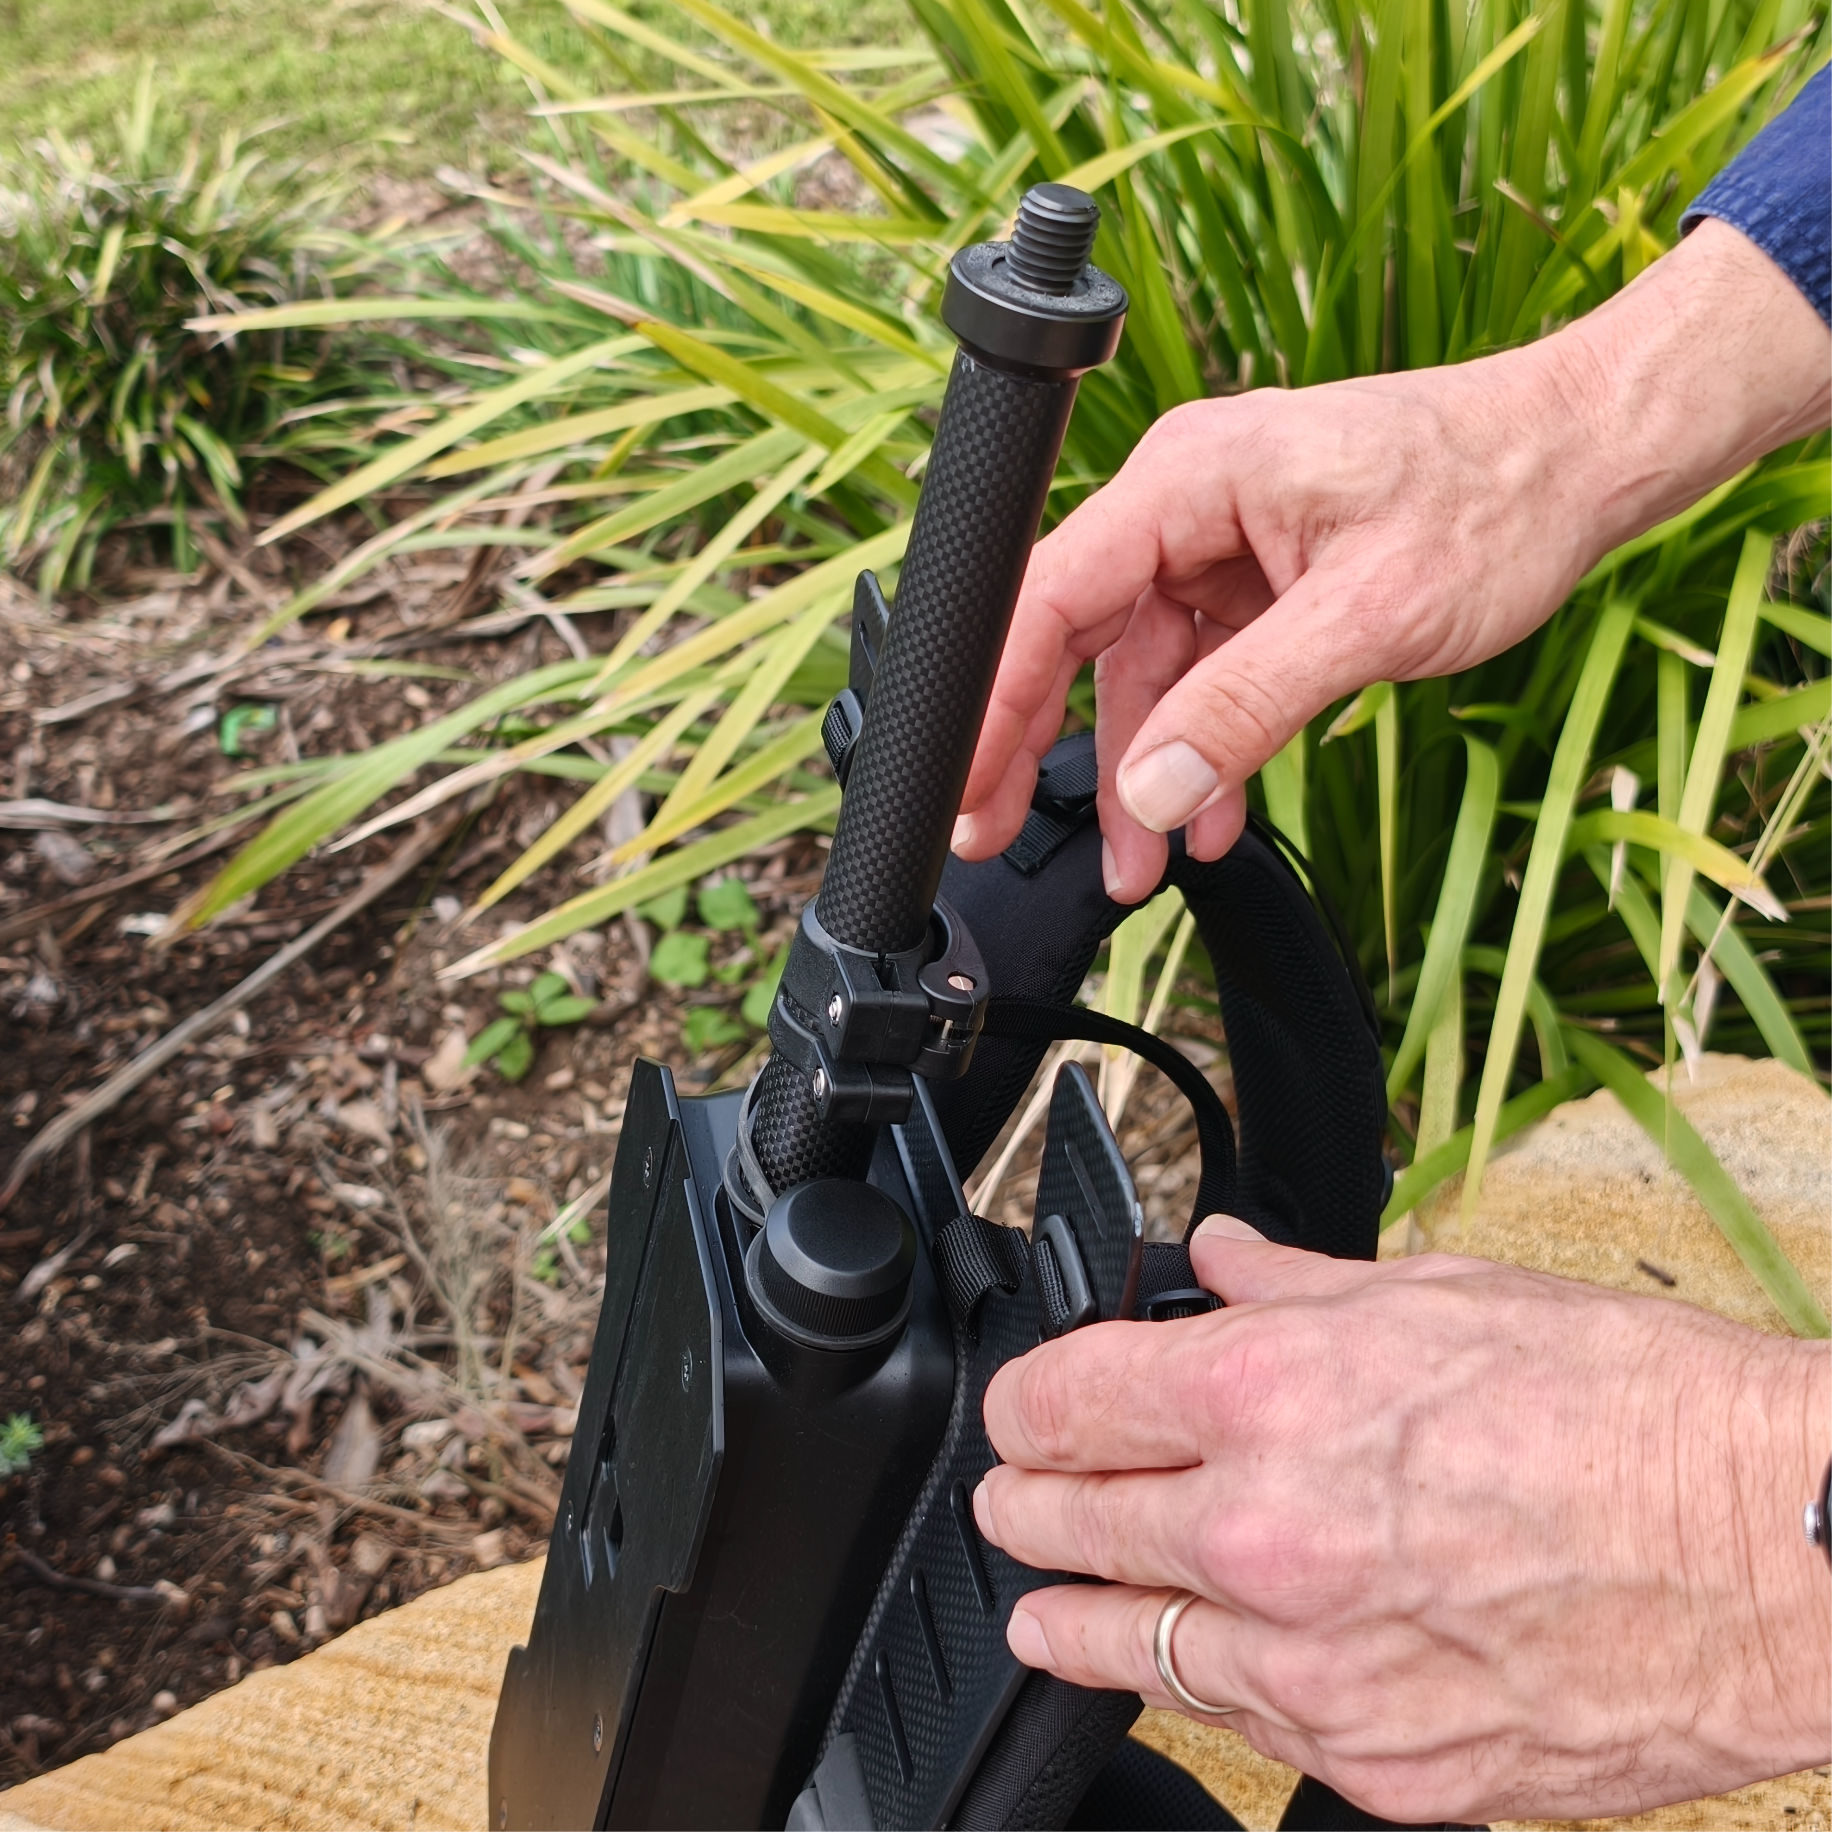
Step 2: Remove the Thread Cap
Remove the Thread Cap with Tether from the Telescoping Pole.
Place the Thread Cap in the Thread Cap Holder and press firmly until it is seated
|
|
|
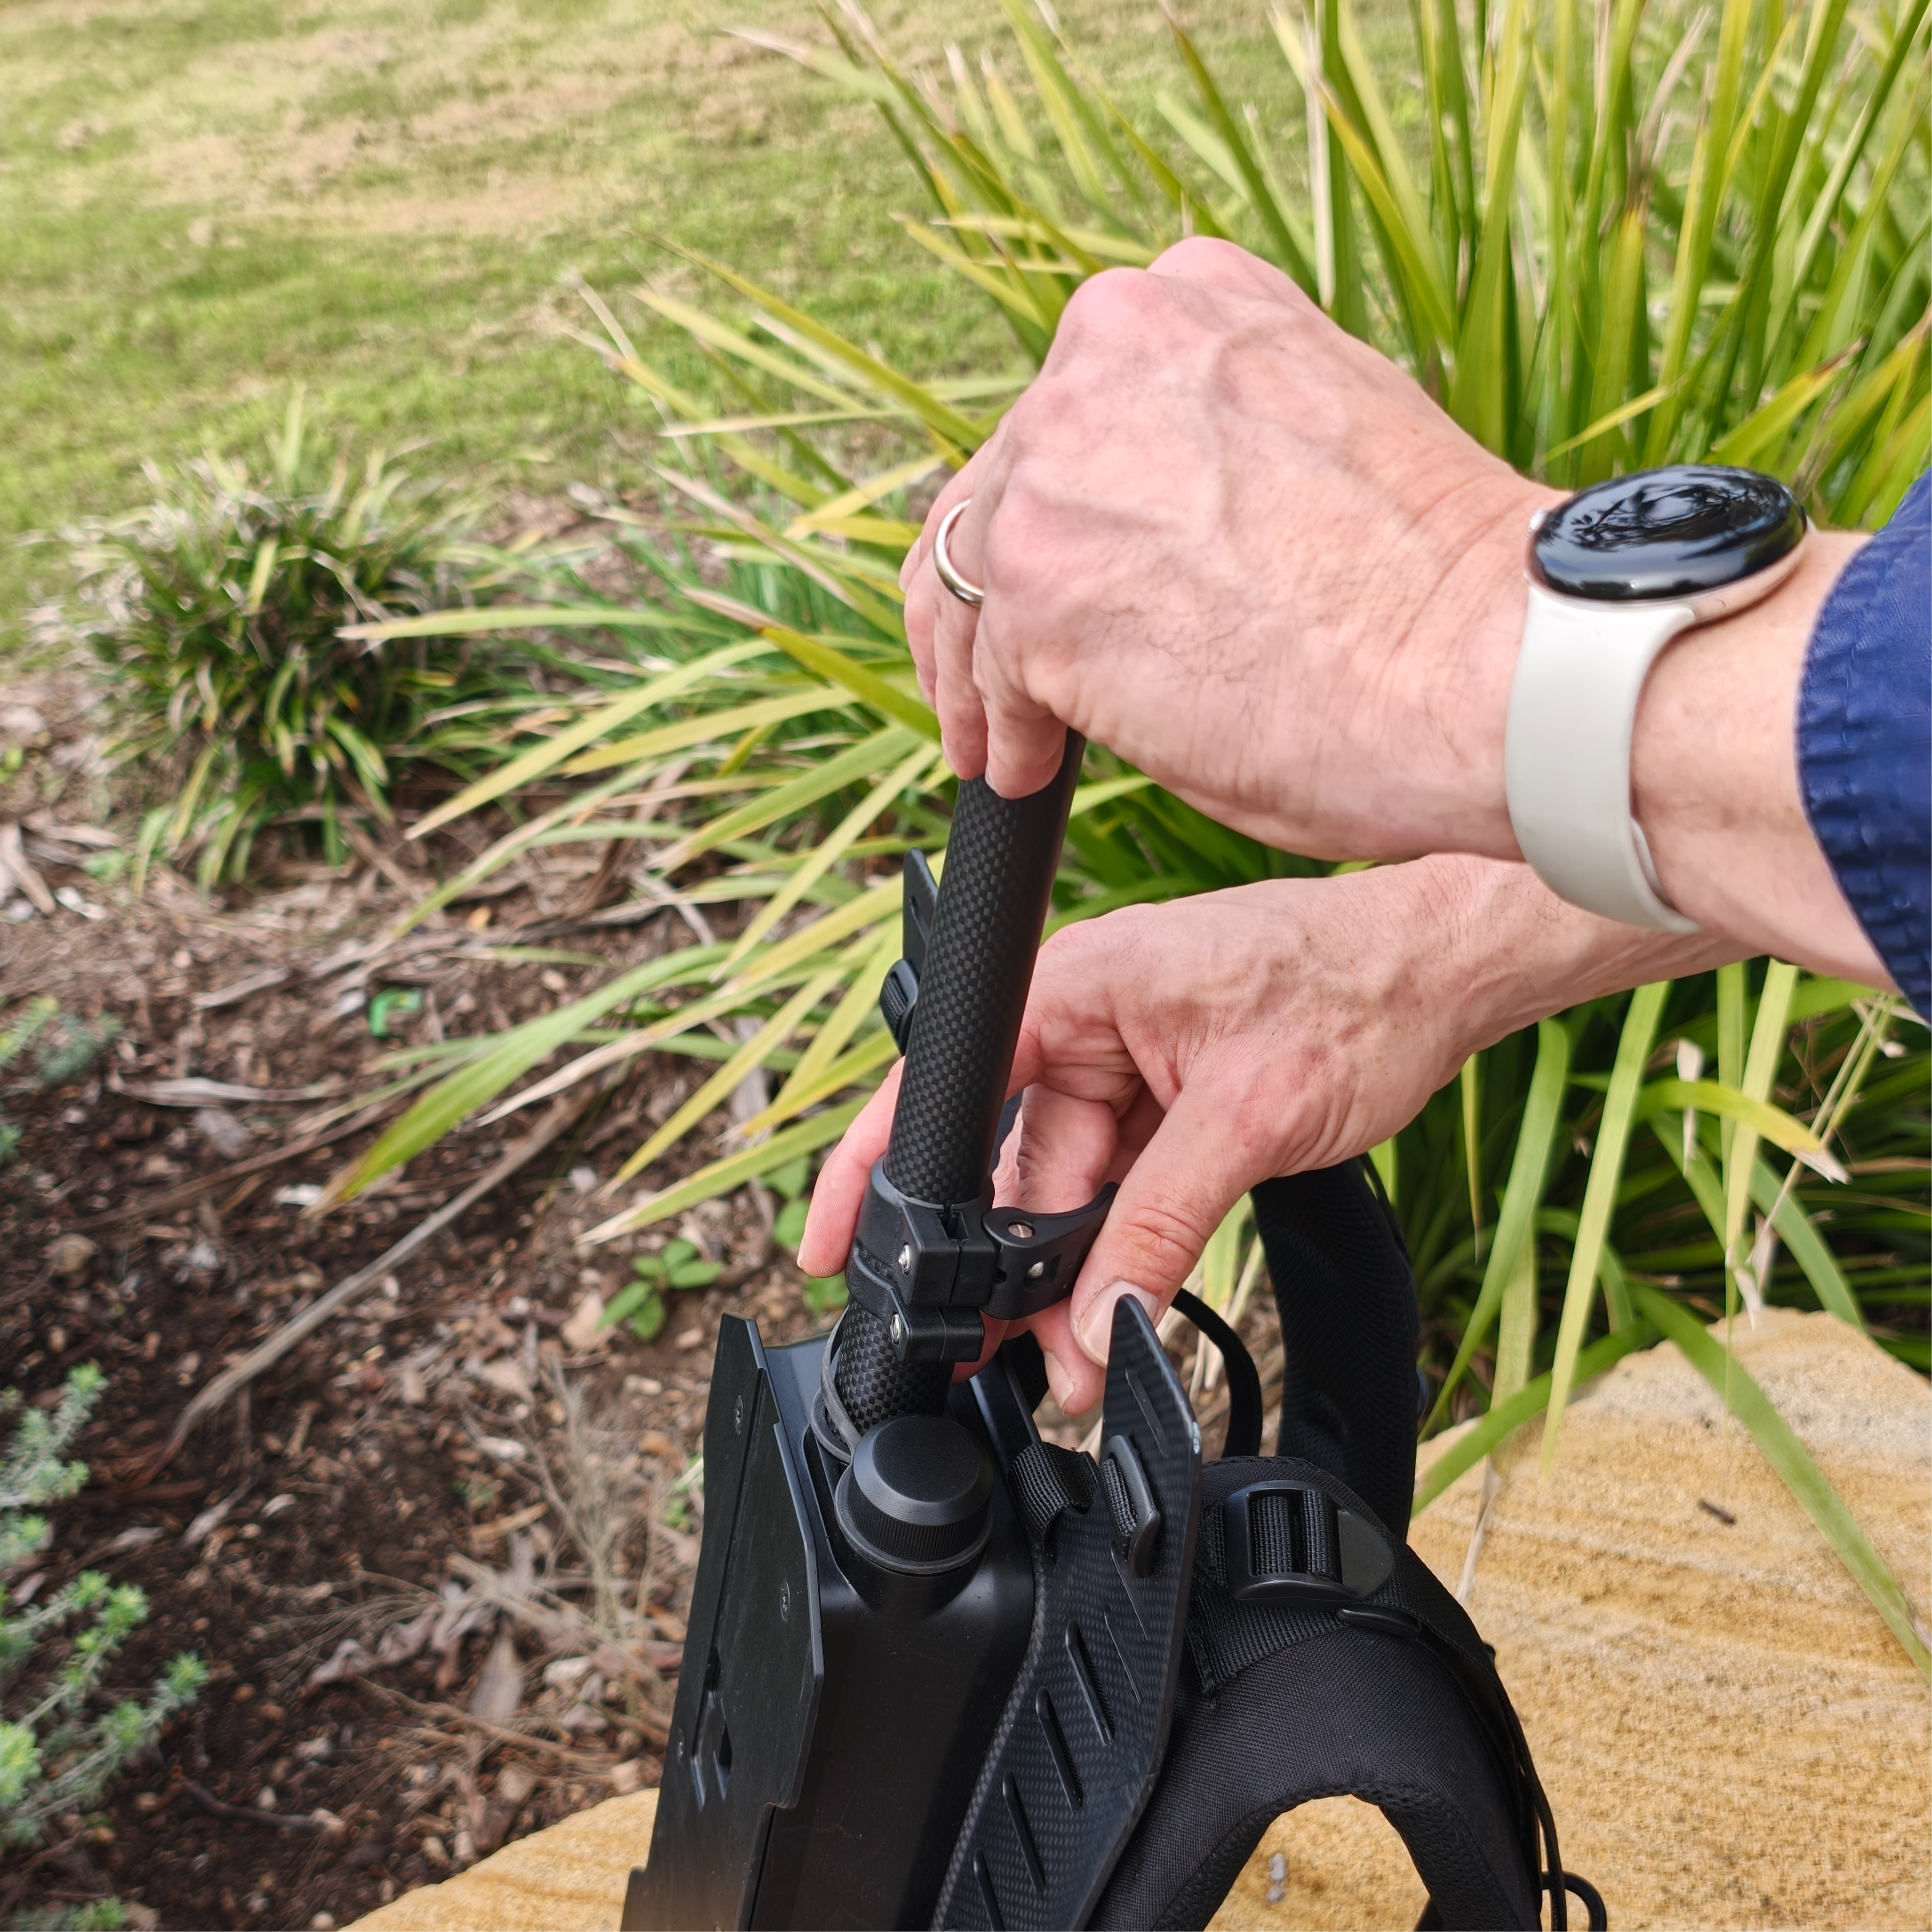
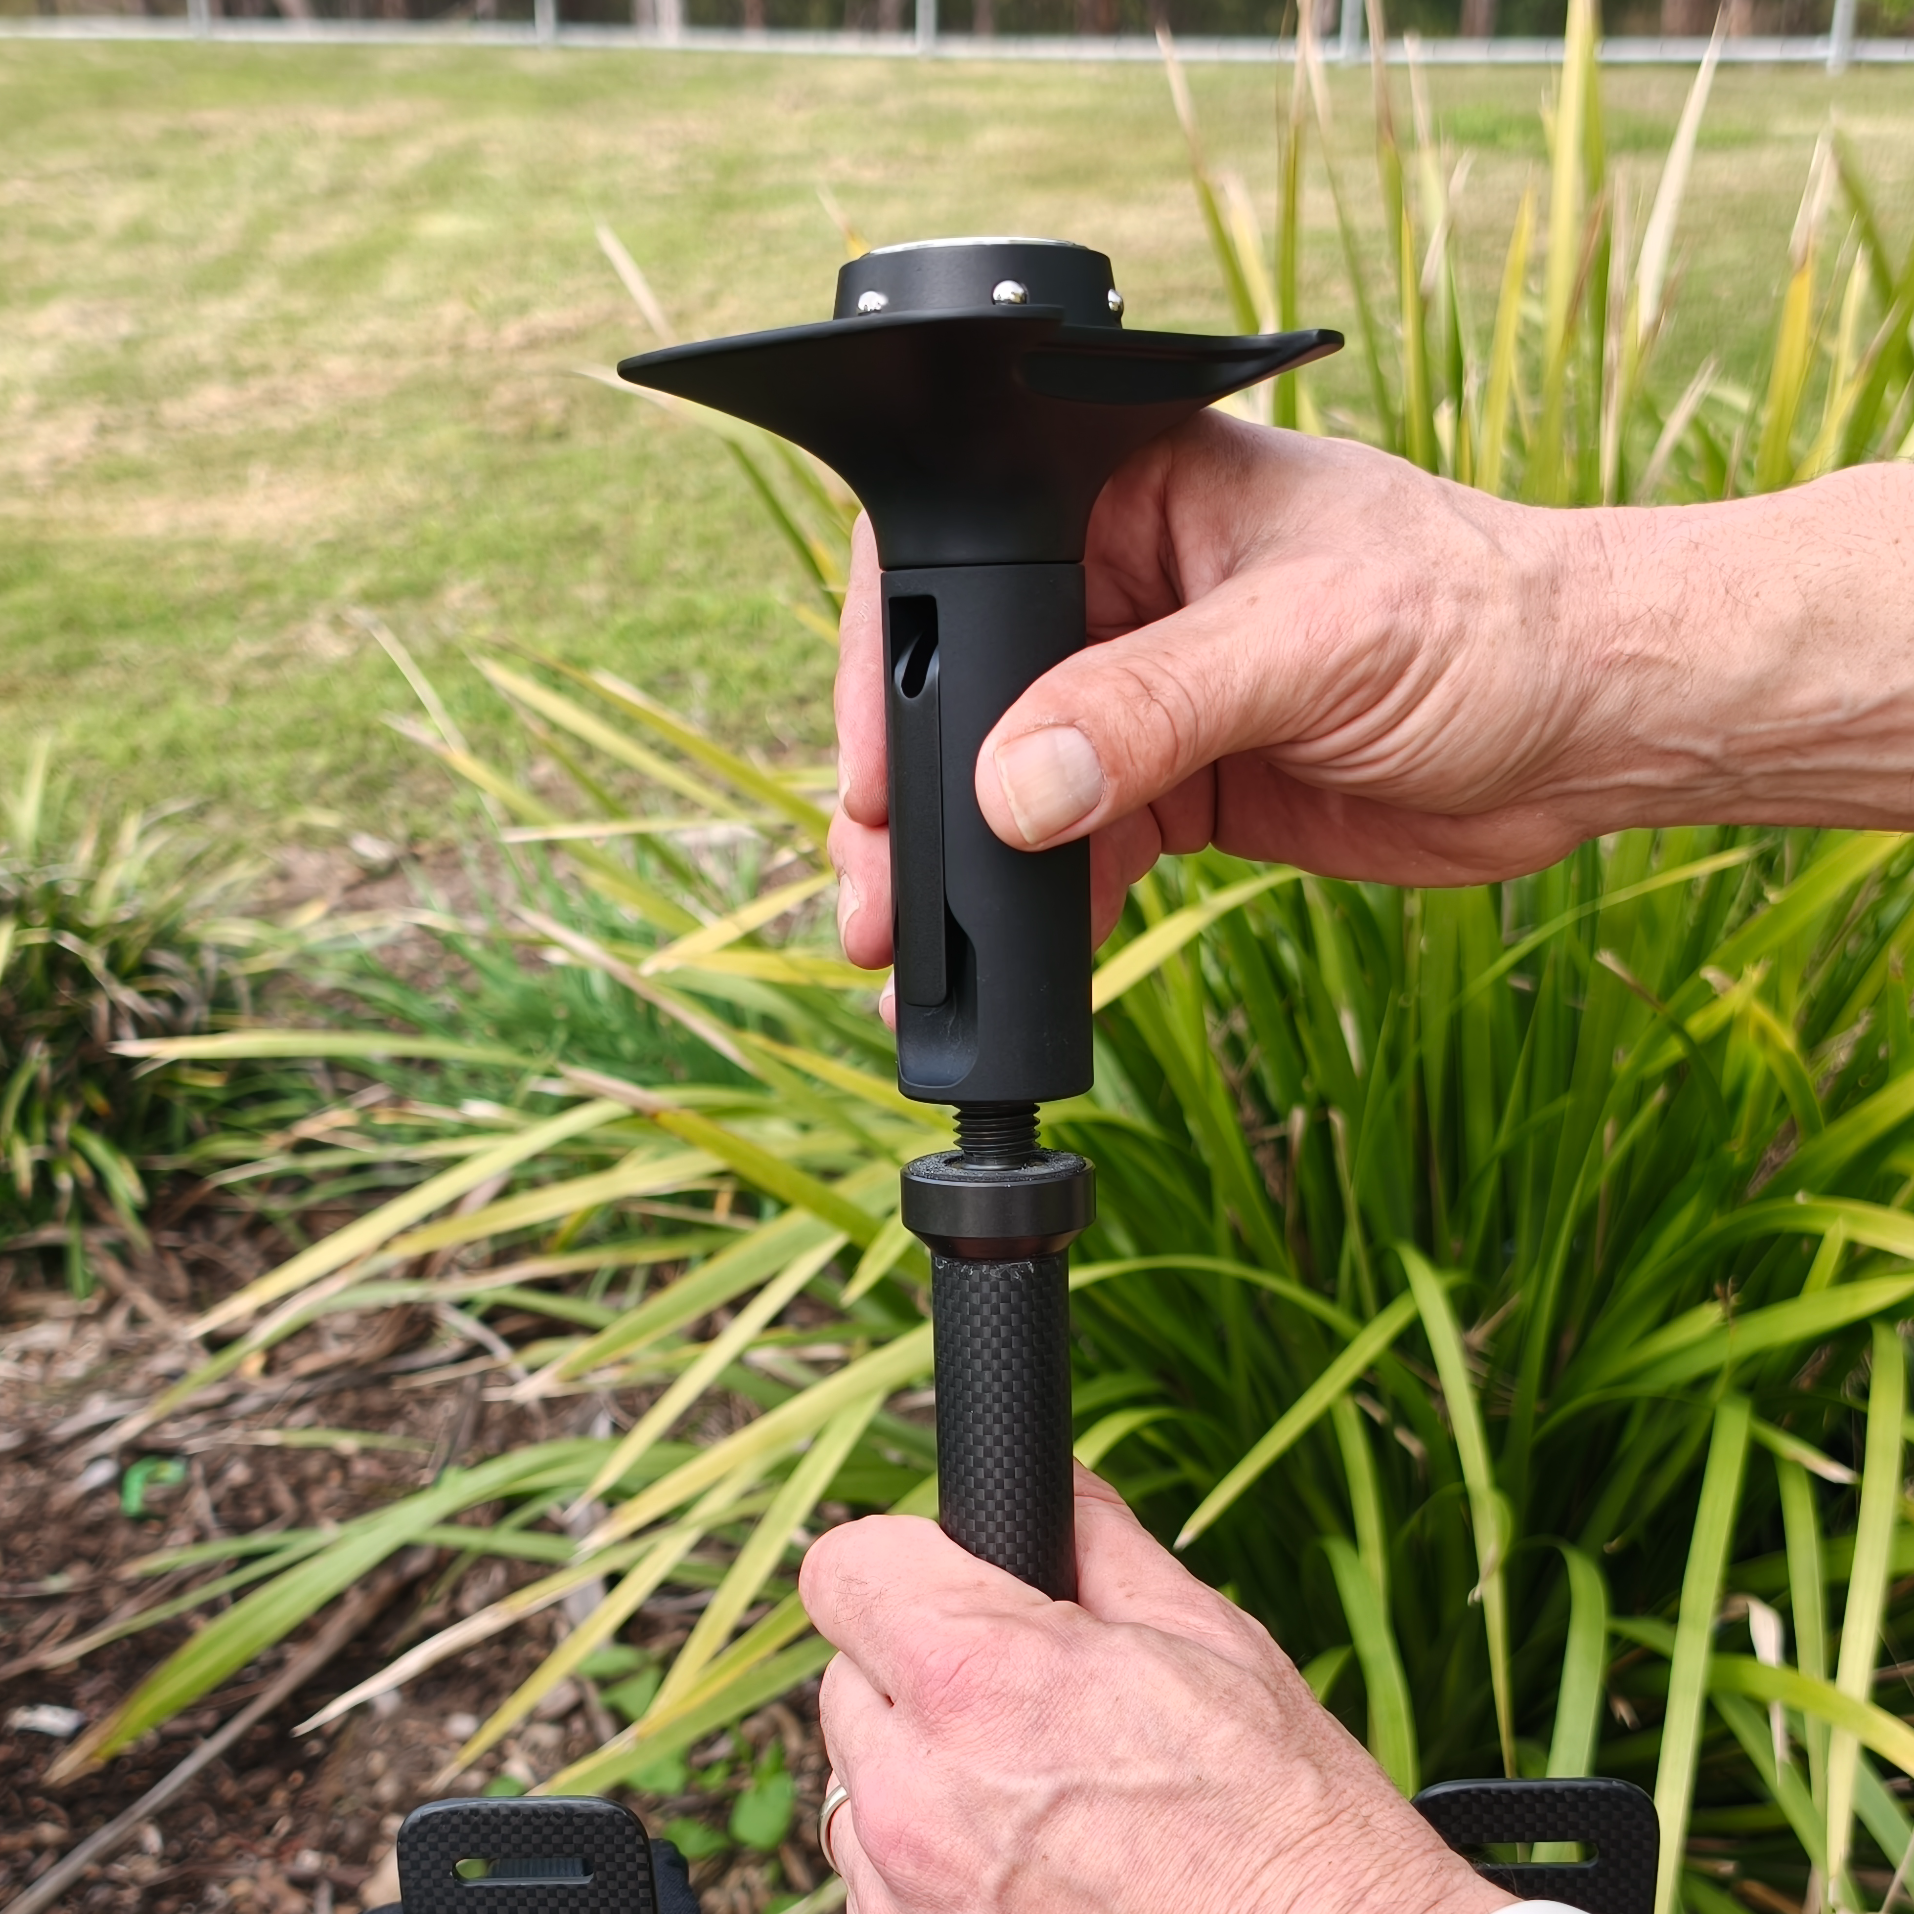
Step 3: Choose the pole position and set the height
Choose a pole position based on the coverage required and the chance of striking the GX1 on the surroundings.
Position | Coverage | When to use |
|---|---|---|
Behind-head (not extended) | Captures less | Most stable. Use in tight or cluttered spaces where the GX1 could strike the surroundings. |
Above-head (partly extended) | General-purpose | Use as the default for most environments. |
Fully extended | Widest coverage | Use in open areas. Allows more swing and leaves the GX1 more exposed overhead. |
Release the Cam Lock Lever and extend the Telescoping Pole to the chosen position.
Engage the Cam Lock Lever to secure the Telescoping Pole at the chosen height.
|
|
|

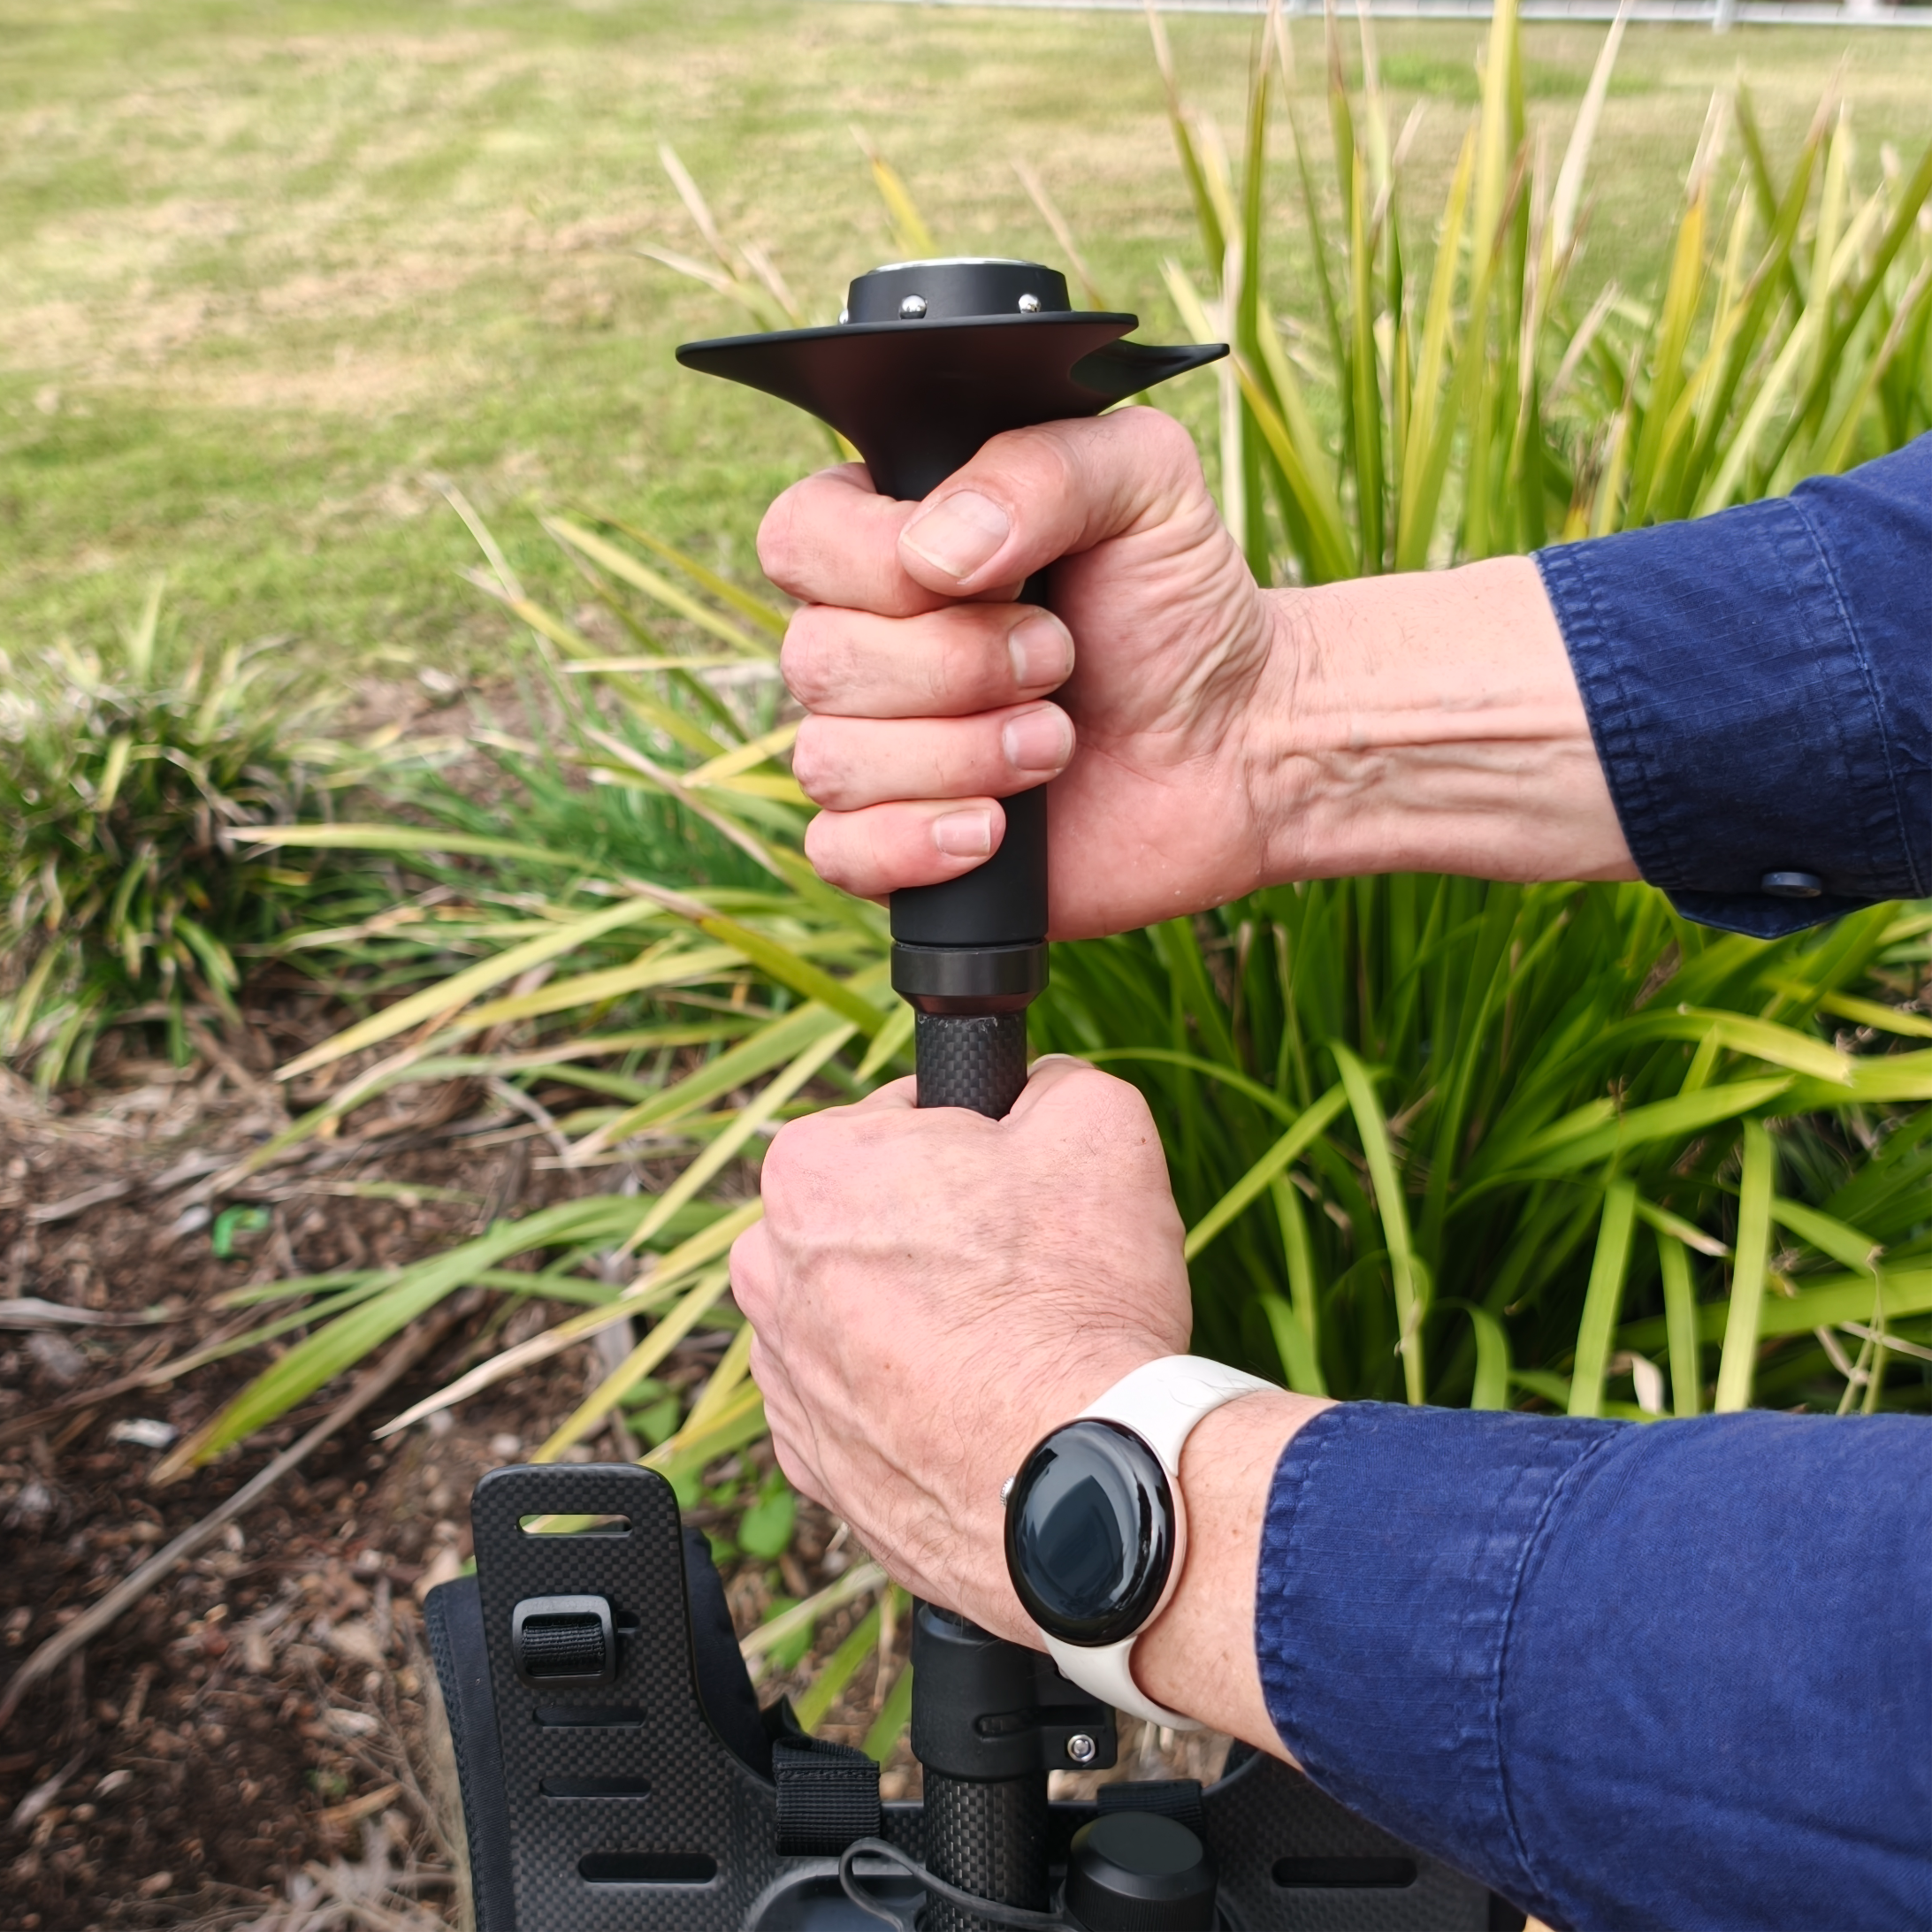
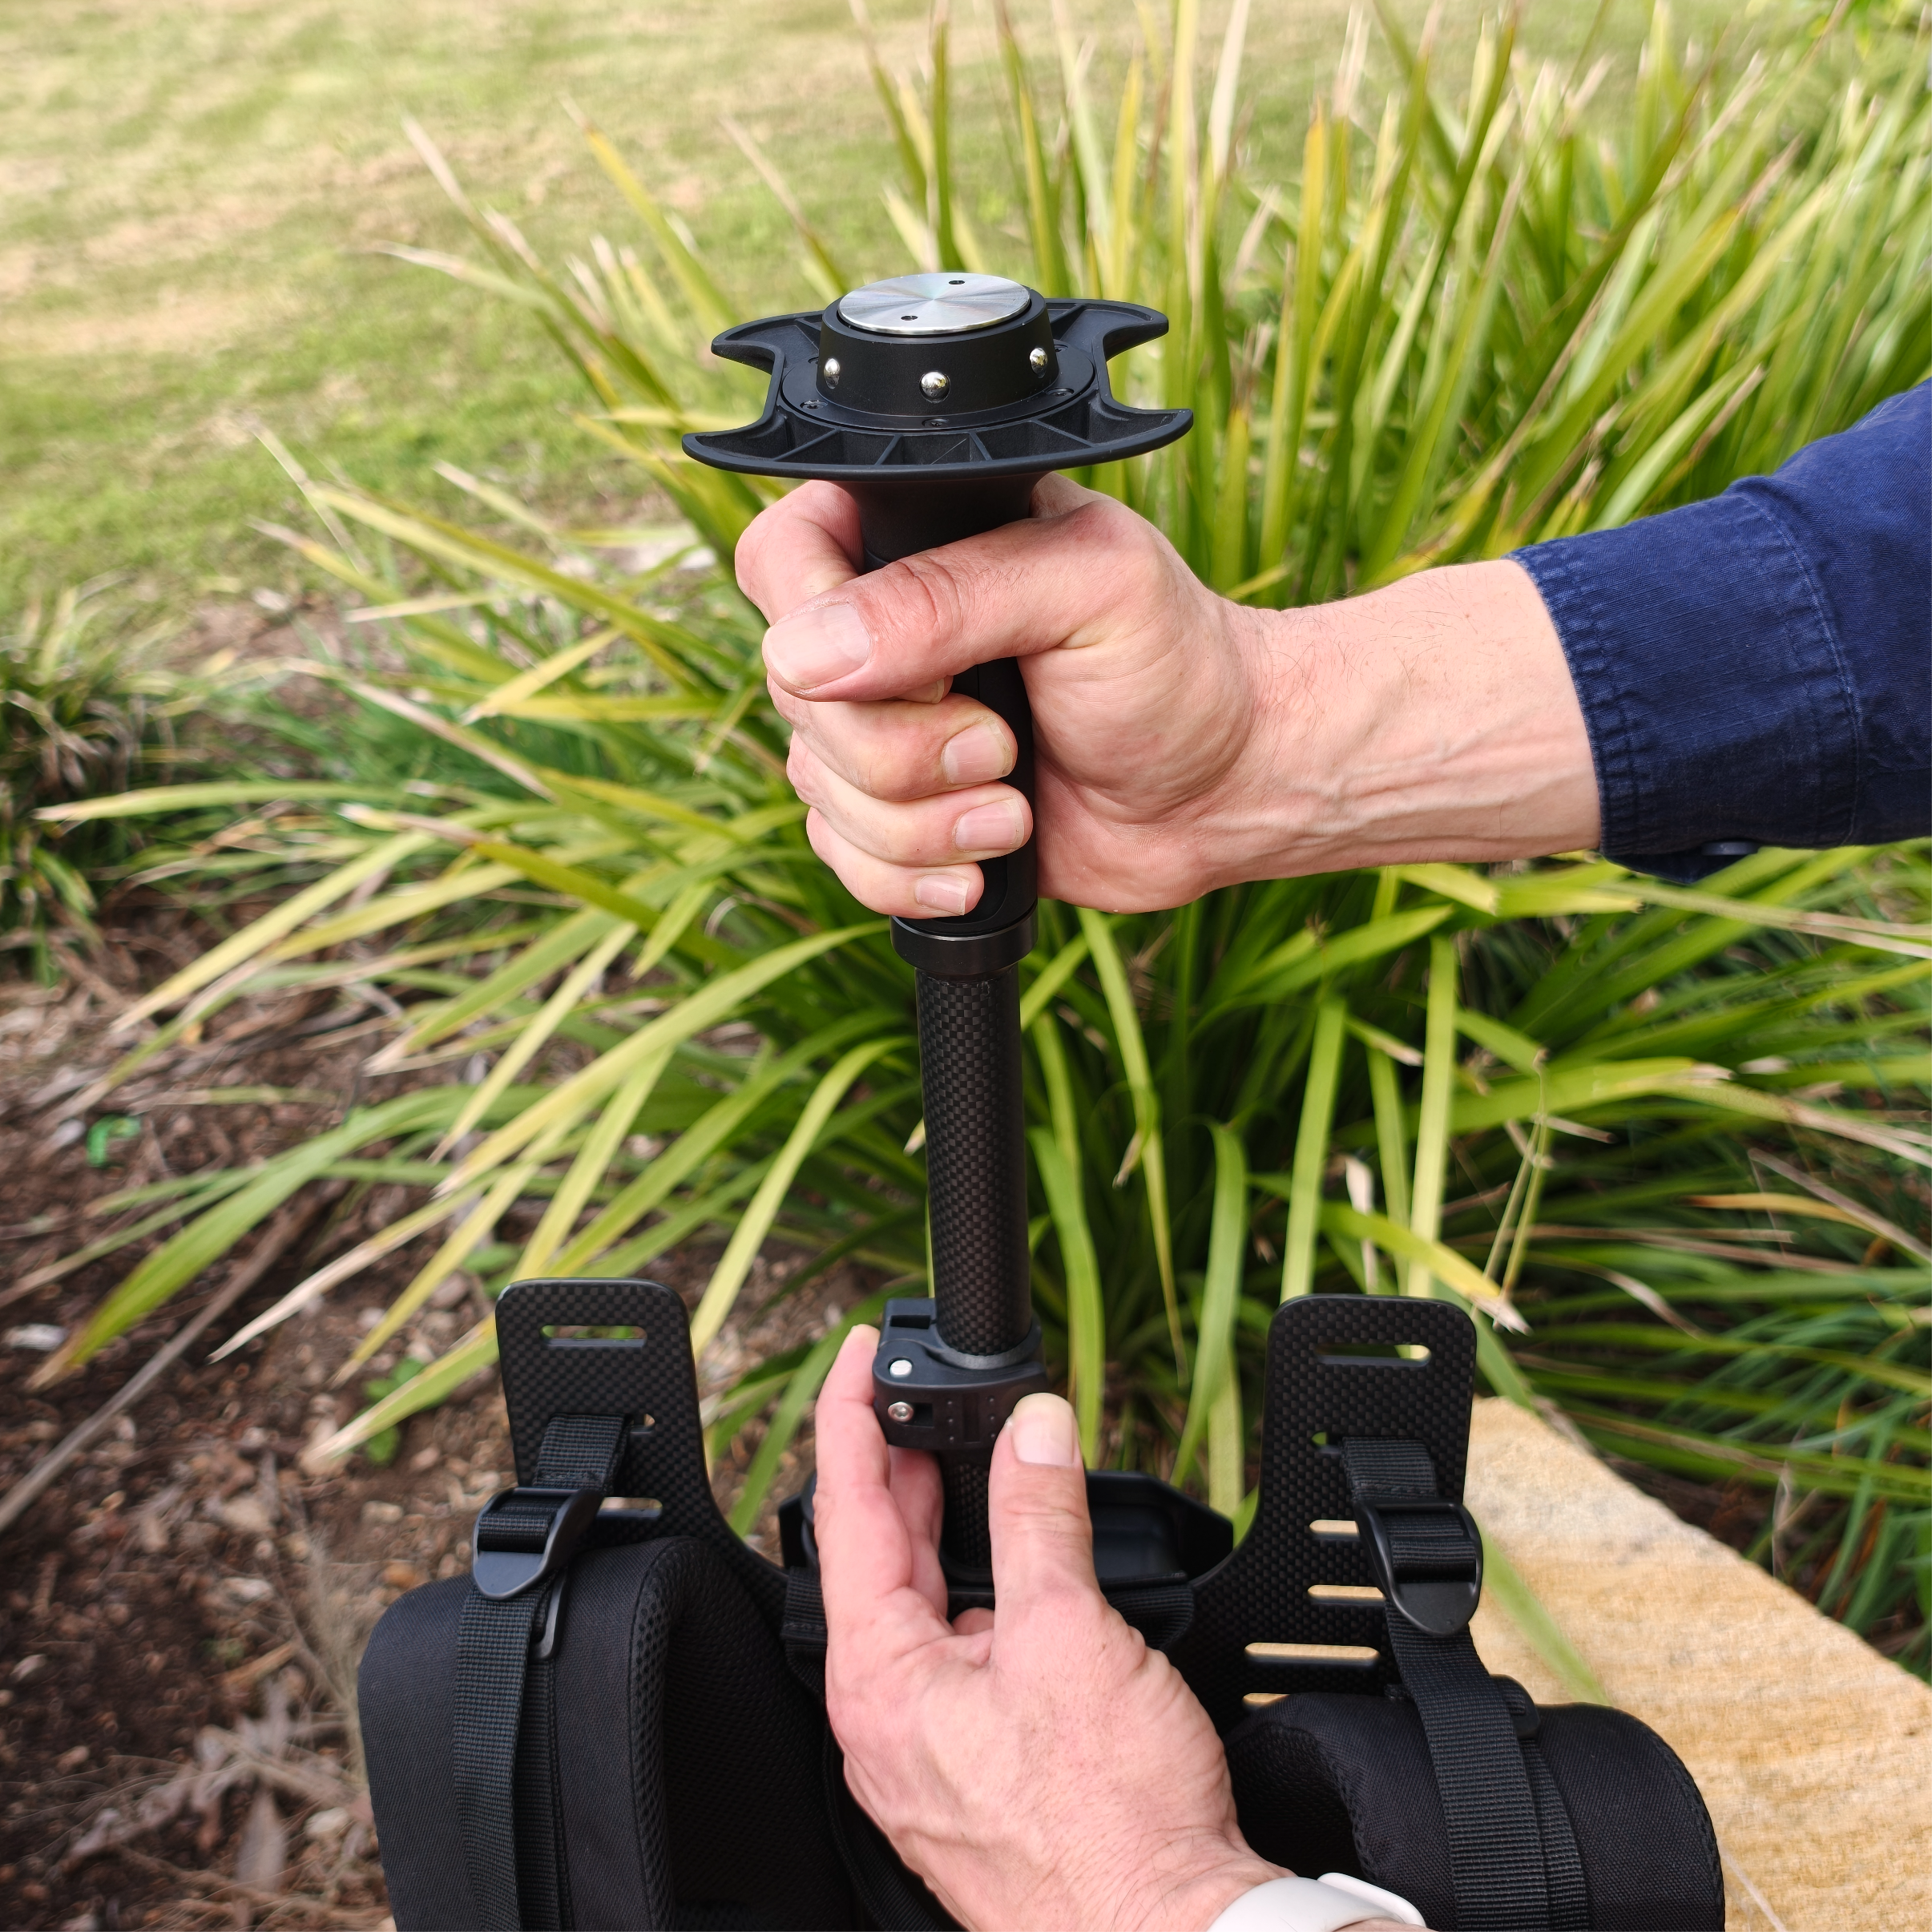
Step 4: Attach the Quick Mount
Align the Quick Mount with the Male 5/8"-11 Survey Thread on the Telescoping Pole.
Rotate the Quick Mount clockwise until it is fully seated and secure.
|
|
|
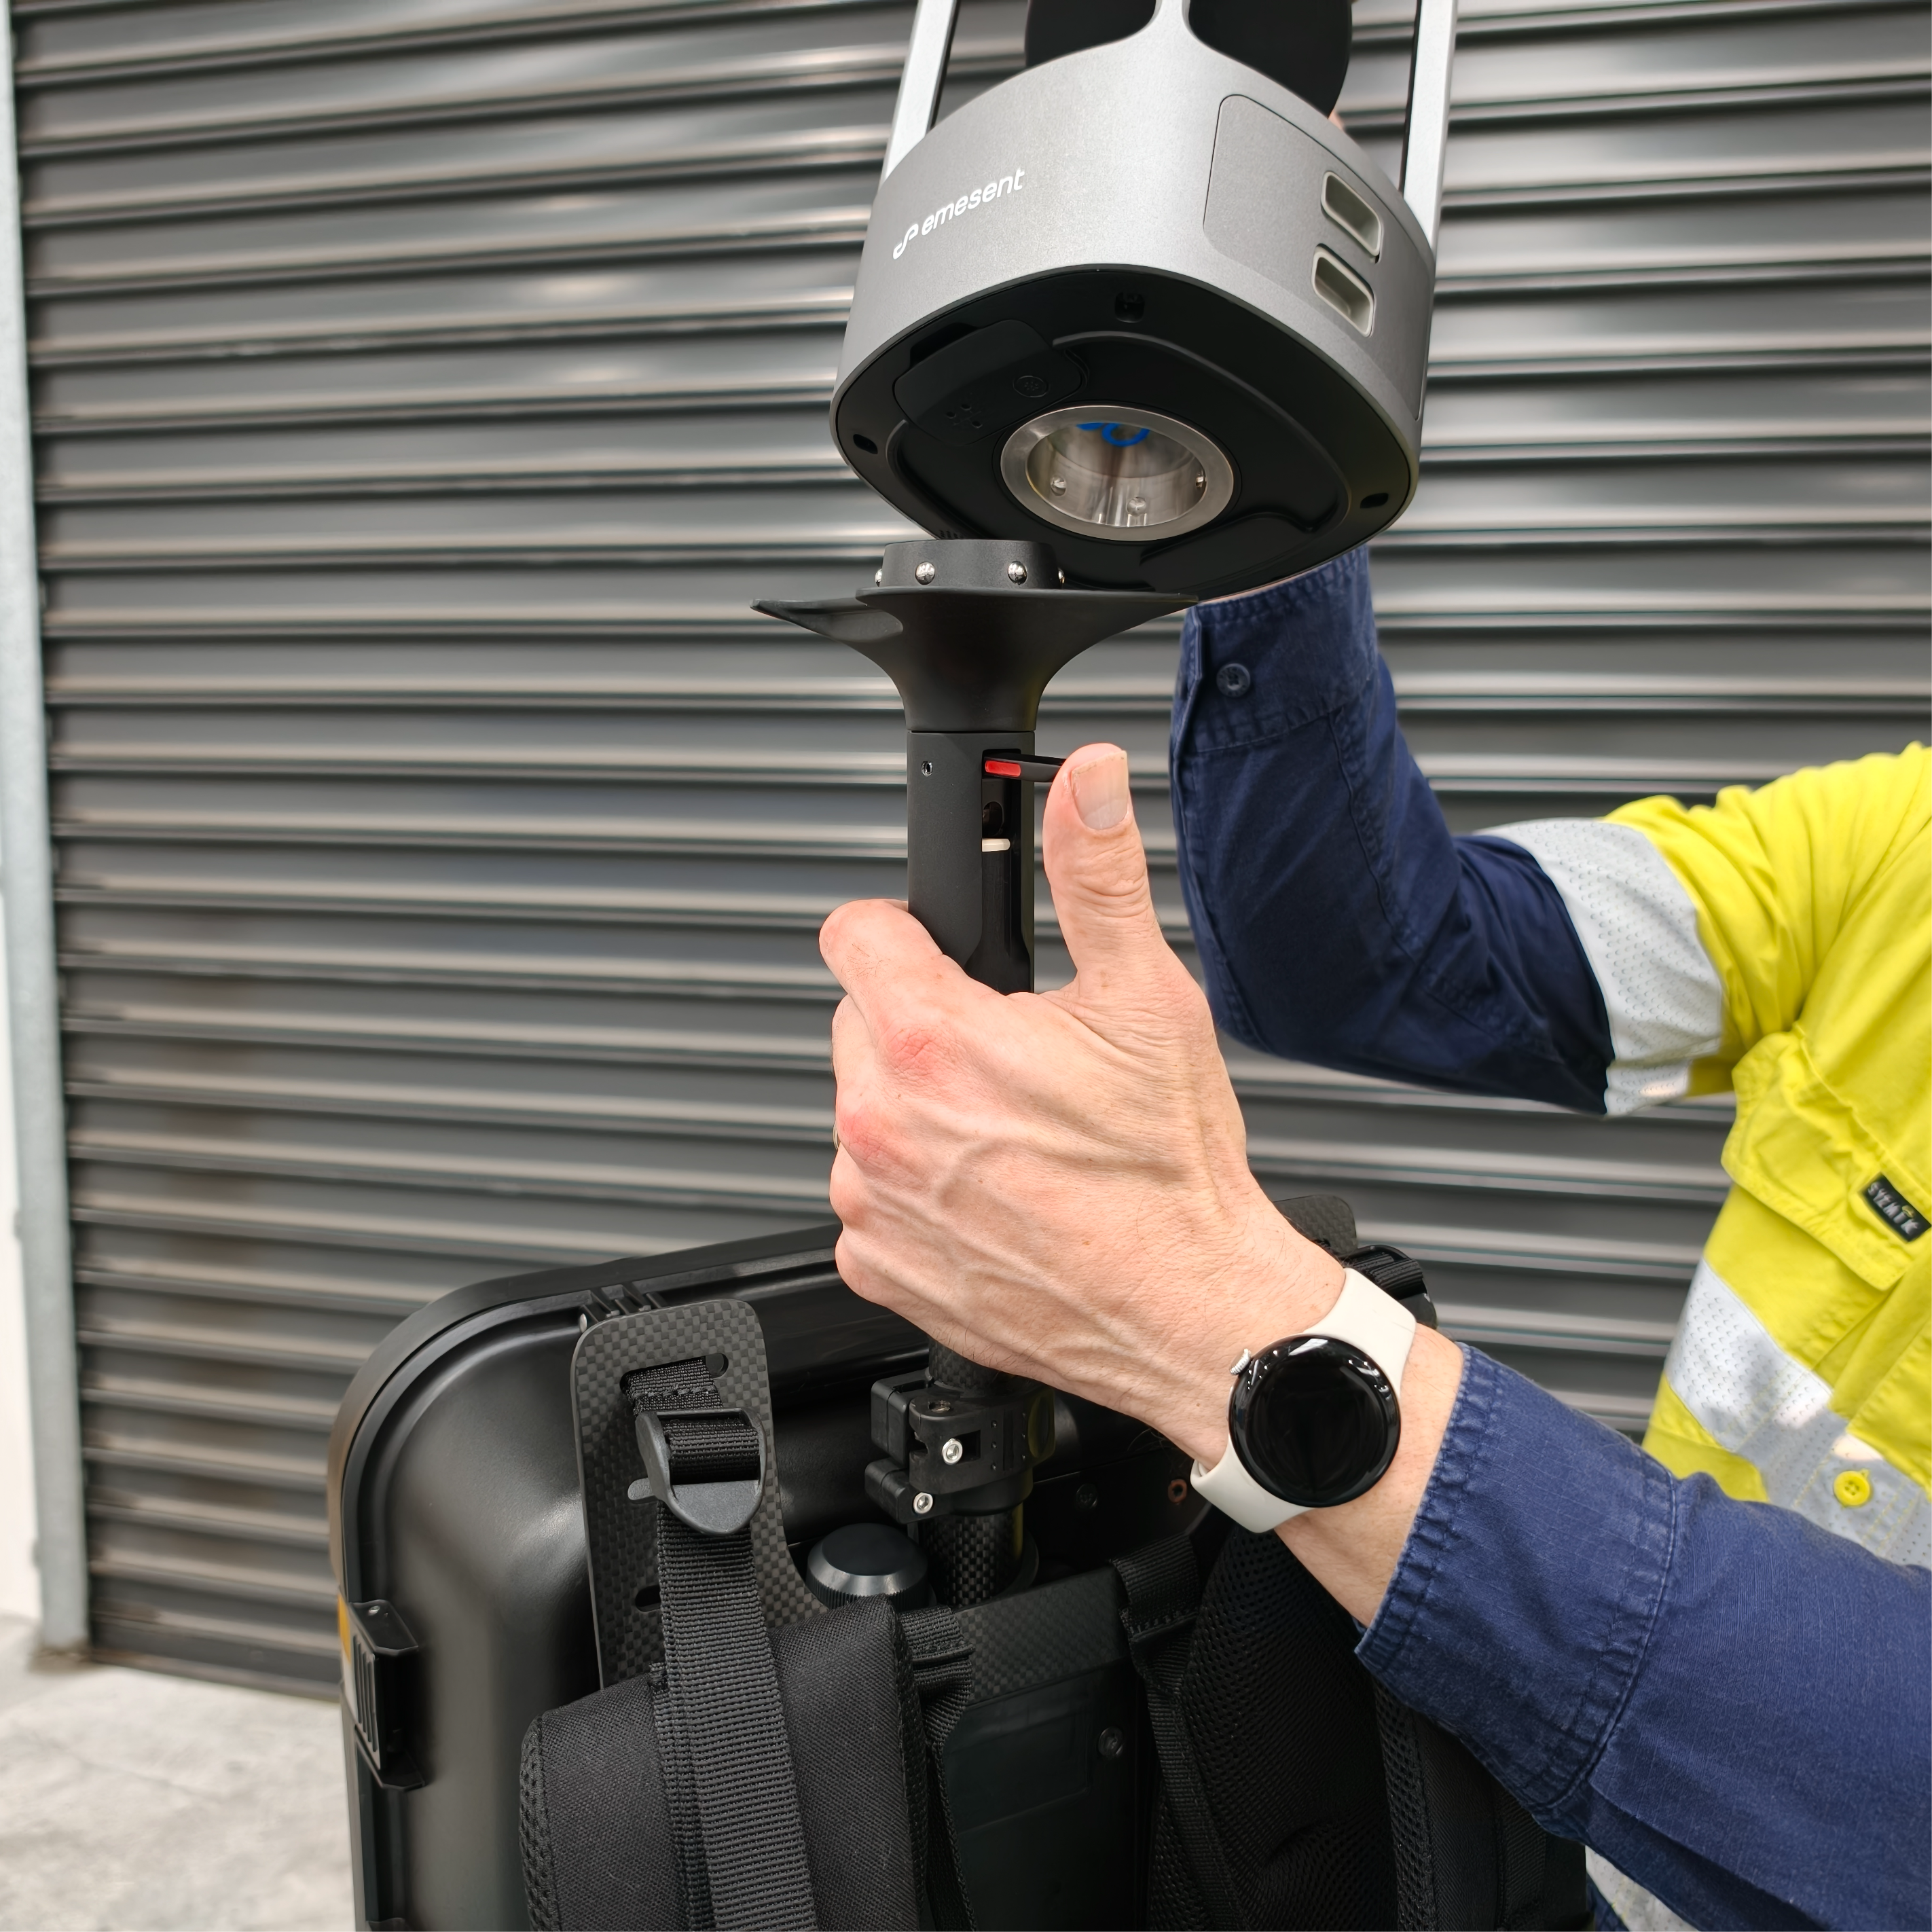
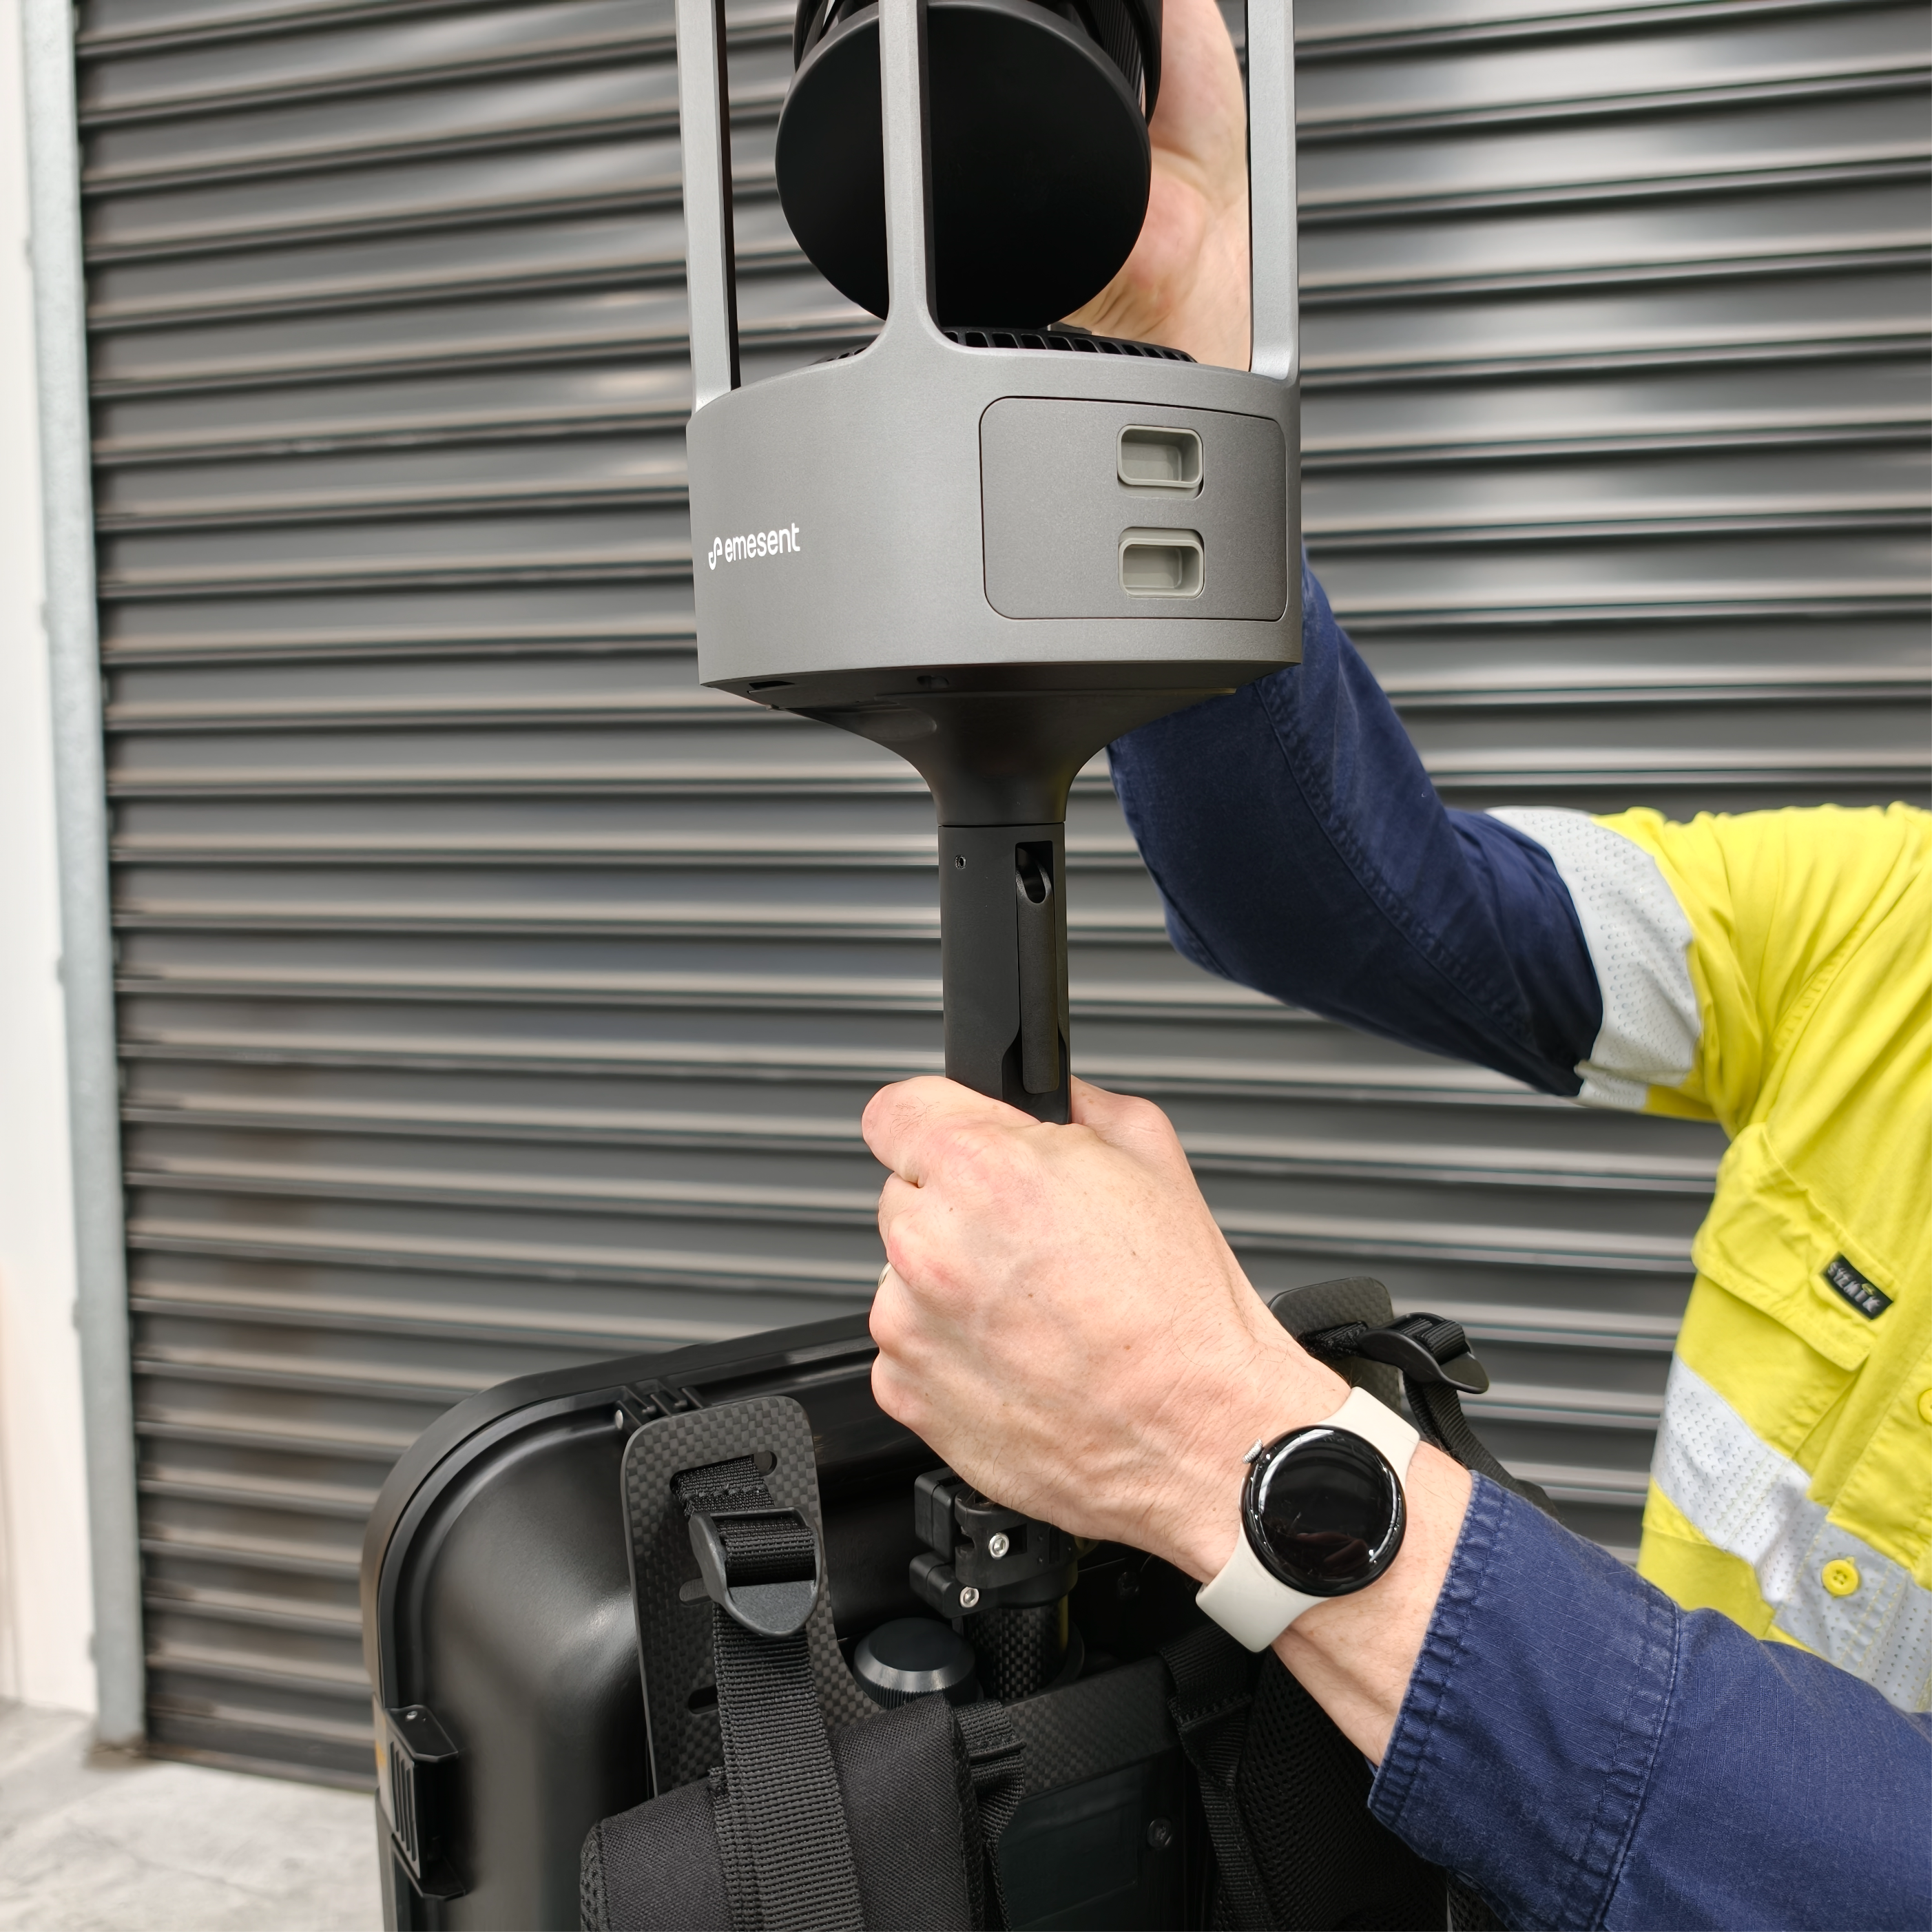
Step 5: Attach the GX1 to the Quick Mount
Confirm a battery is installed in the GX1. See Install and remove GX1 batteries.
Attach the GX1 to the Quick Mount. See Attach GX1 to Quick Mount.
Rotate the GX1 and the Telescoping Support so the GX1 Control Panel faces the operator when the Backpack Harness is worn
|
|
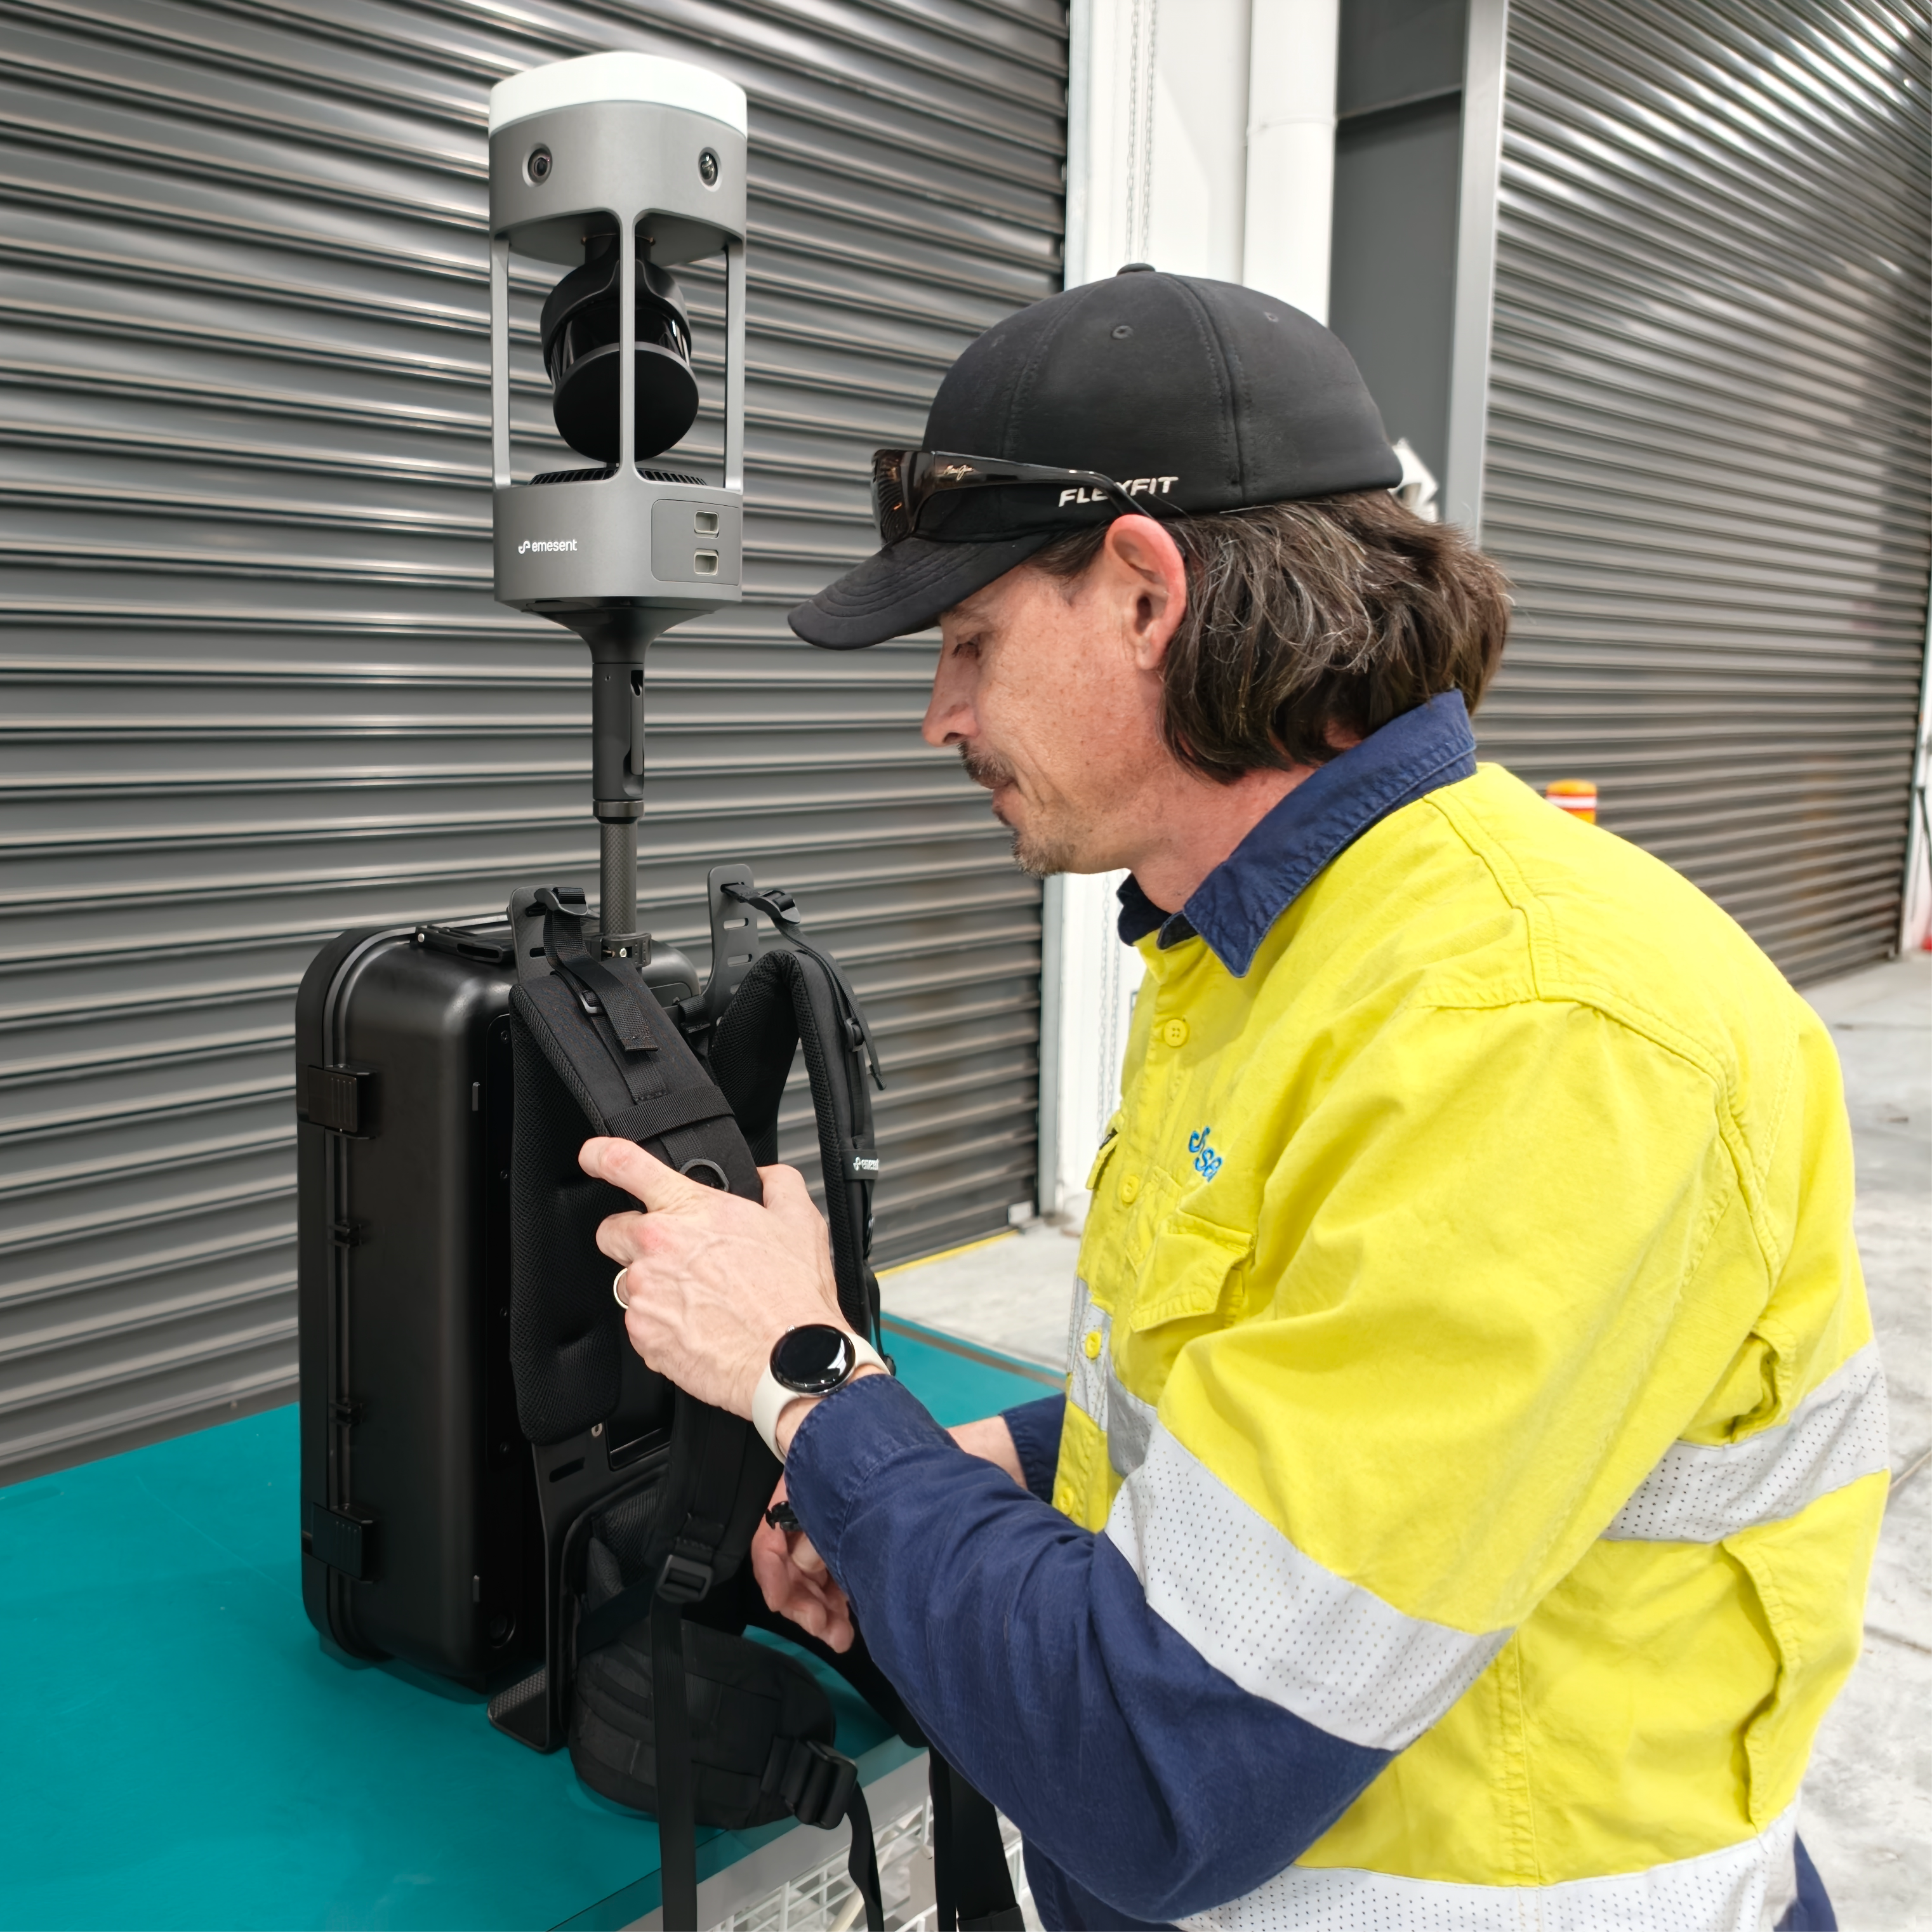
Step 6: Prepare the Backpack Harness
Place the Backpack Harness upright near the edge of a raised, stable surface, such as a table, bench, or vehicle tray.
Orient it so the Harness Frame and Shoulder Straps face the operator.
Confirm the Backpack Harness is stable, with all straps loosened and free of twists.
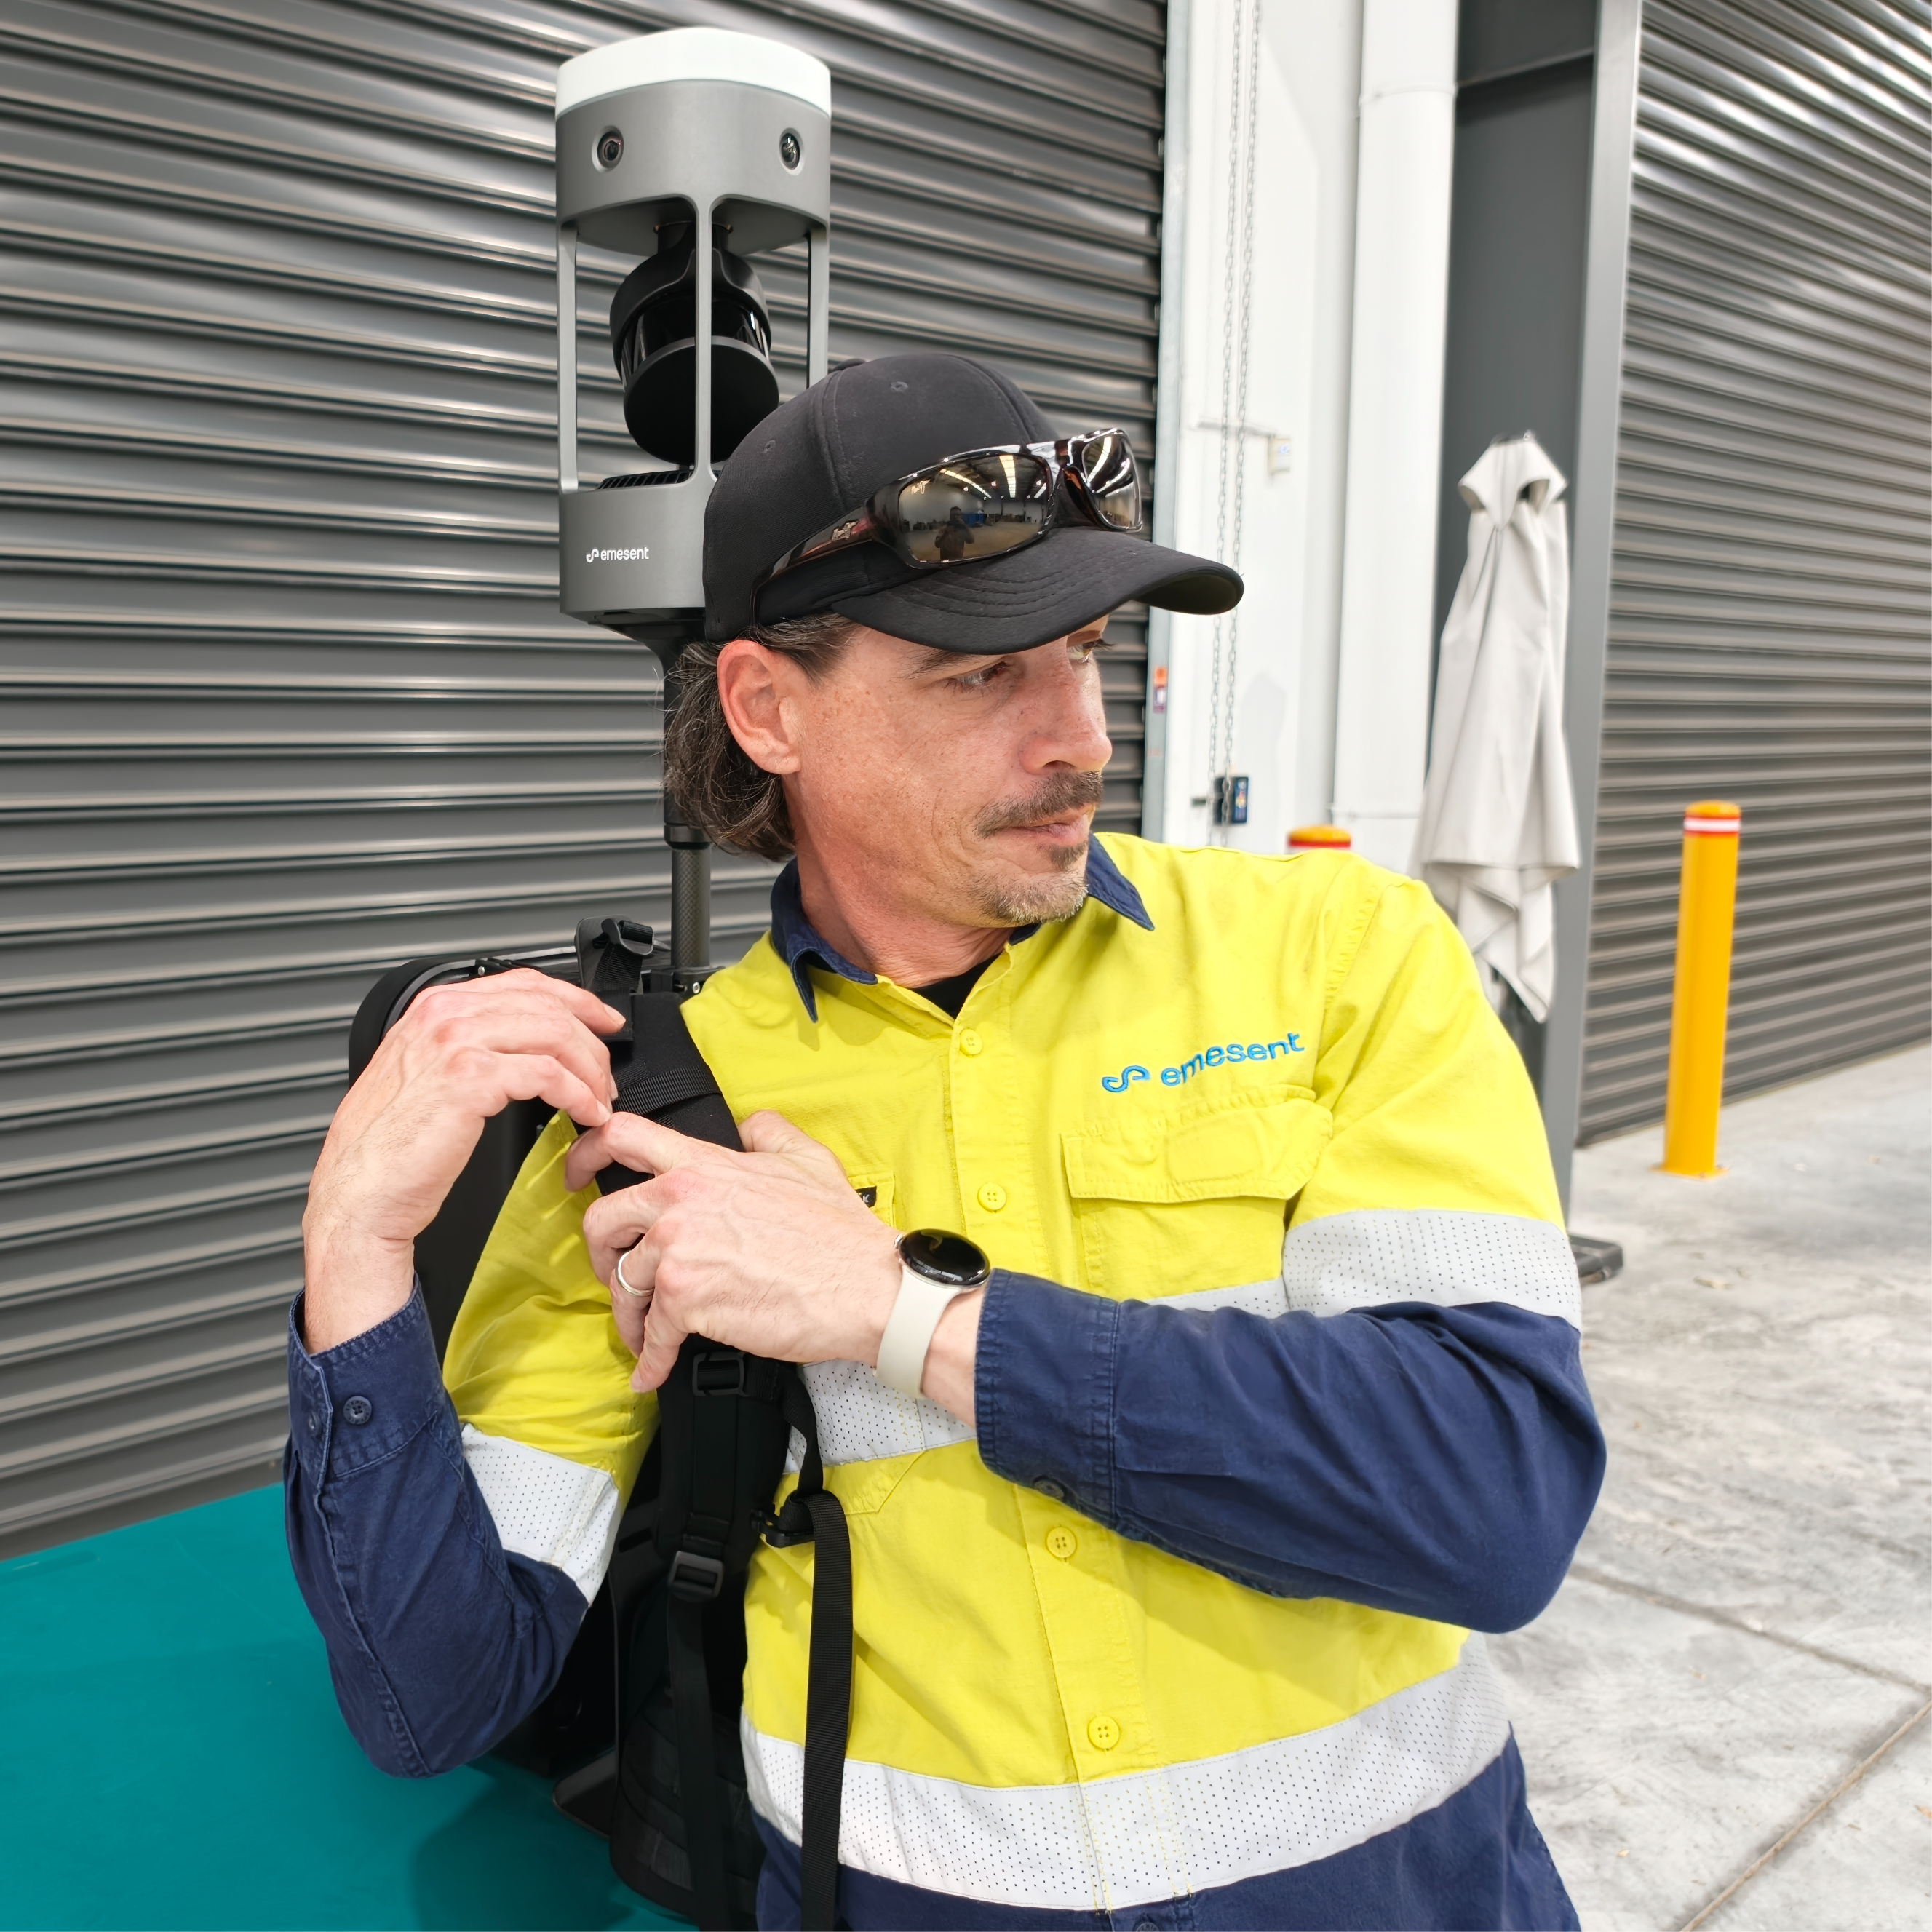
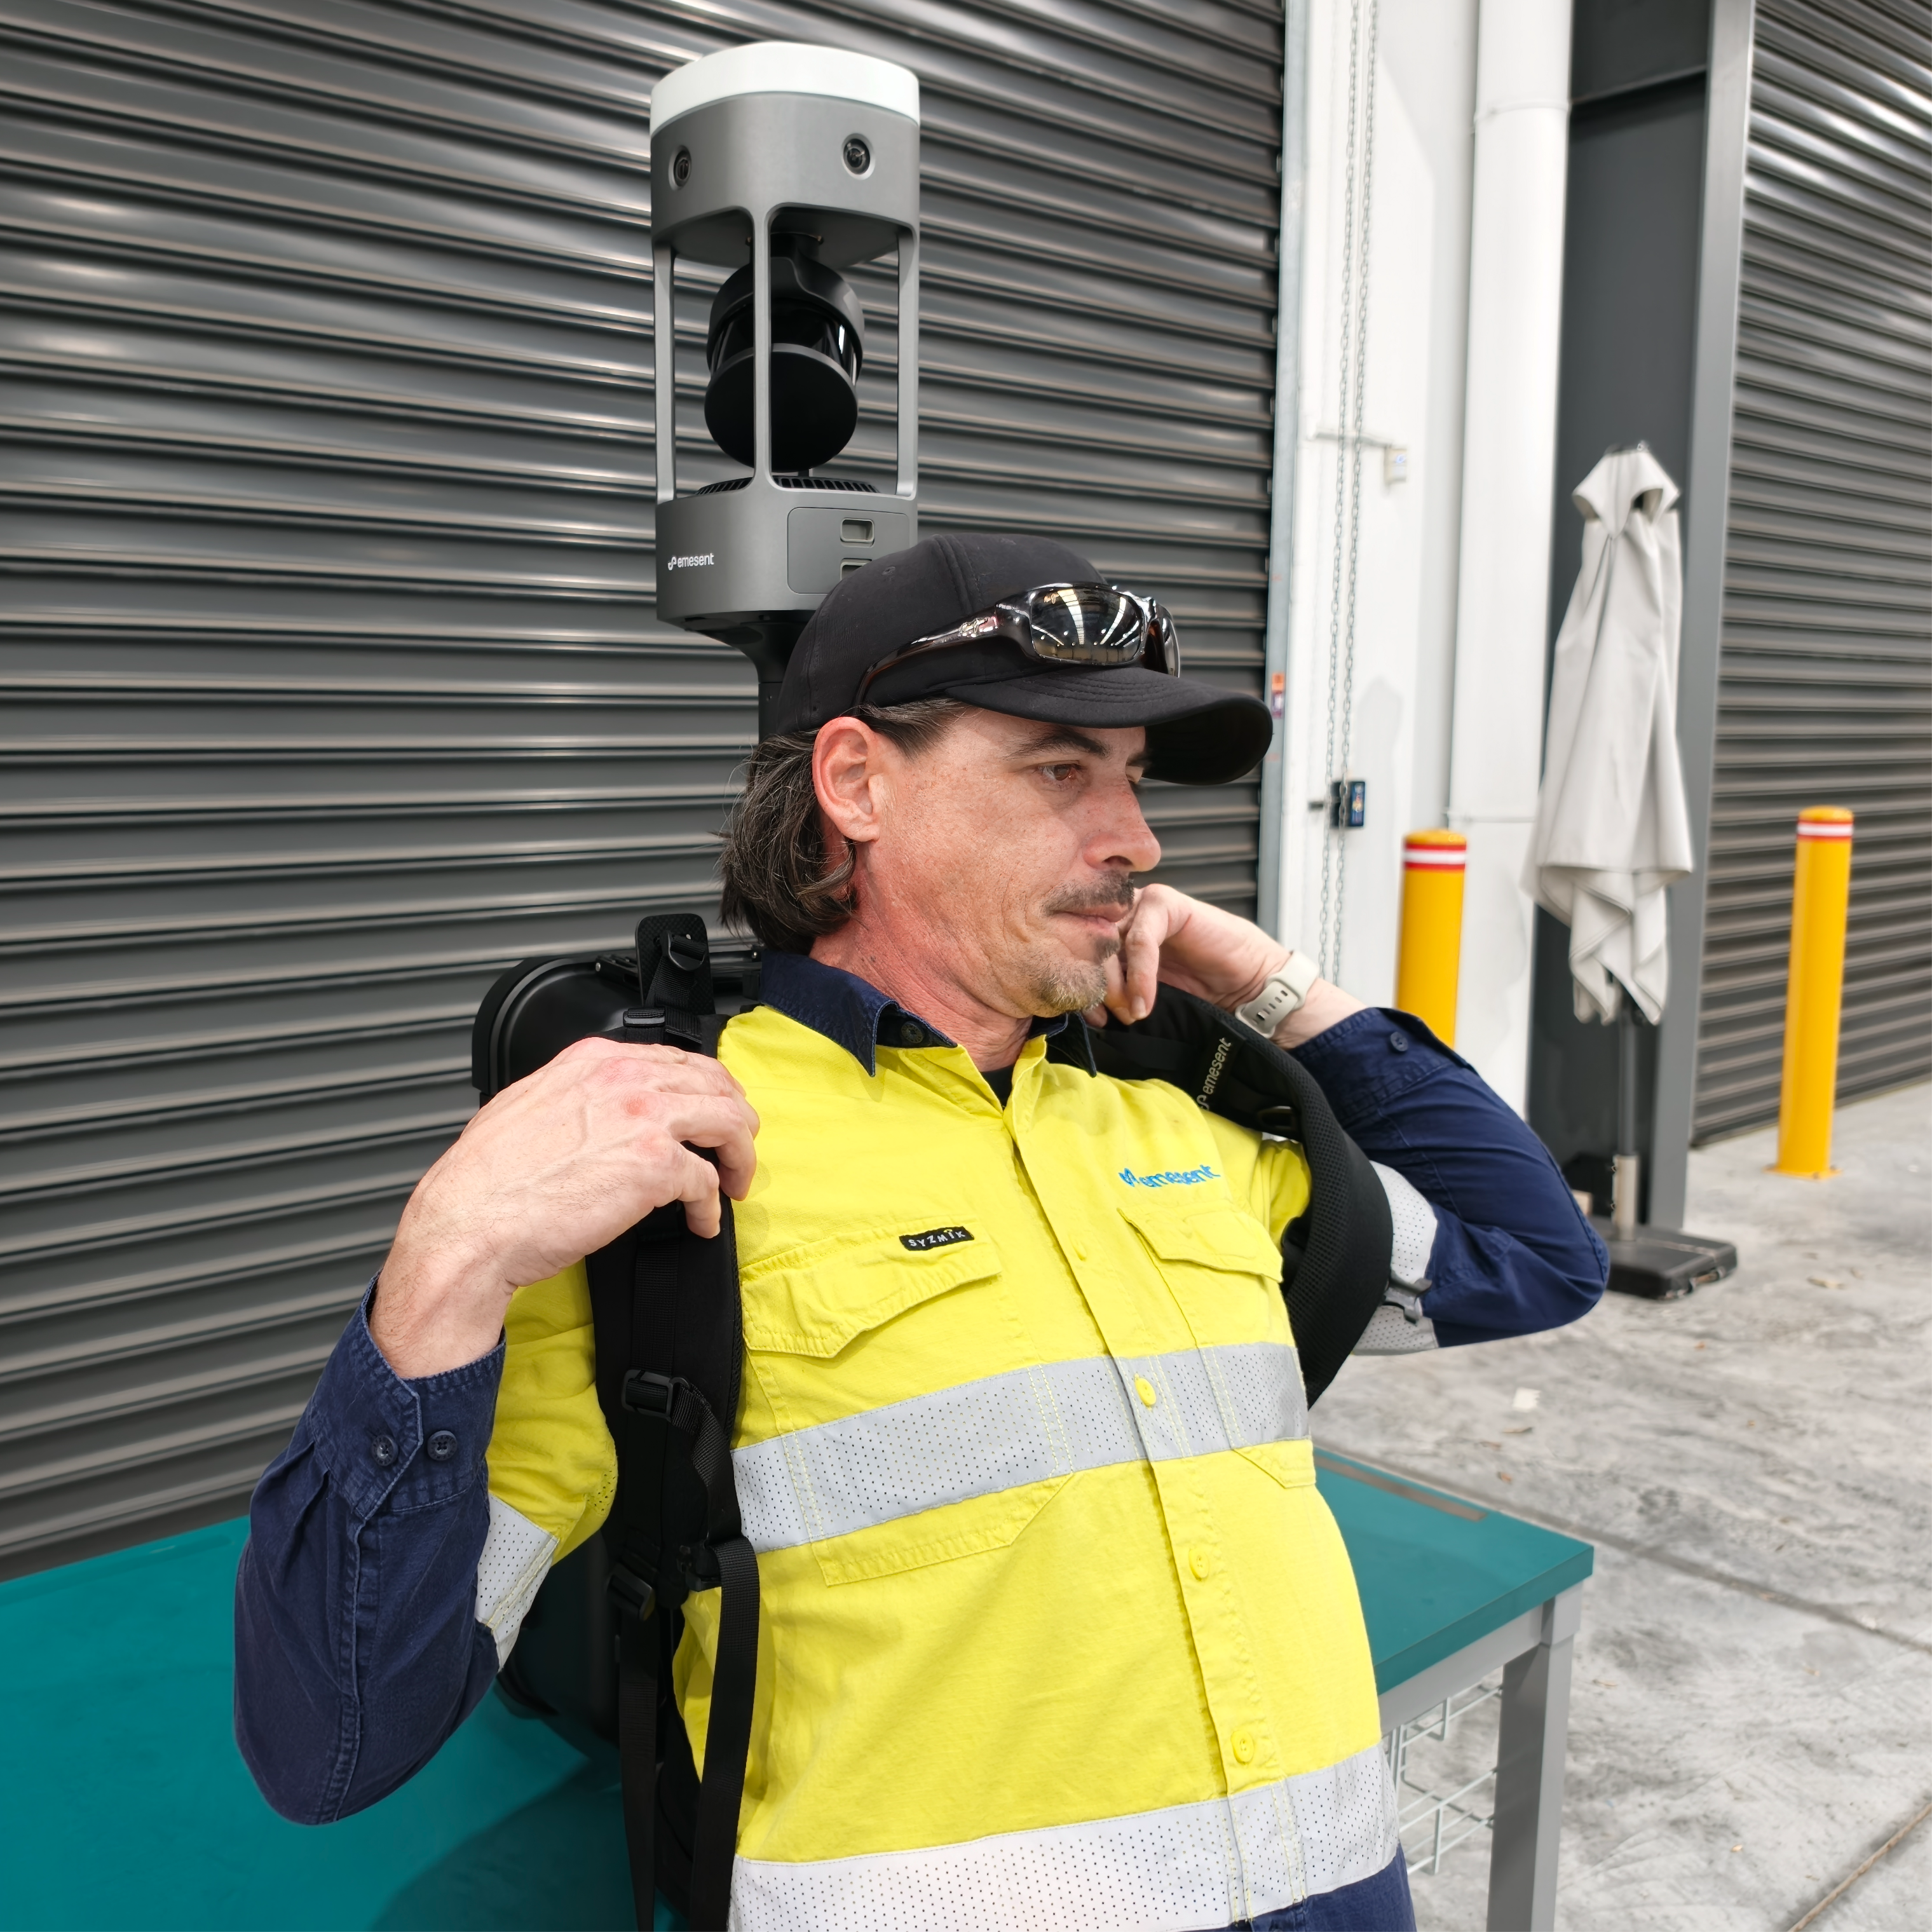
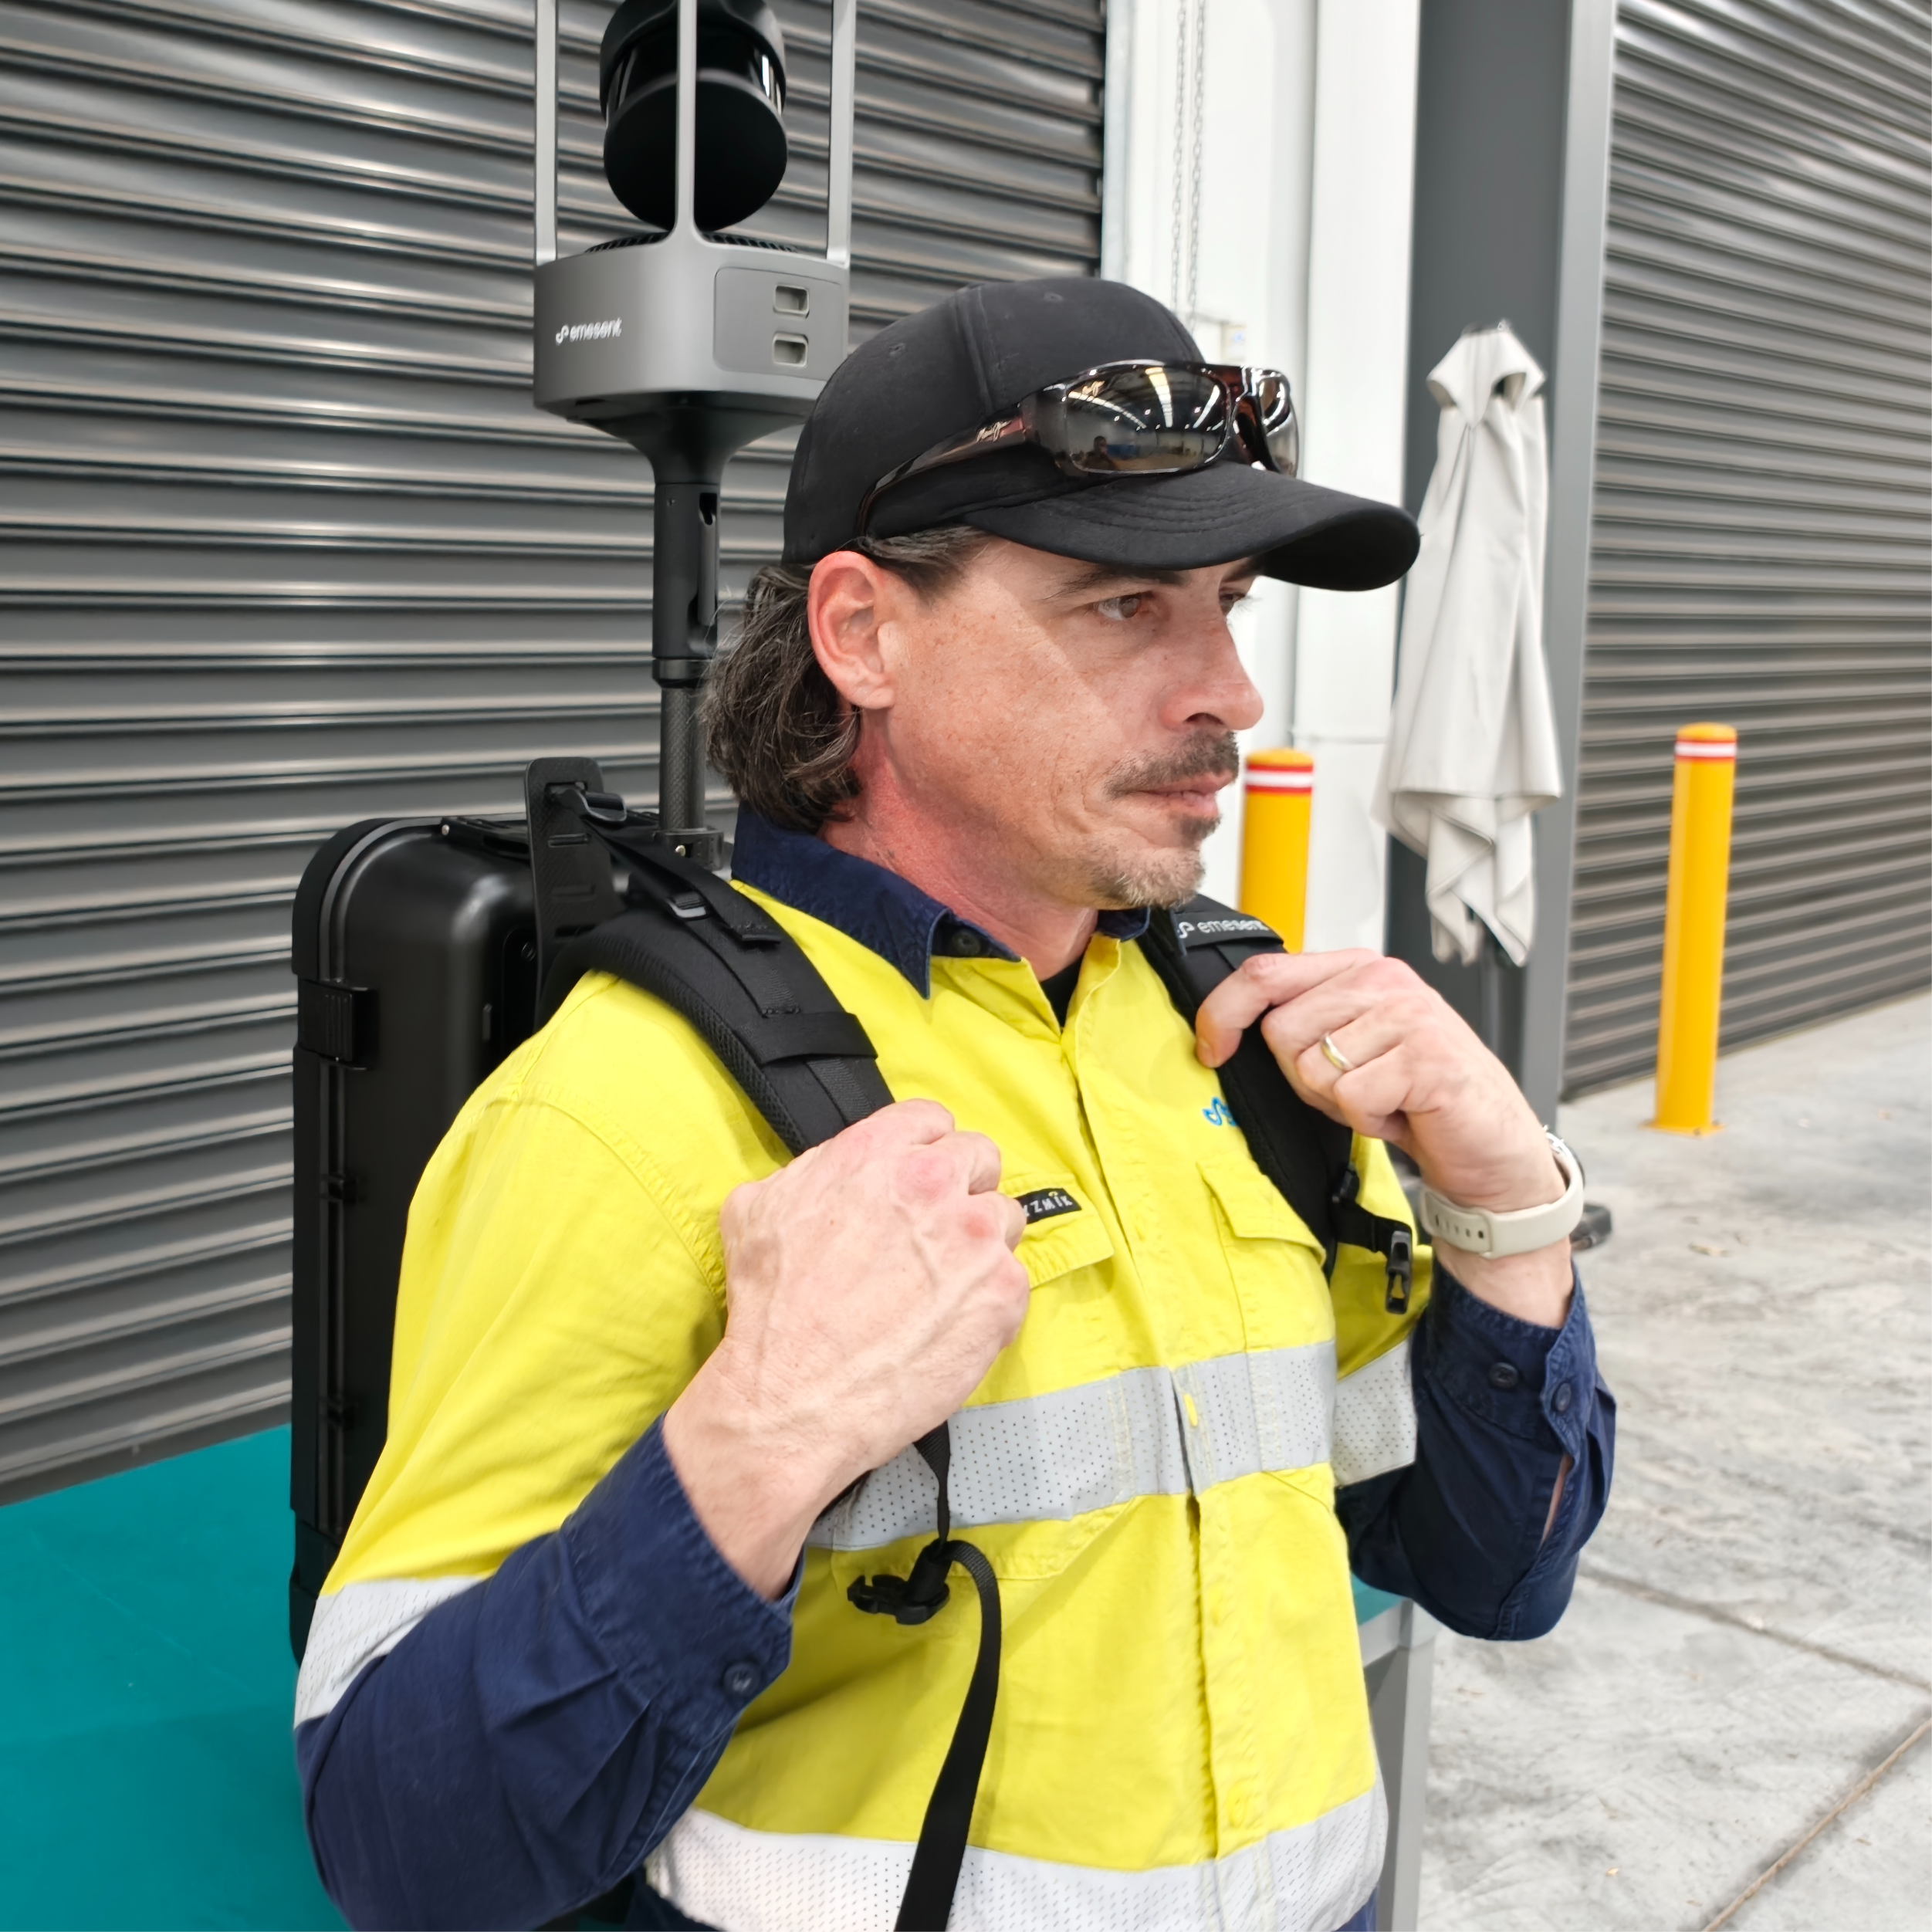
Step 7: Put on the Backpack Harness
Maintain control of the Backpack Harness and the GX1 at all times to prevent tipping or sudden movement.
Stand close to the Backpack Harness, facing away from it.
Reach back and insert one arm into a Shoulder Strap, then the other.
Grasp both Shoulder Straps firmly and lift the Backpack Harness onto the back in a smooth, controlled motion.
|
|
|
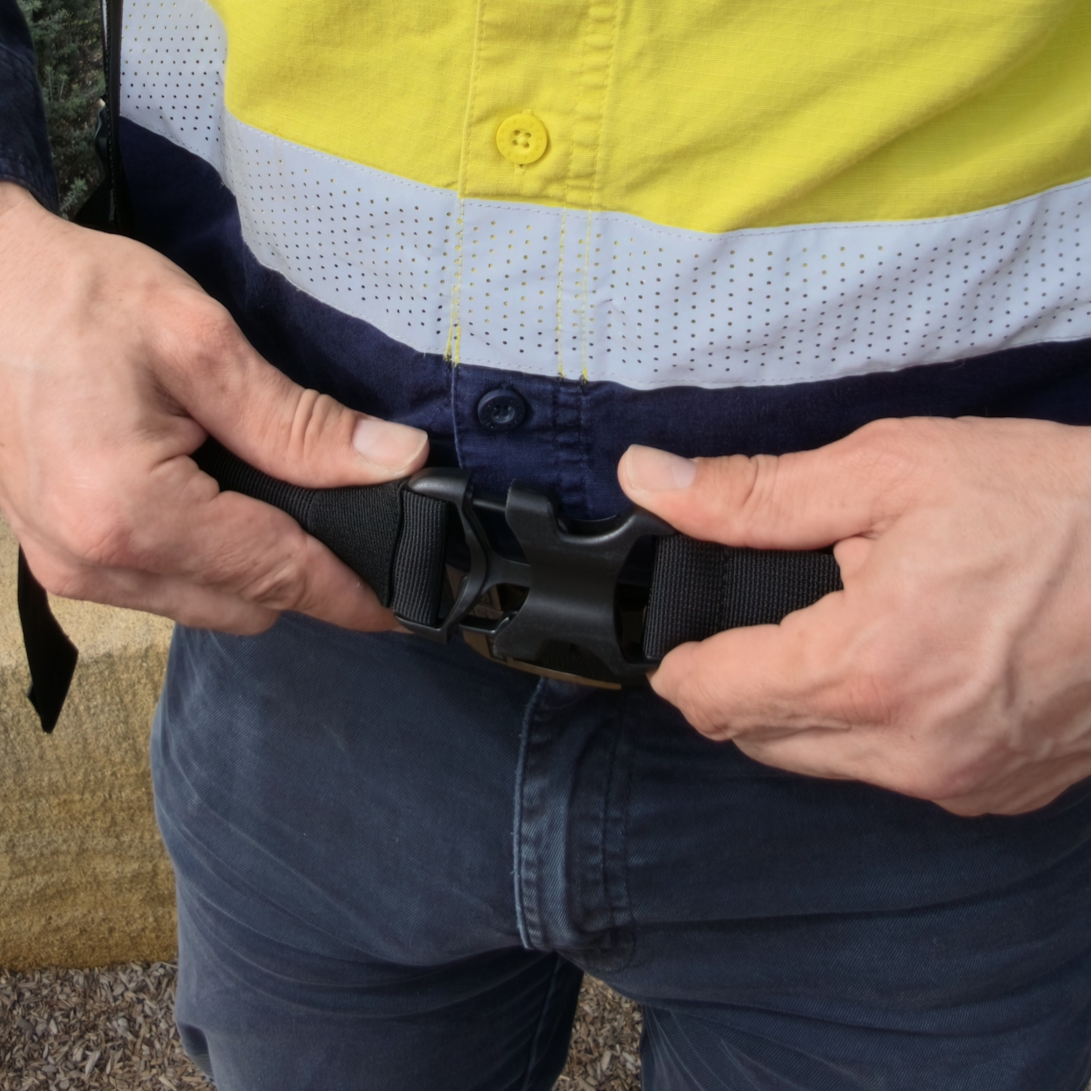
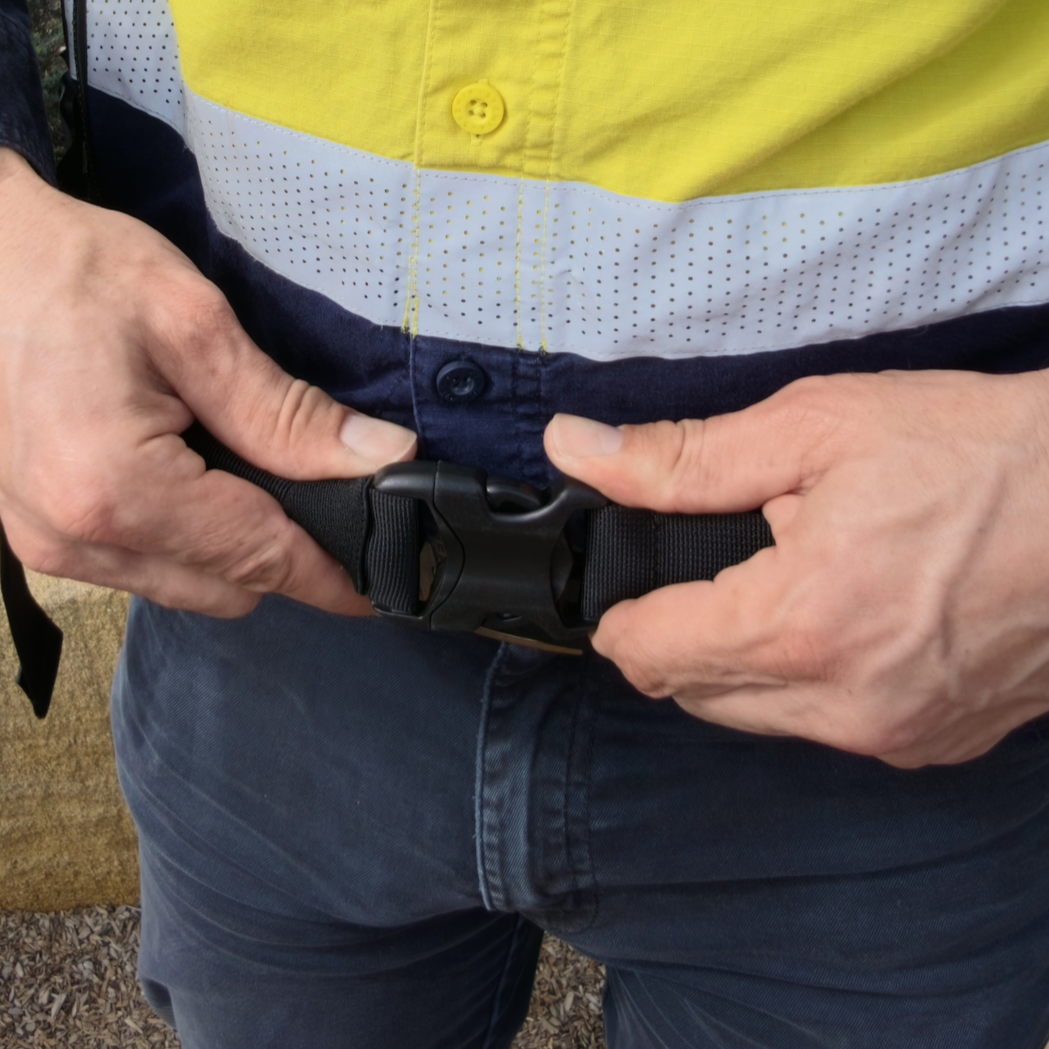
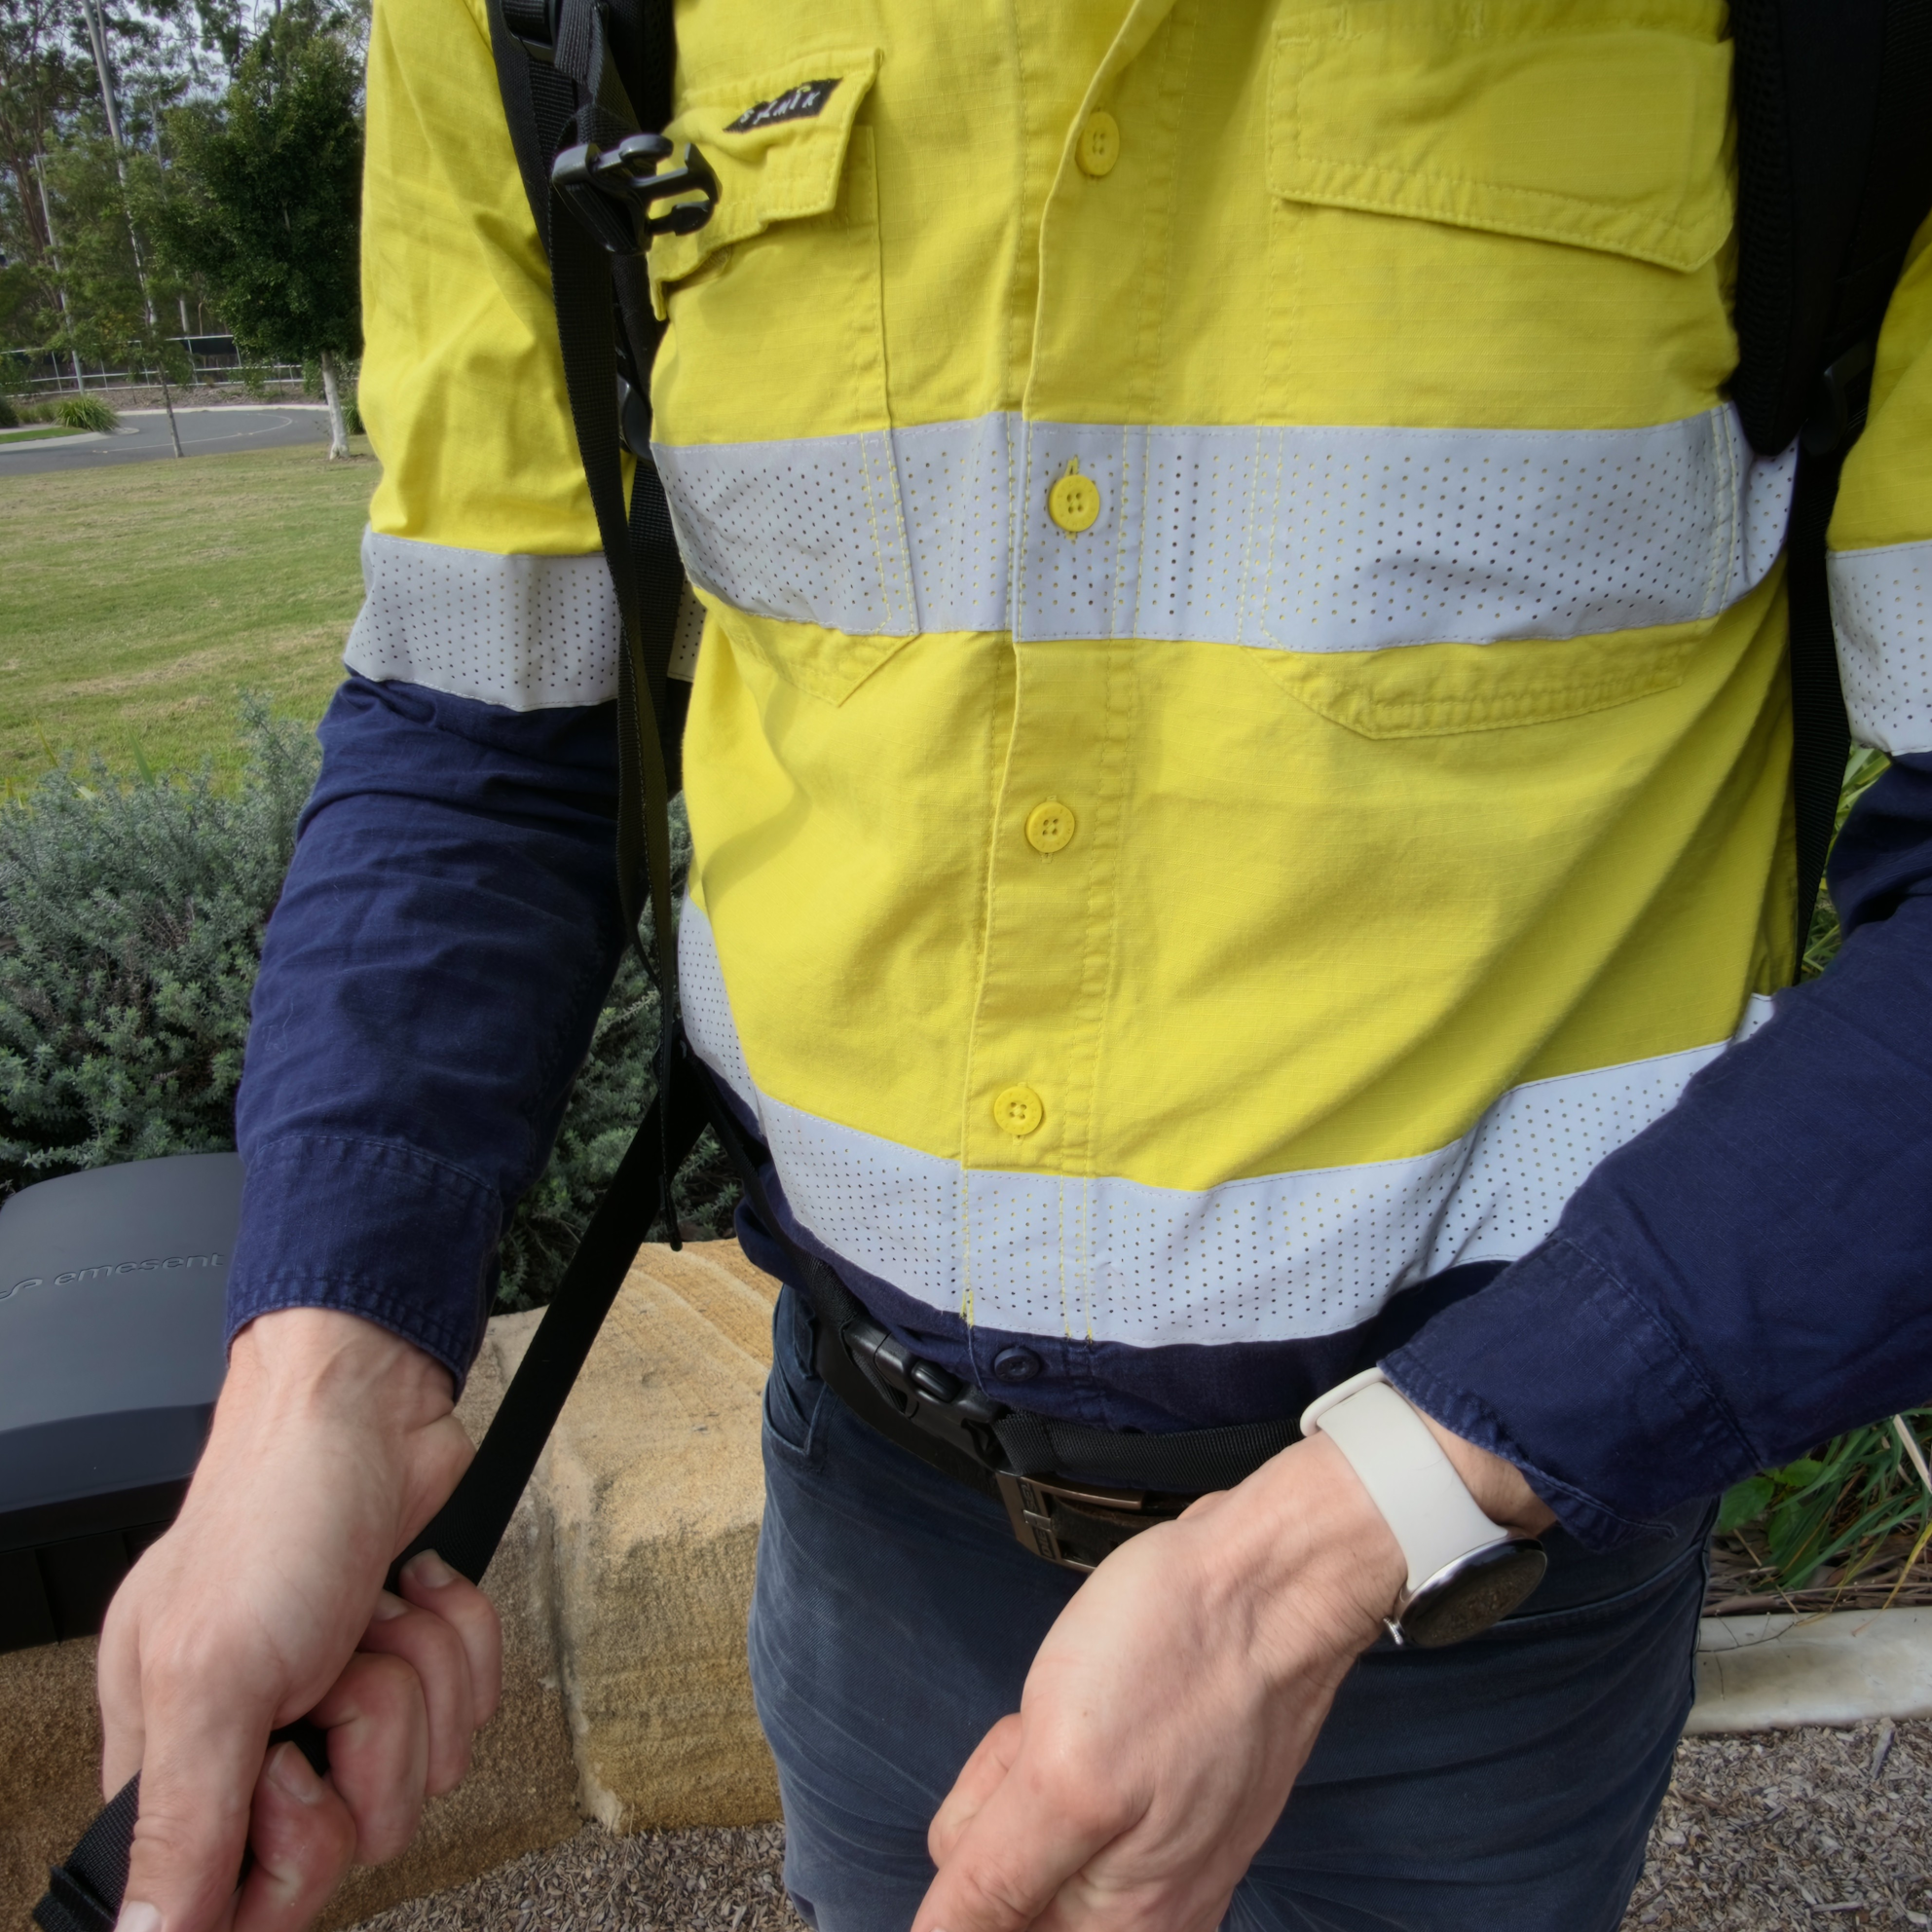
Step 8: Clip and tighten the Hip Belt
Clip the Hip Belt buckle and tighten it so the Hip Belt sits securely around the hips and supports the load.
|
|
|
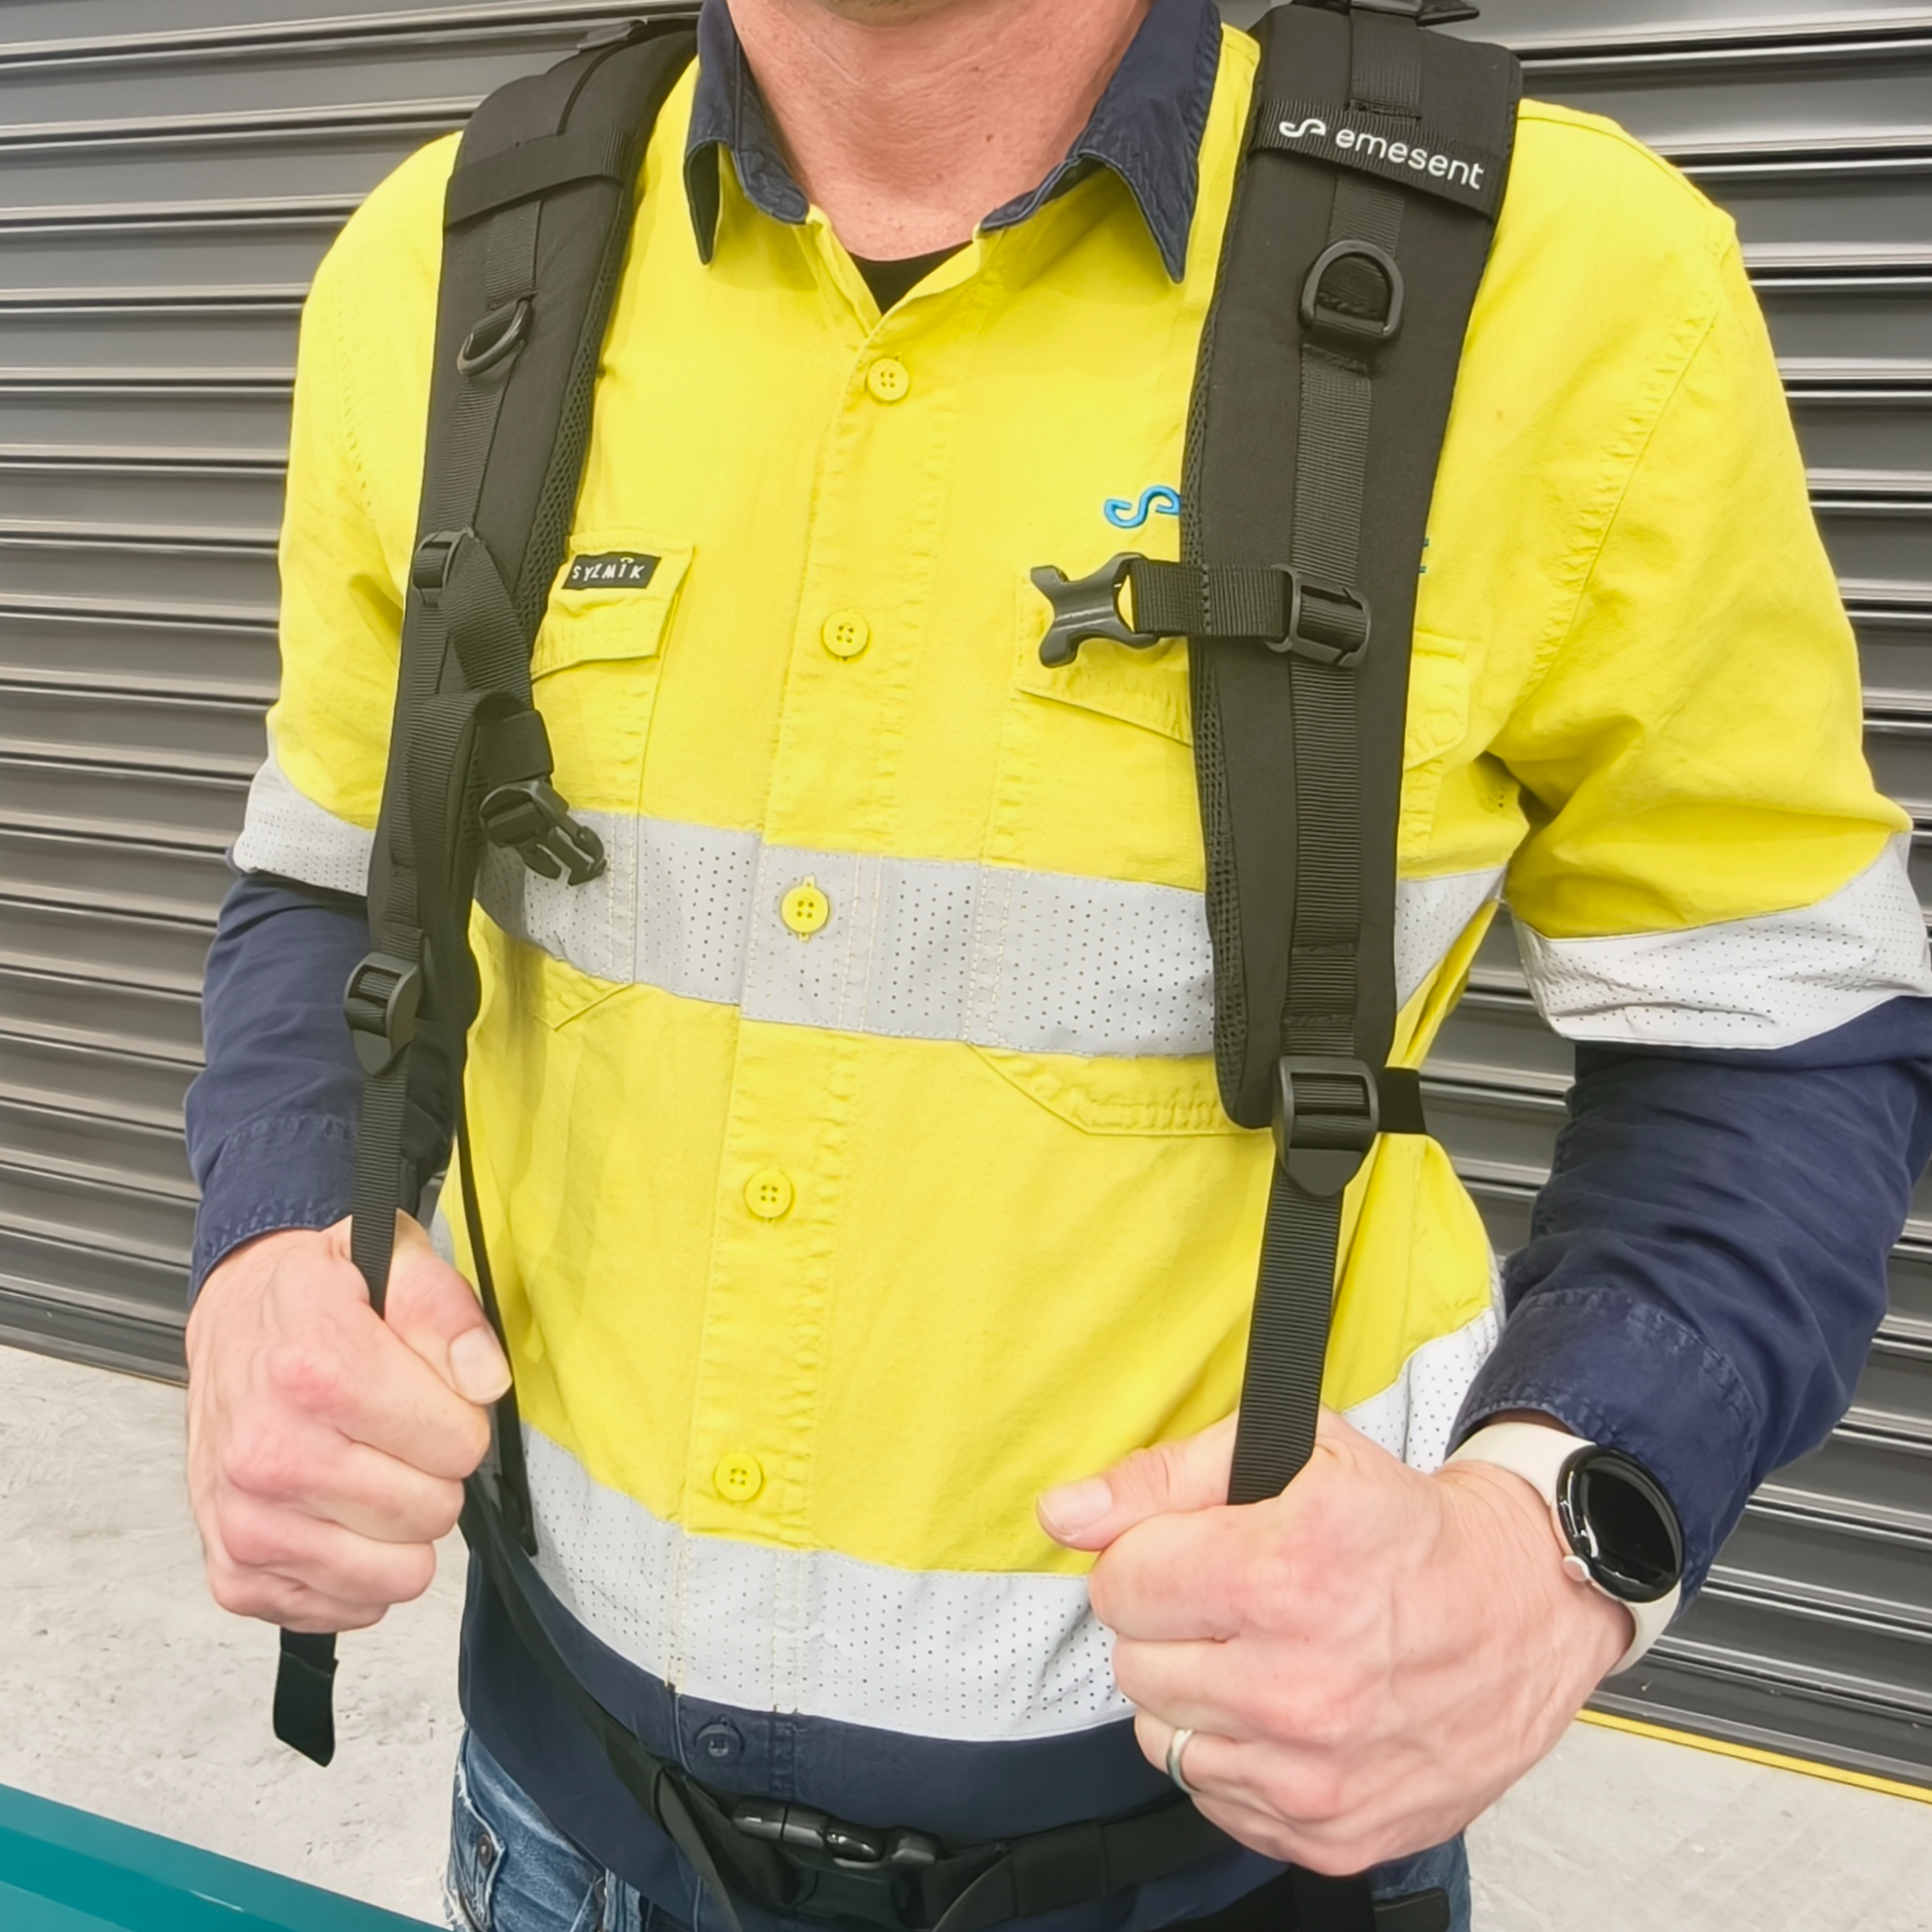
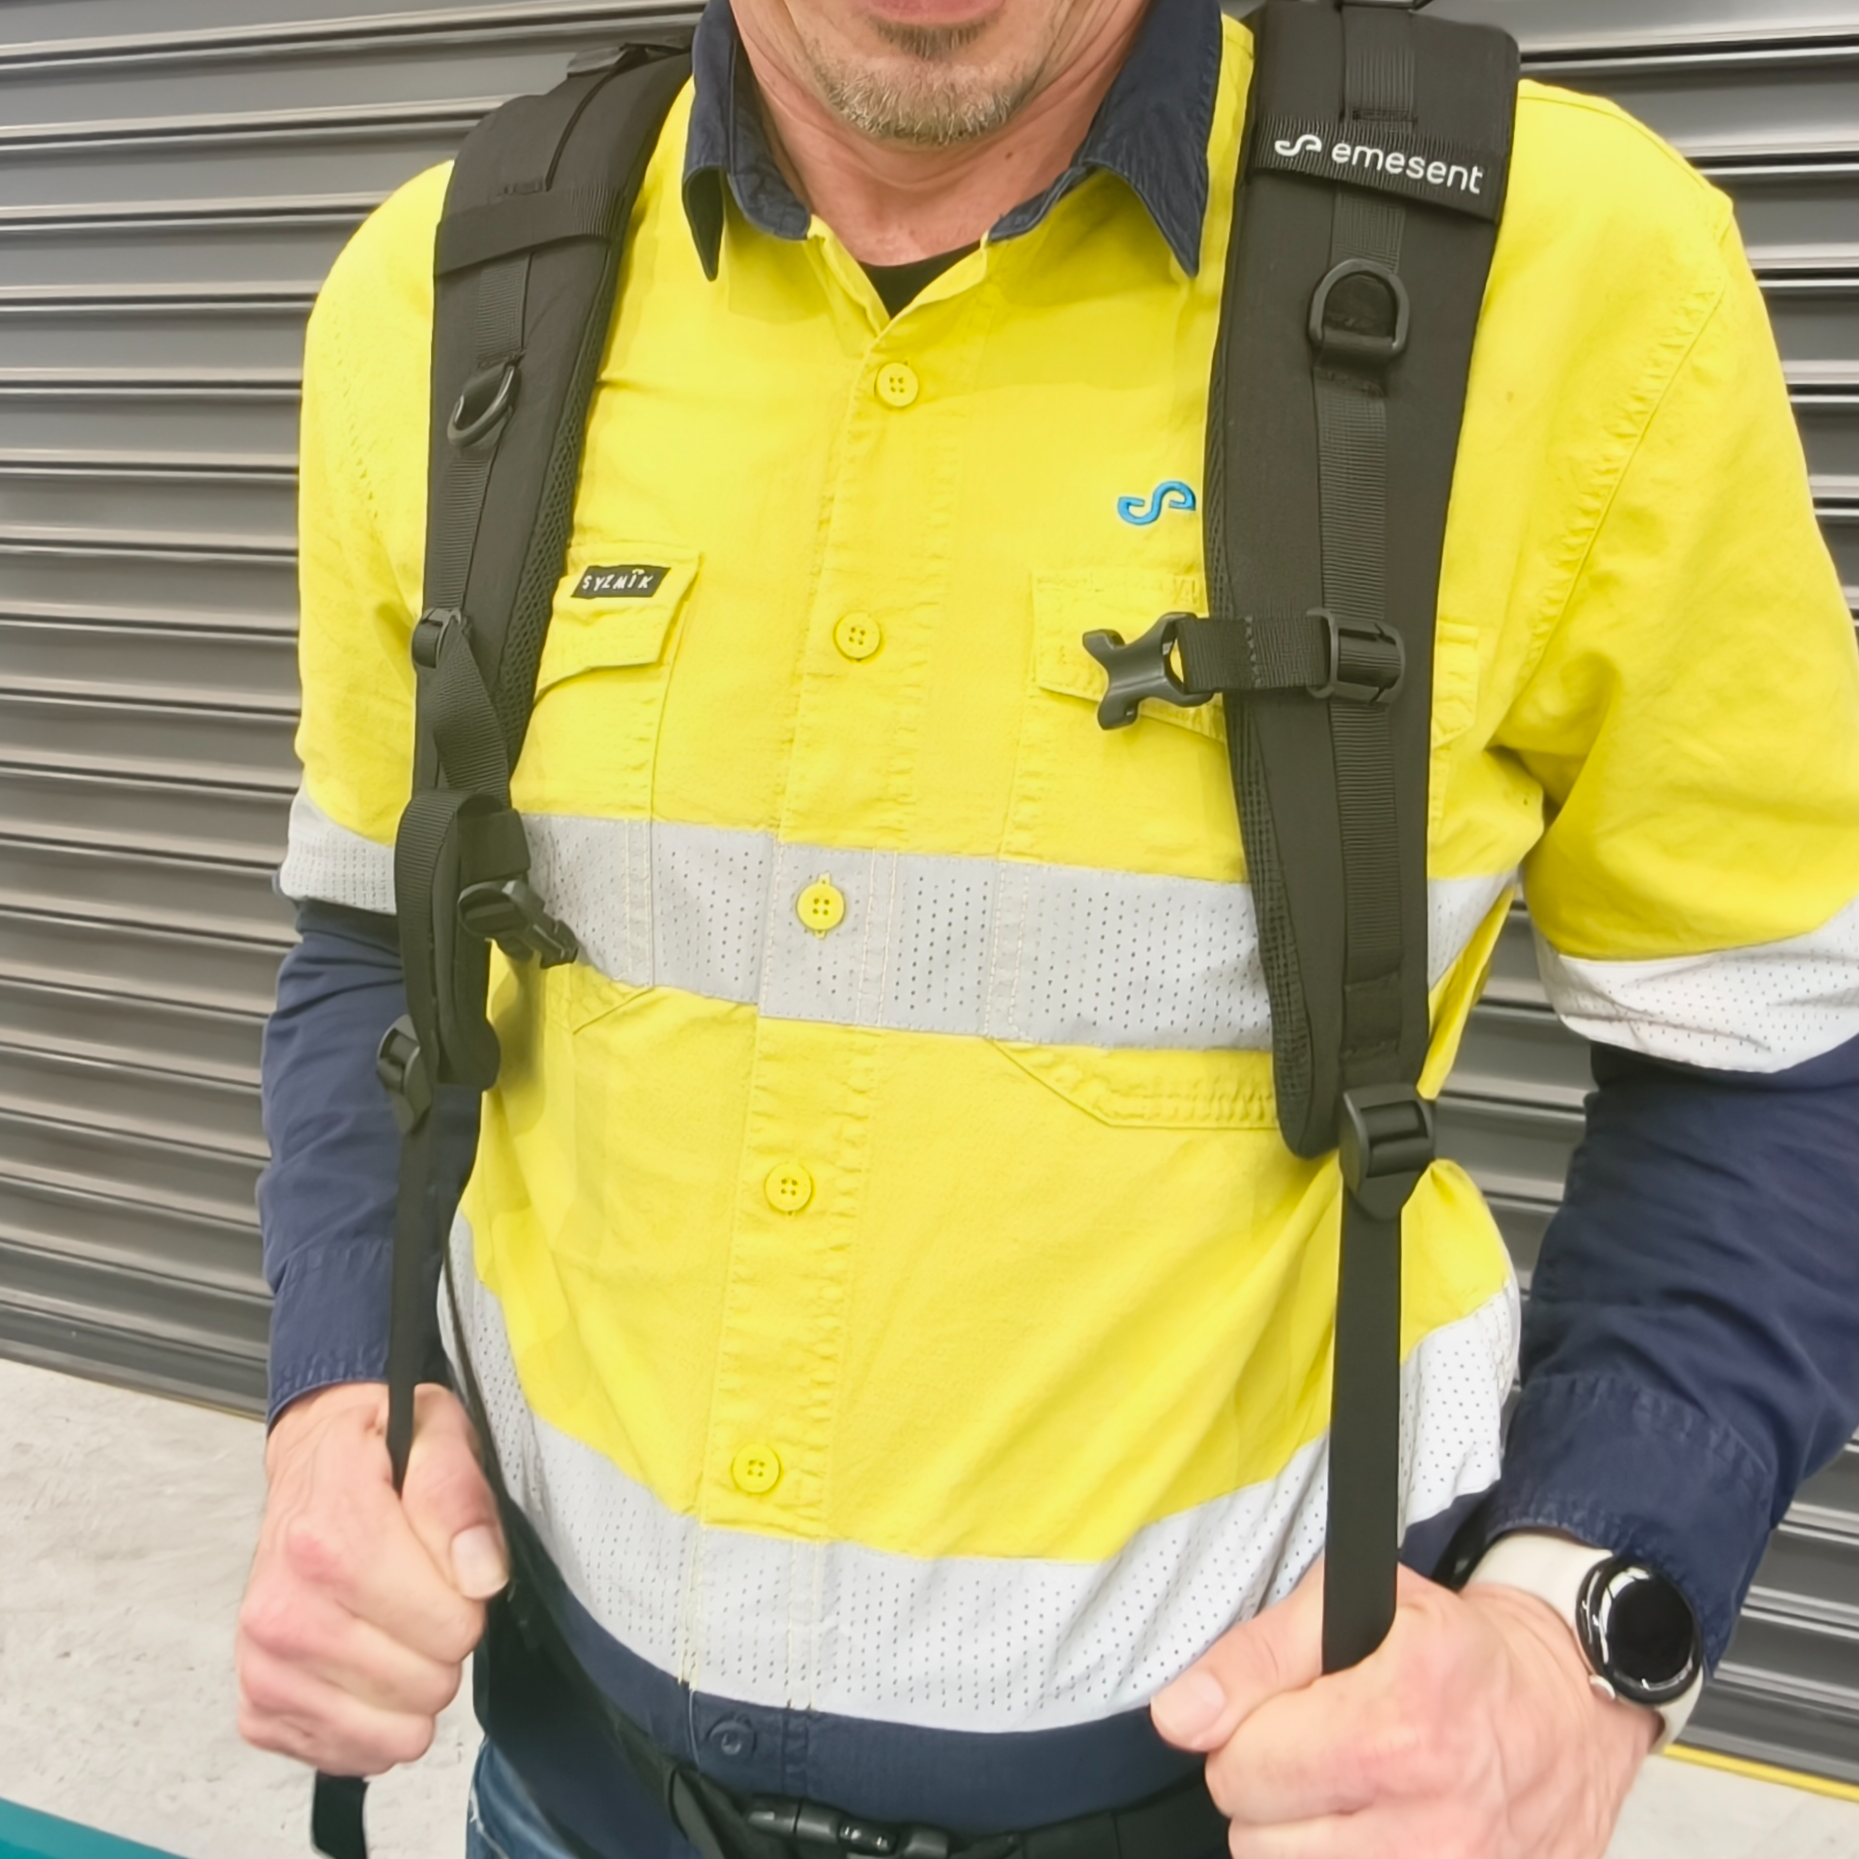
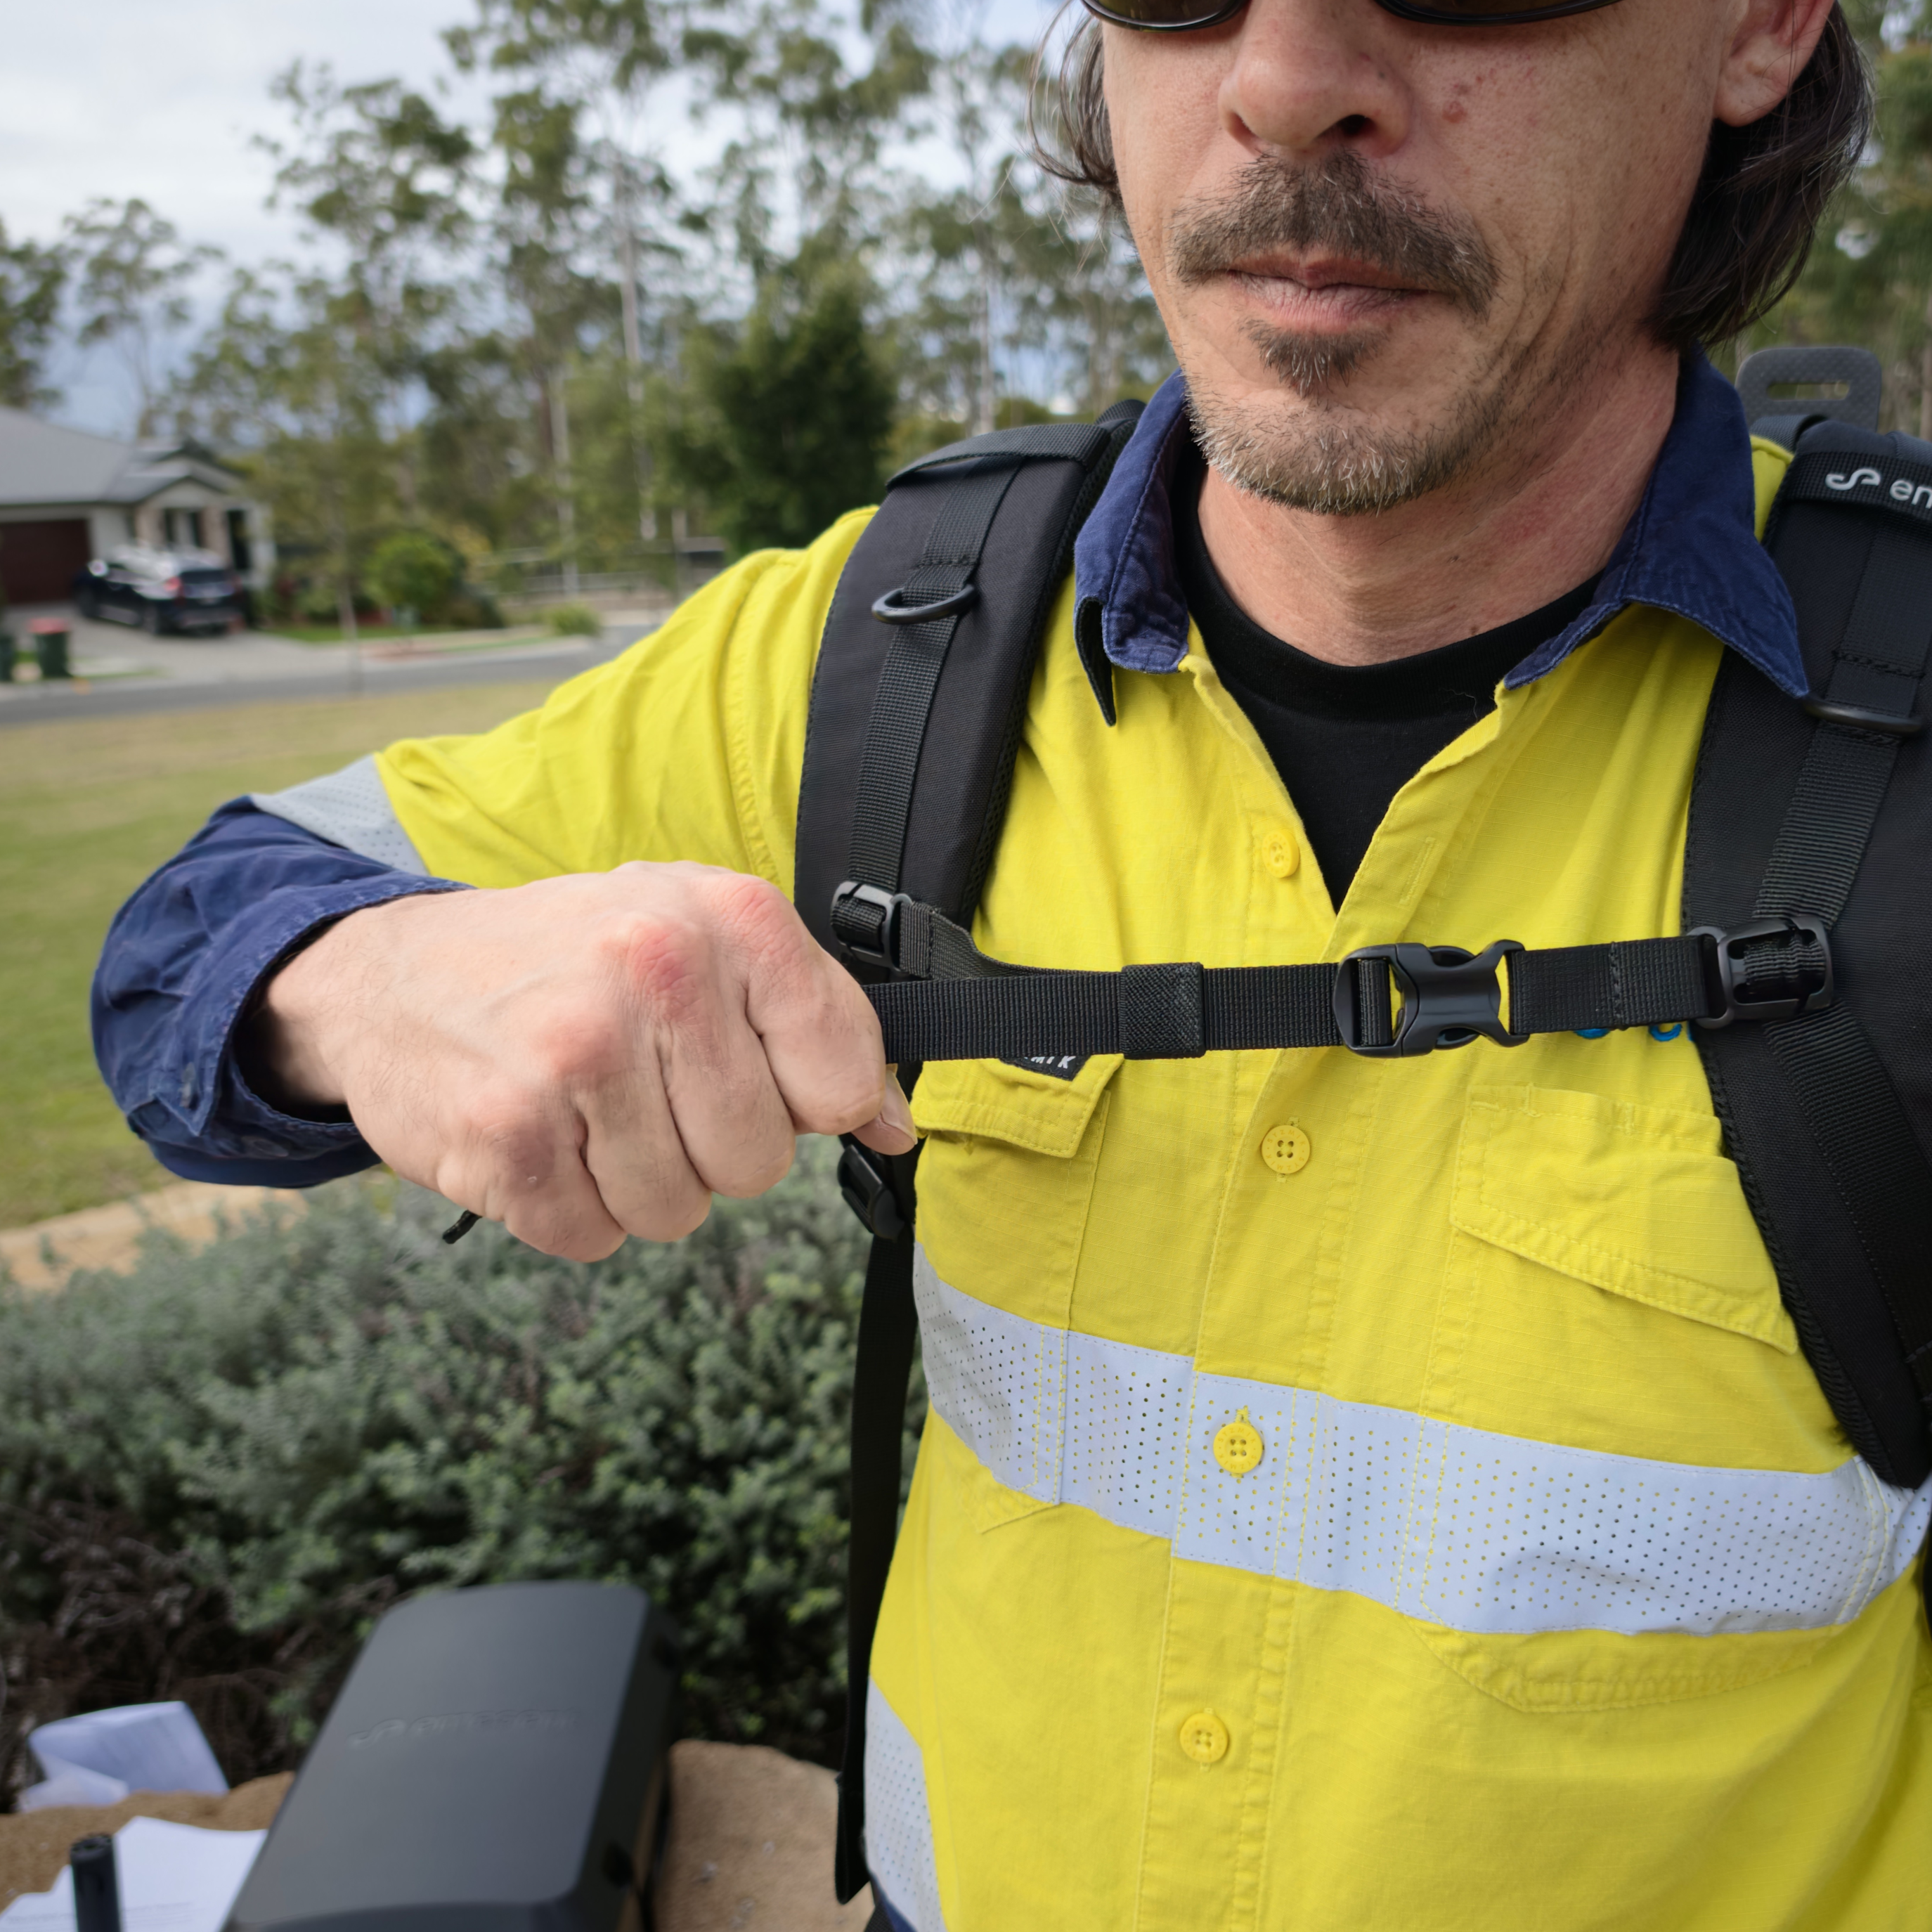
Step 9: Tighten the Shoulder Straps
Pull the Shoulder Straps evenly on both sides until they rest snugly on the shoulders, without lifting the load from the hips.
|
|
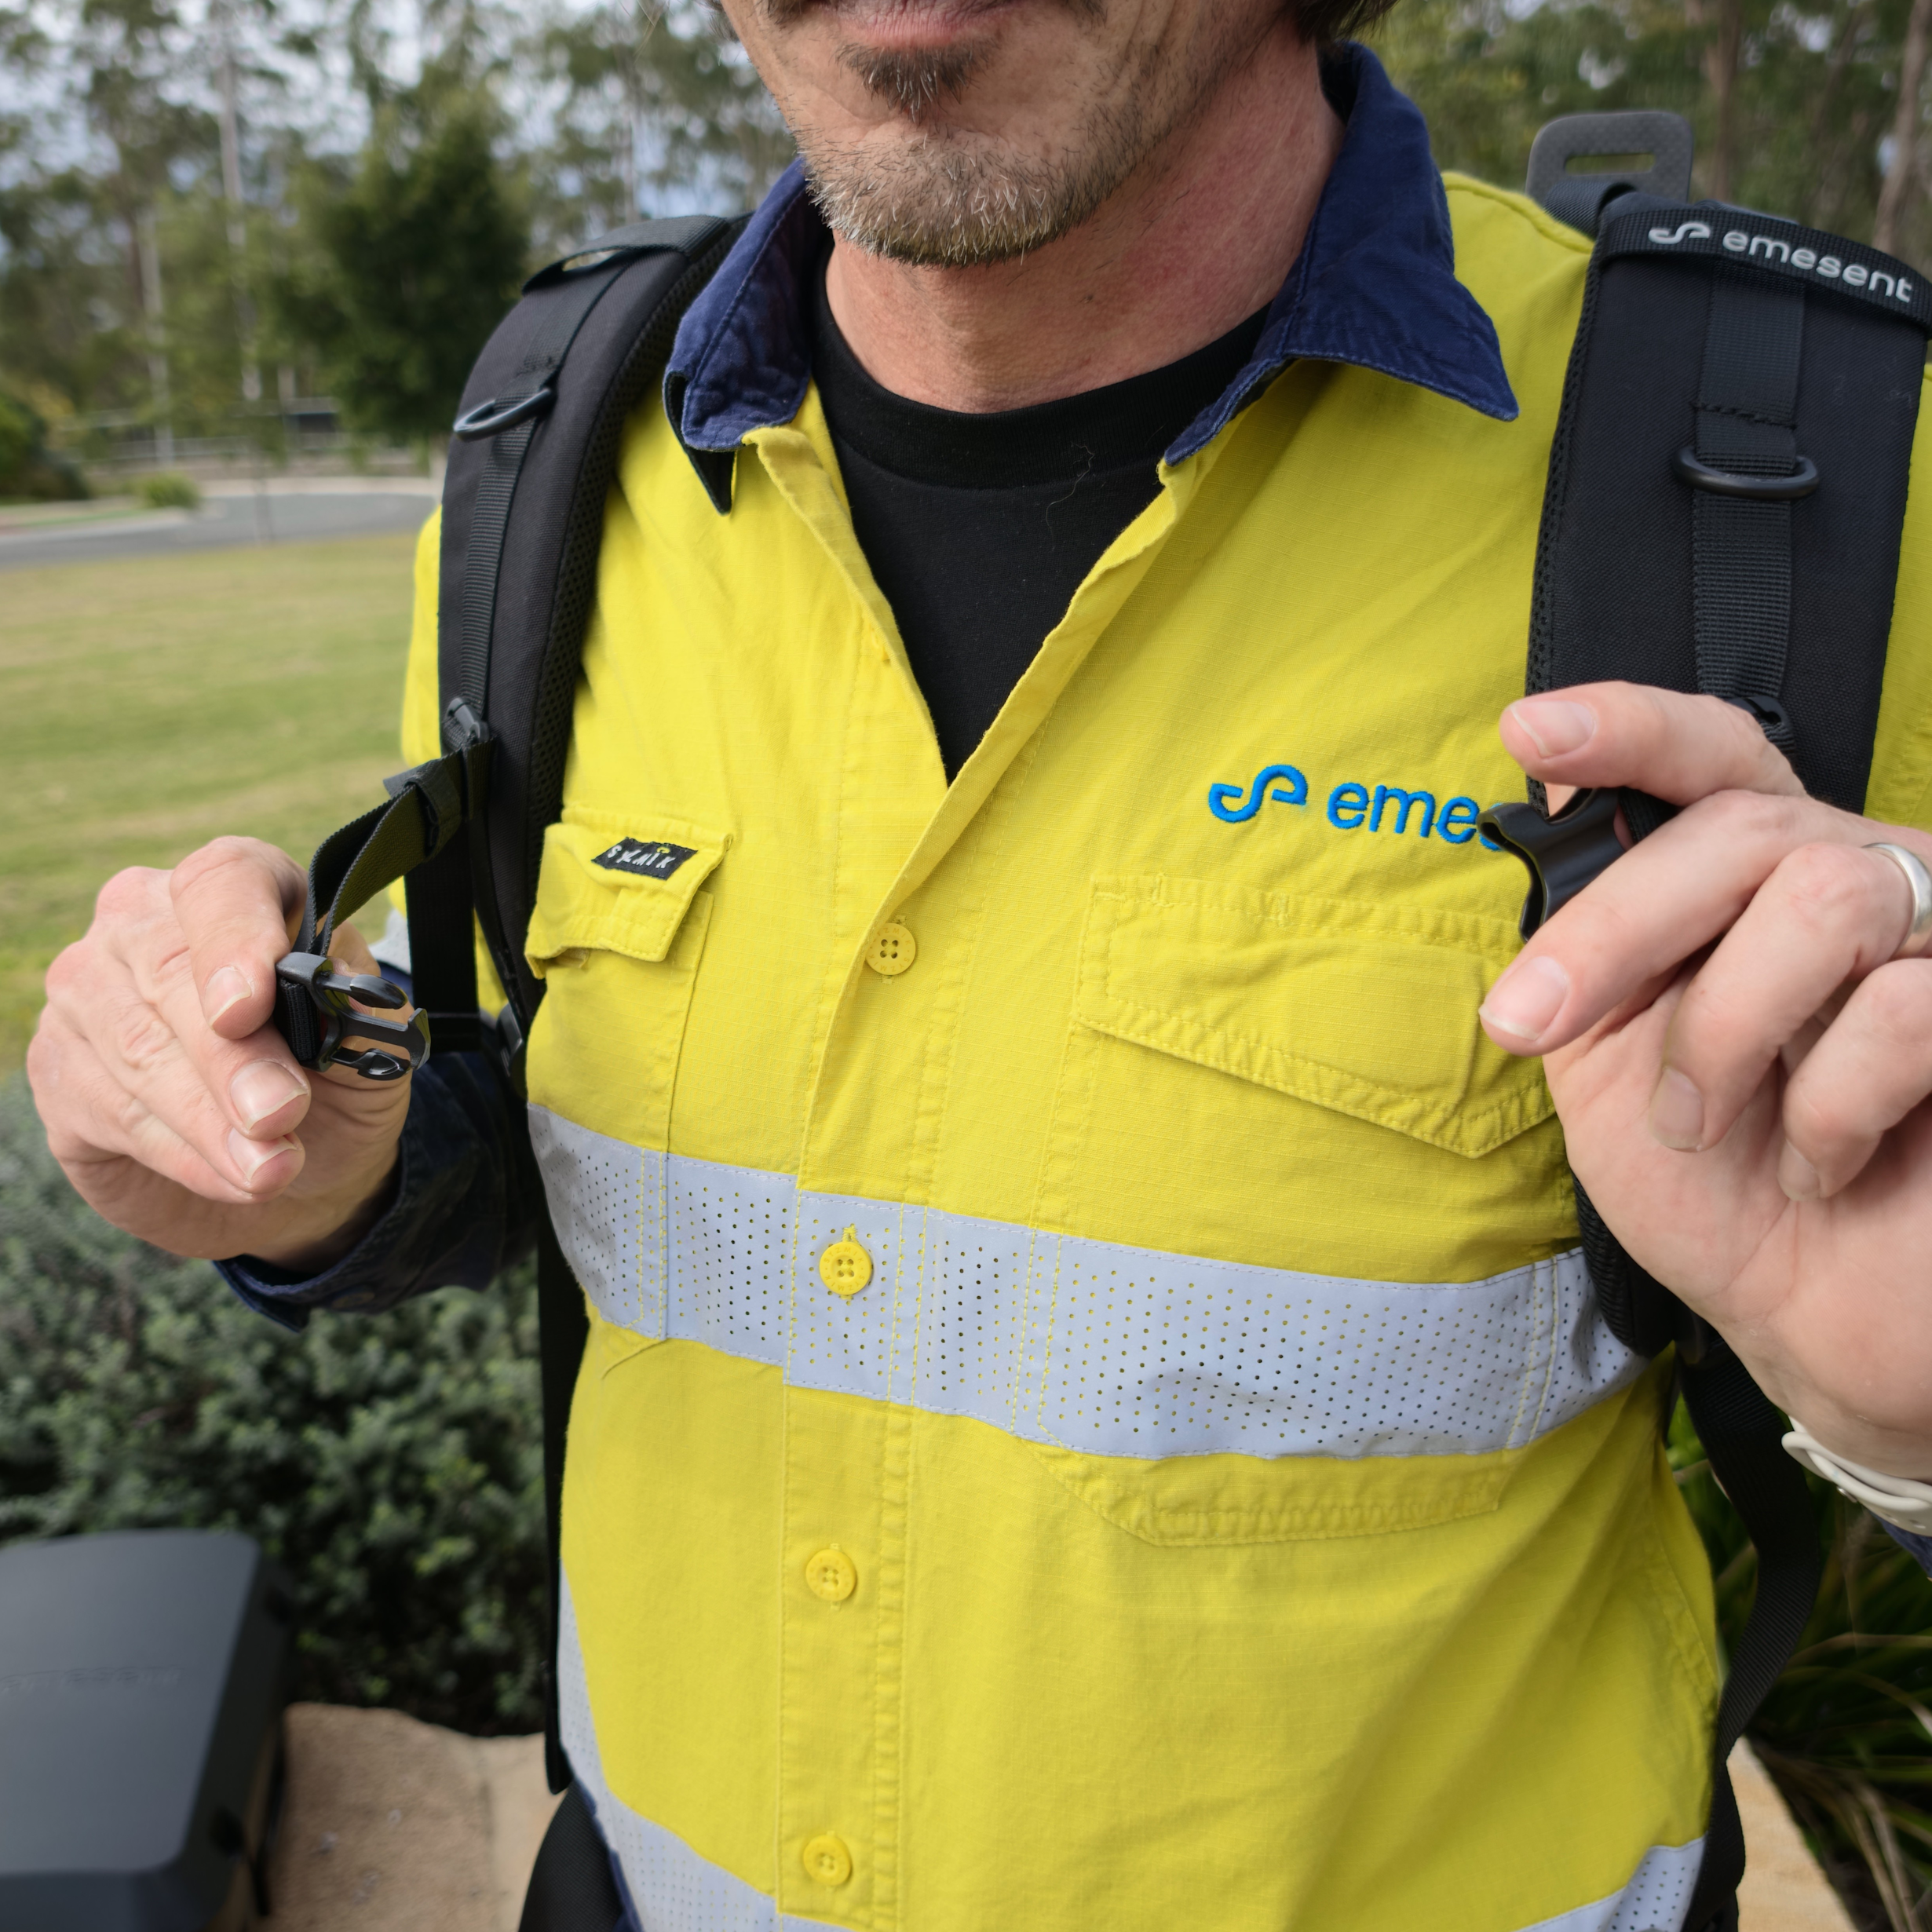
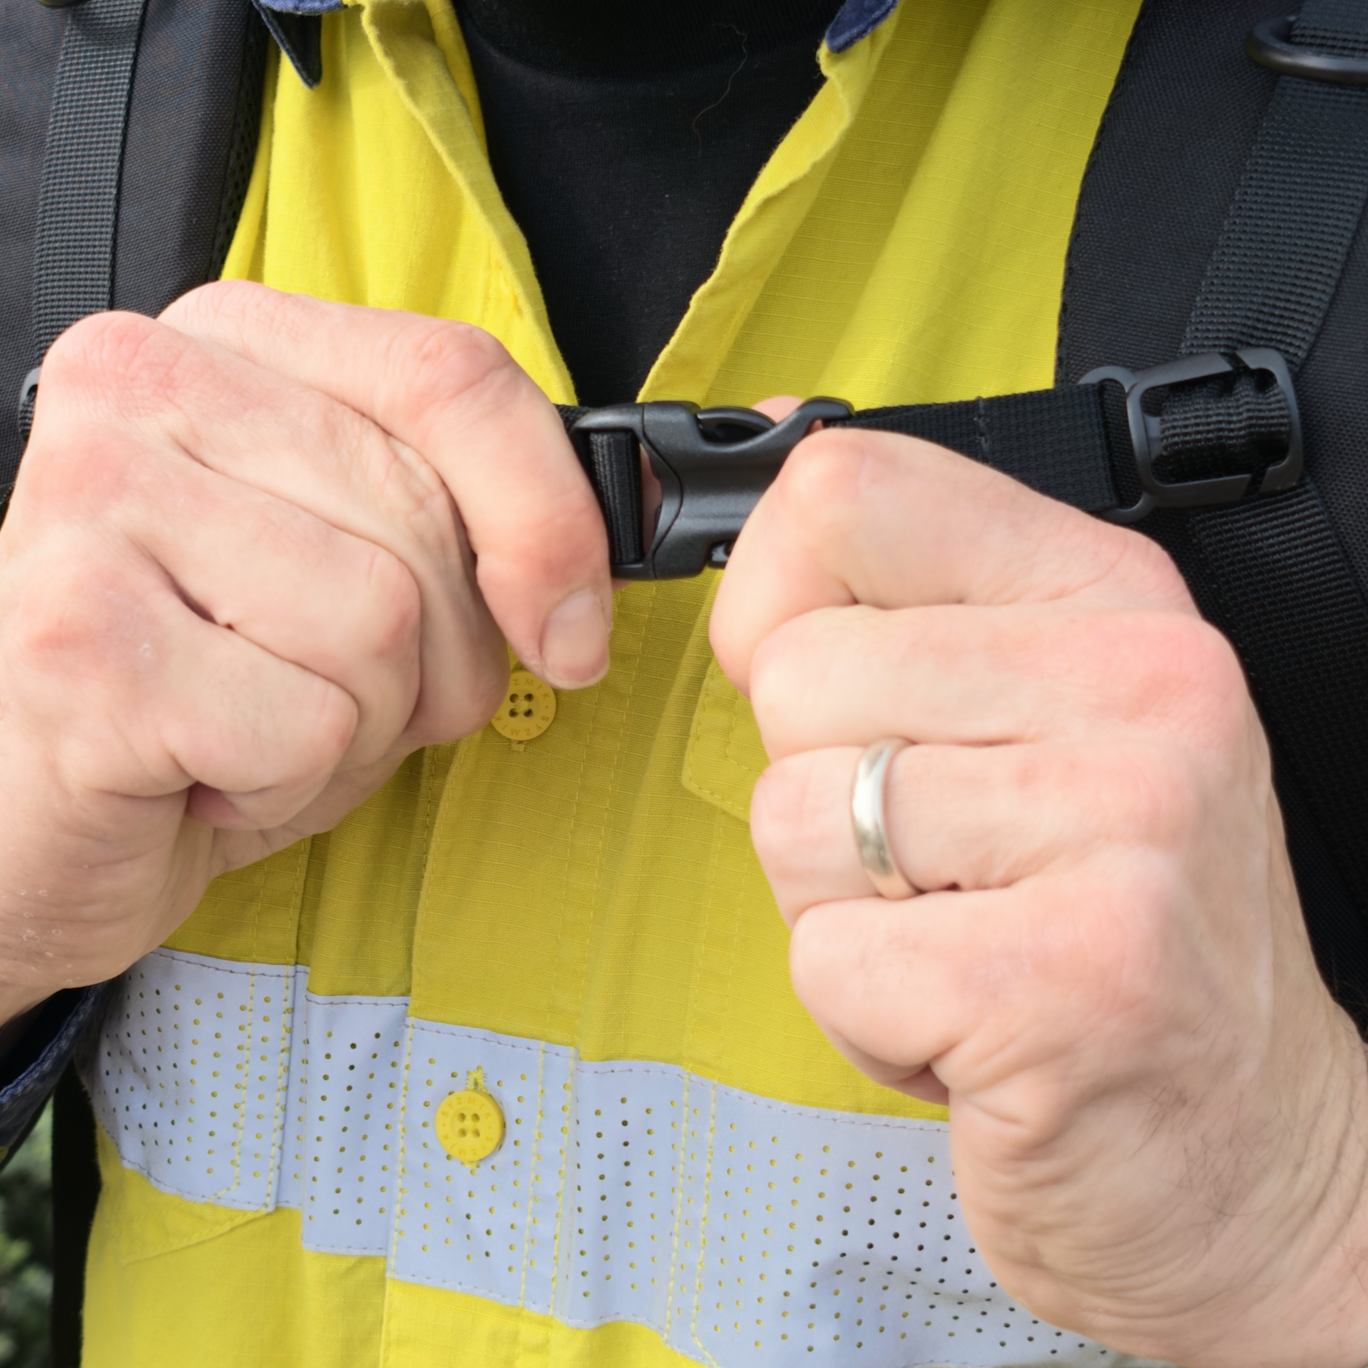
Step 10: Clip and adjust the Sternum Strap
Clip the Sternum Strap and adjust it to a comfortable height across the chest.
Tighten the Sternum Strap until the Shoulder Straps are stabilised.
|
|
|
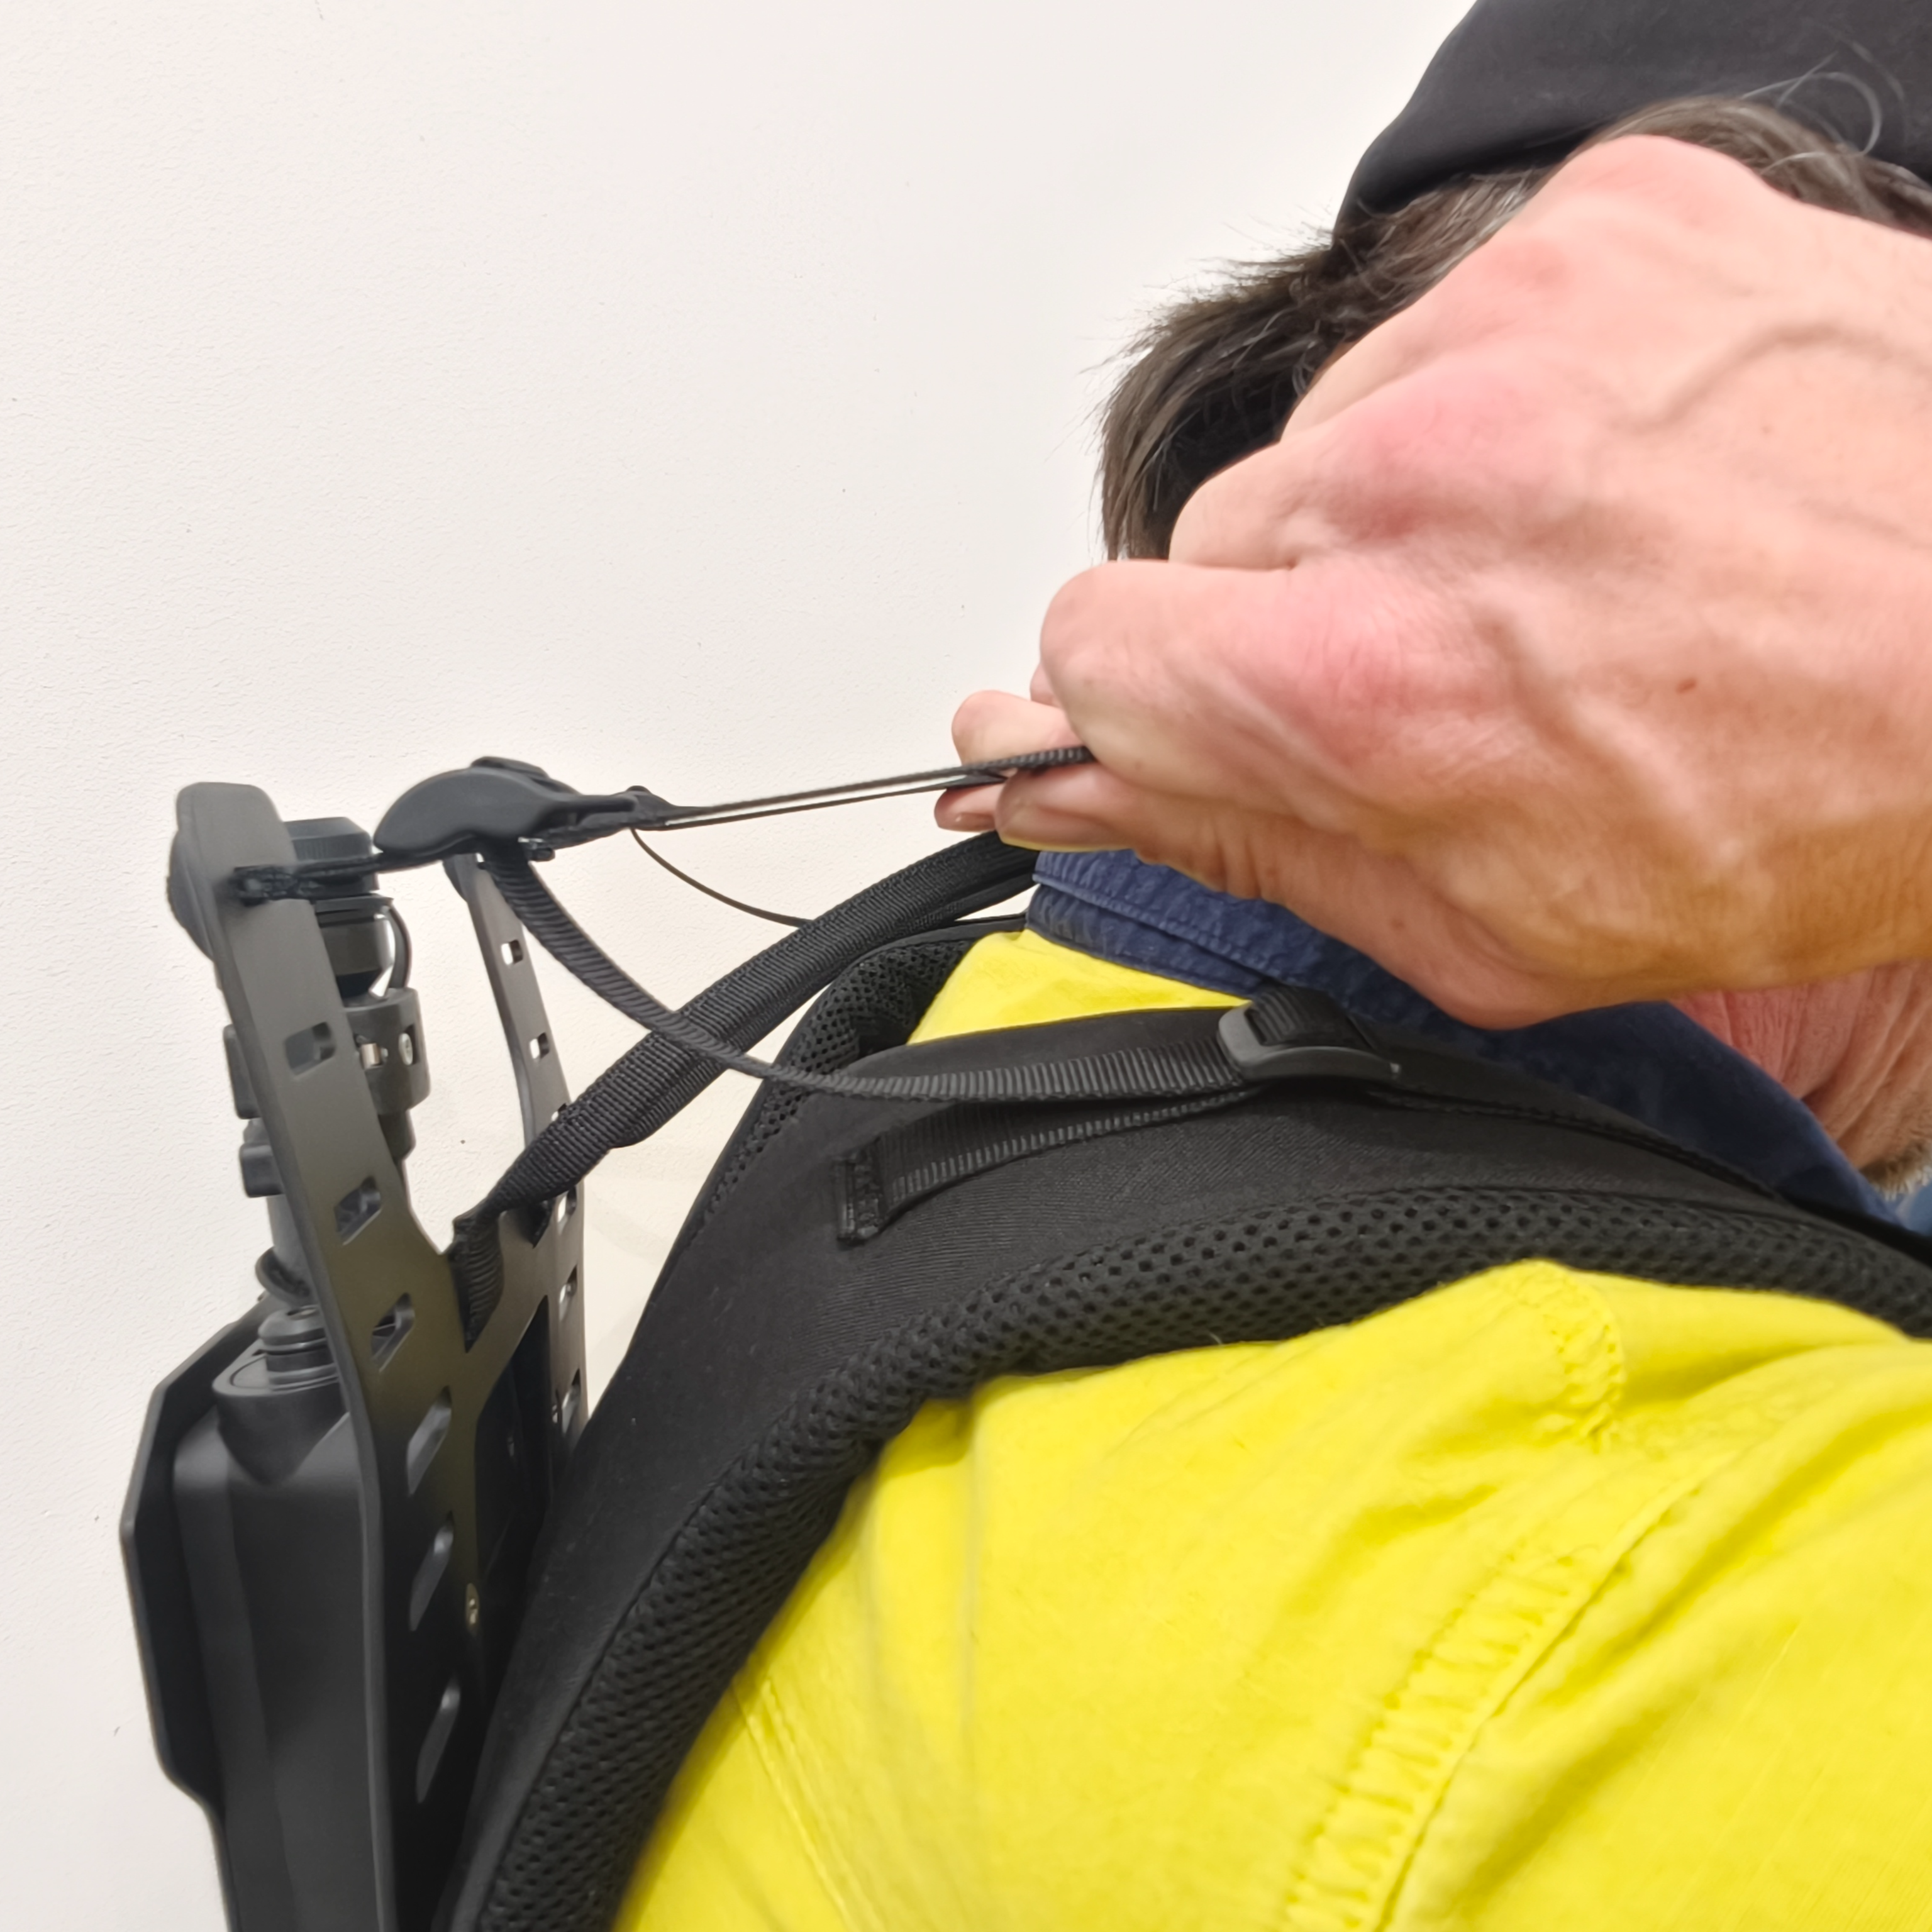
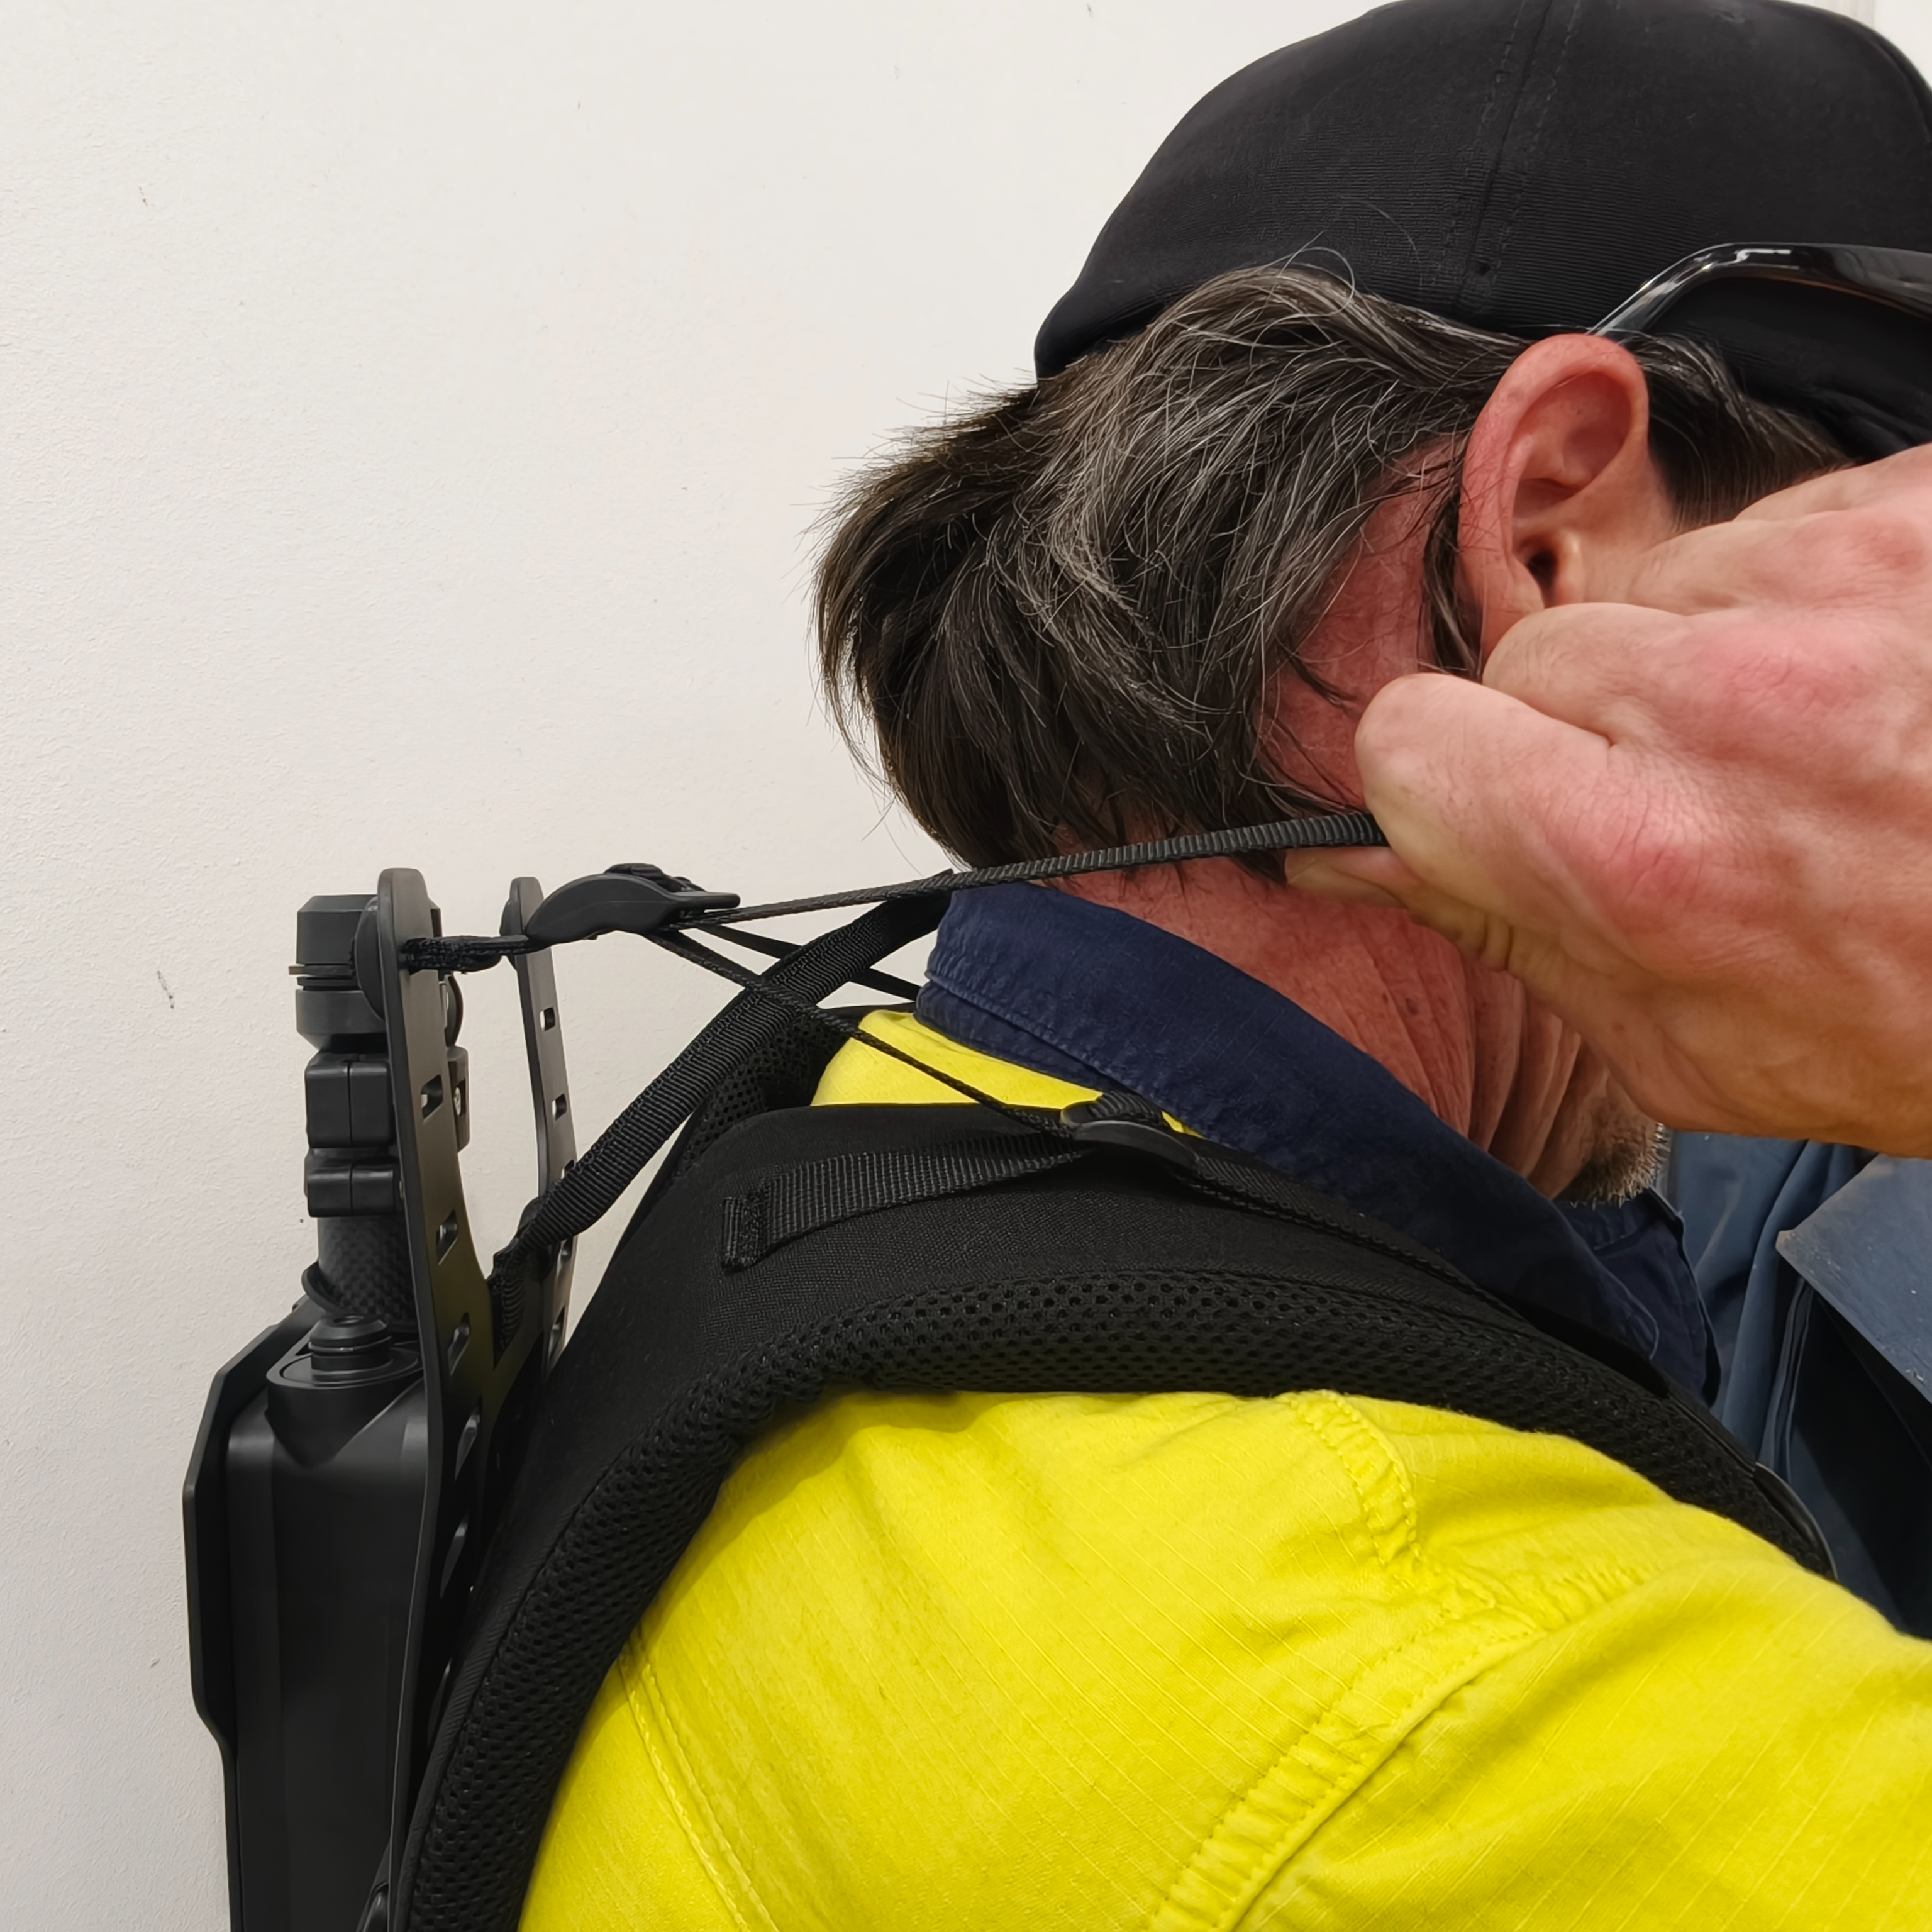
Step 11: Tension the load lifters
Tension the load lifters to draw the Backpack Harness toward the upper back. The angle between the Shoulder Straps and the Harness Frame should be 45° to 60°.
Make final small adjustments to all straps so the load feels stable and balanced.
|
|
When the straps are tightened correctly, the Backpack Harness feels secure and balanced, with most of the load supported by the hips. It sits close to the body without pulling away or creating pressure points on the shoulders.
Do not overtighten the straps. Excessive tension can cause discomfort, restrict movement, and reduce effective load support.
Outcome
The GX1 is fitted to the Backpack Harness, the Backpack Harness is worn by the operator, and the system is ready to power on. See Power GX1 on and off, Connect GX1 to Commander, and Start a GX1 scan in Commander.
Additional information
Pole height and fit affect operator safety. Review the following before scanning:
Head and helmet clearance under the chosen pole height.
Hair and loose-item entanglement with the rotating LiDAR Sensor.
Balance, as a higher GX1 raises the centre of gravity.
Load strain from a poor fit.
See Warnings and safety.