
This article explains how to add an NTRIP profile in Commander. Use this procedure to create an NTRIP profile that can be selected when starting a scan, to enable RTK corrections for accurate georeferencing during scan processing.
Mobile data on the GX1 is used only for retrieving RTK corrections through NTRIP. The GX1 does not send any other data over the mobile connection. See GX1 network interfaces for the full network interface reference.
If a stable correction link during the scan is not possible, PPK georeferencing is an alternative. See Understanding PPK Georeferencing for more information.
What you will need
A GX1 Scanner.
Commander installed on a supported device.
A SIM card inserted and configured in the GX1 Scanner.
NTRIP credentials from the correction service provider, including the server address, port, mountpoint, username, and password.
Procedure
An NTRIP profile can also be added during the Mapping Mission workflow as part of scan setup. See Start a GX1 scan in Commander.
Step 1: Open Scanner Settings
Open Commander and tap Options Menu on the left side of the screen.
Scroll down and tap Scanner Settings.
Check that the Scanner Settings screen is displayed. If it does not appear, see Troubleshooting below.
.png)
Step 2: Create a new NTRIP profile
On the Scanner Settings screen, tap +New under NTRIP Profile.
.png)
Step 3: Enter the correction service details
Enter a name for the profile in the Profile Name field. Choose a name that identifies the correction service.
Enter the following details from the correction service provider:
Field | Description |
|---|---|
Address | The server address of the NTRIP caster. |
Port | The port number of the NTRIP caster. |
Mountpoint | The mountpoint for the correction stream. |
Username | The username provided by the correction service provider. Currently limited to a maximum of 20 characters. |
Password | The password provided by the correction service provider. |
.png)
Step 4: Save and connect
Tap Save and Connect.
.png)
Step 5: Check the profile is saved
Under NTRIP Profile in Scanner Settings, tap the profile selector to view the list of saved profiles and check the new profile appears.
|
|
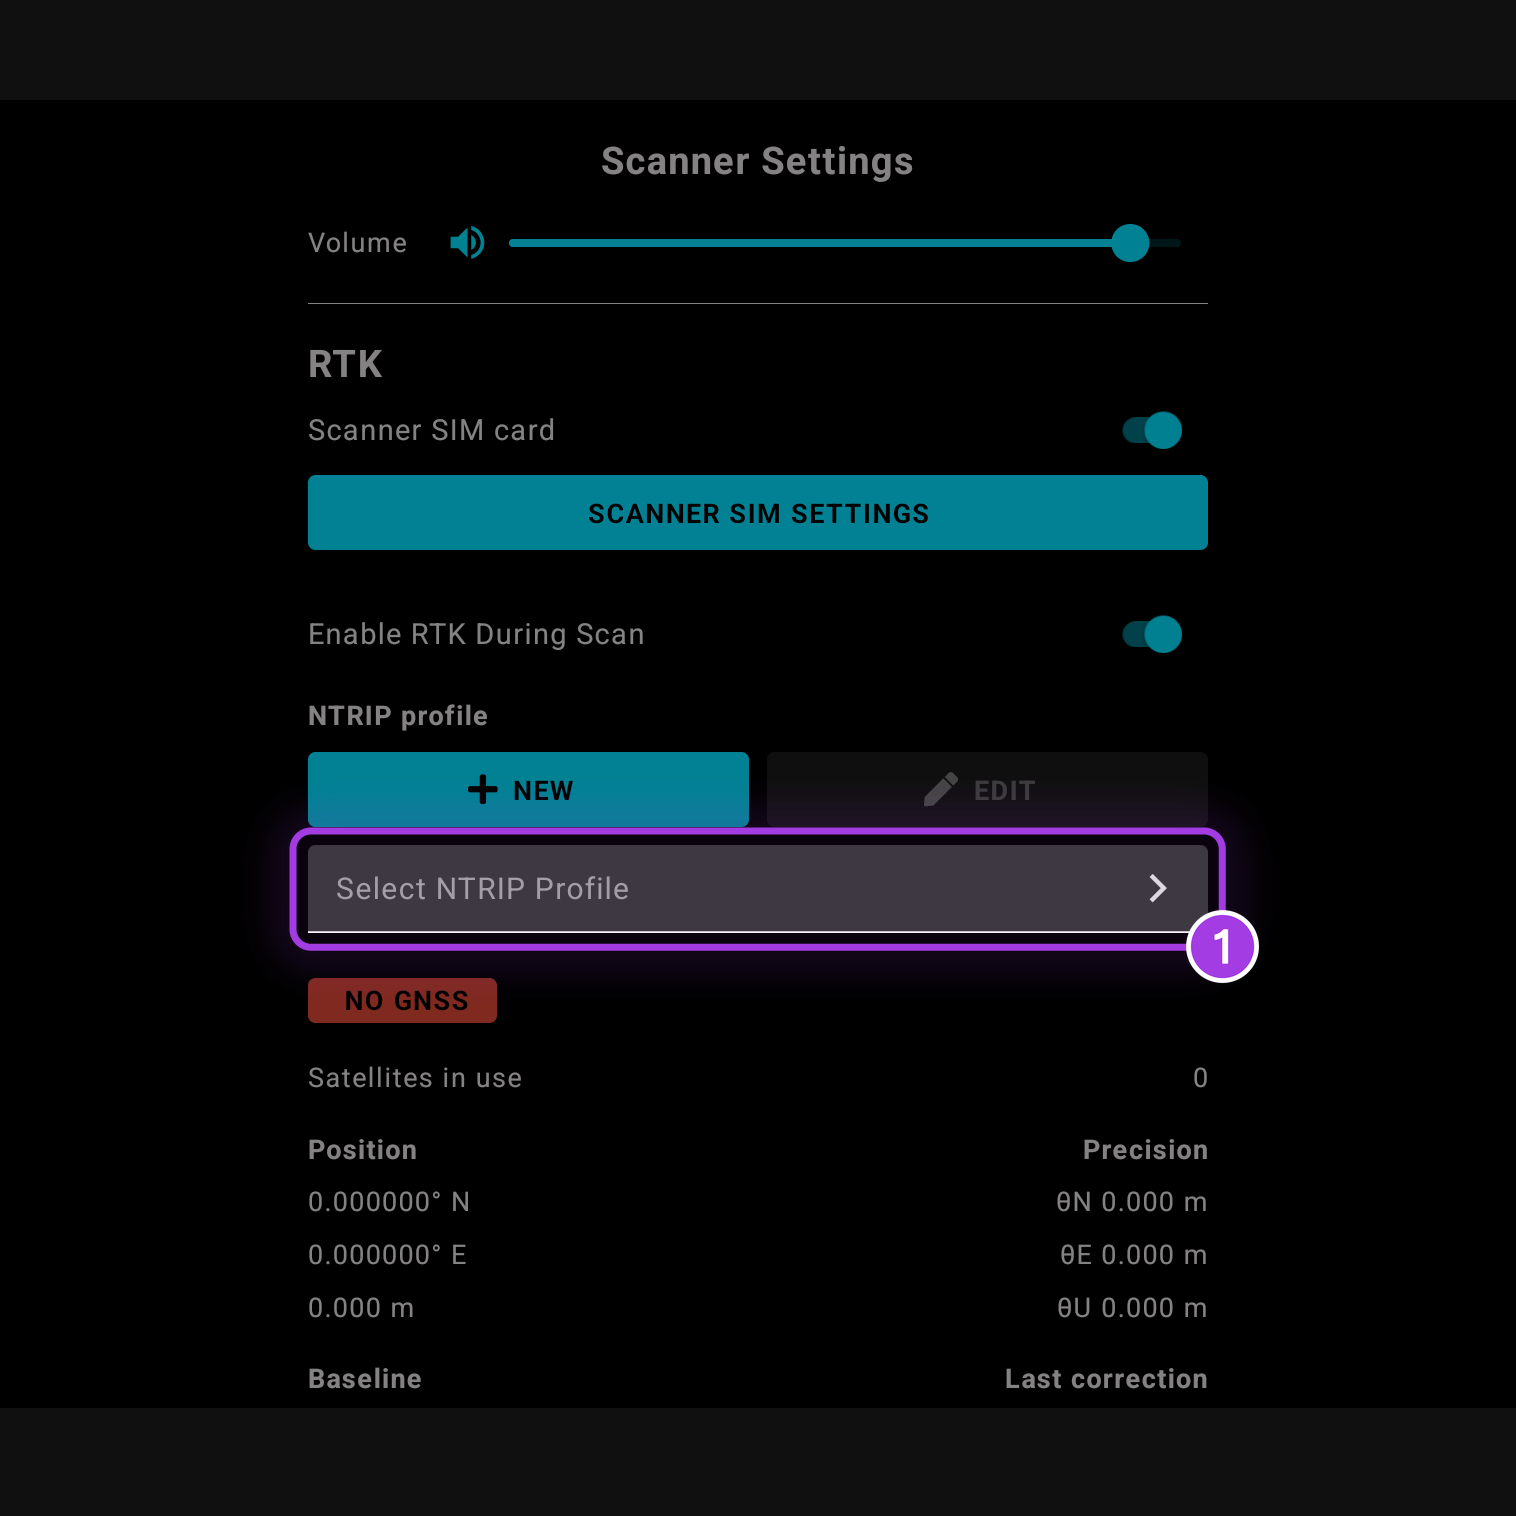
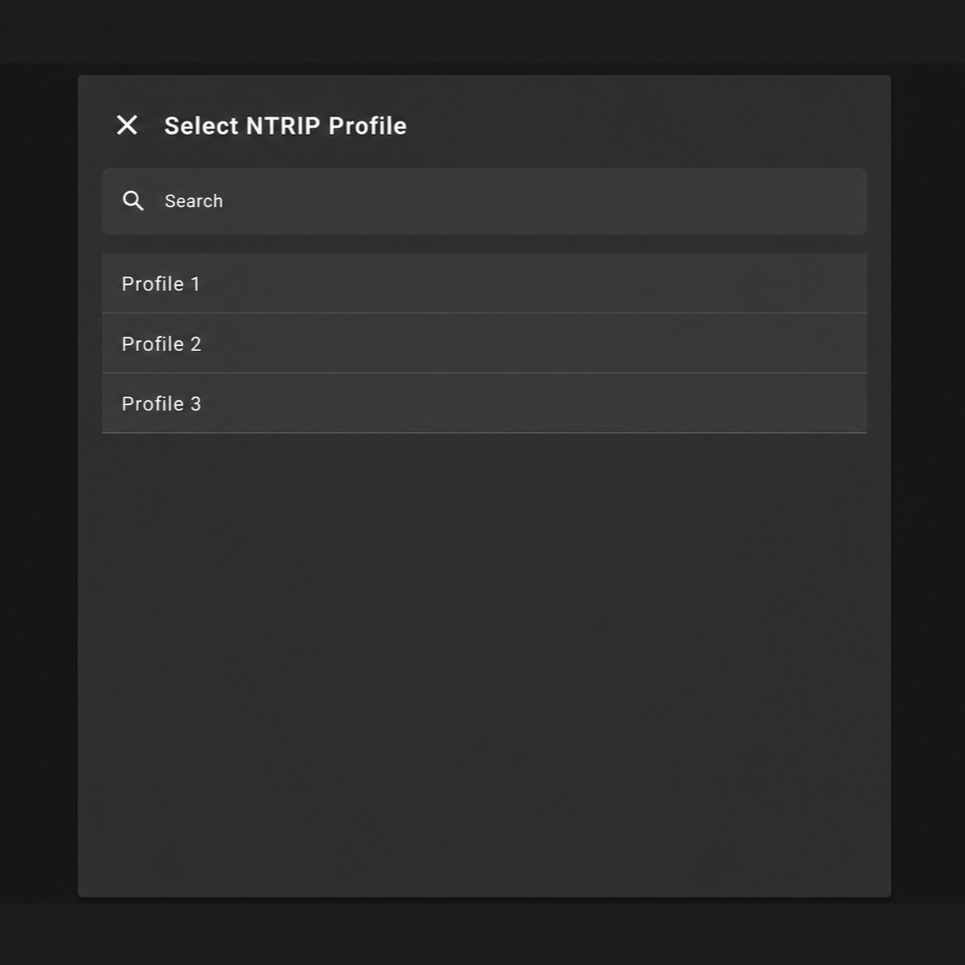
Edit an existing NTRIP profile
To change a saved NTRIP profile (for example, to update the password or mountpoint):
Open Commander and navigate to Scanner Settings.
Under NTRIP Profile, select the profile to edit.
Tap the edit button.
Update the required fields, then tap Save.
When the selected NTRIP profile is changed or edited, the RTK information on the Scanner Settings screen automatically refreshes to reflect the active profile.
Outcome
The NTRIP profile is saved in Commander and is available to select when starting a scan, to enable RTK corrections for accurate georeferencing during scan processing.
If a stable correction link during the scan is not possible, see Get started with PPK Georeferencing as an alternative.
Troubleshooting
If Scanner Settings does not appear after tapping Options Menu, the Android device is not connected to the GX1 Scanner. Check that the GX1 Scanner is powered on and connected before opening Commander.
If Scanner Settings appears but displays an "Internet not available" error, the GX1 Scanner does not have an active internet connection. Check the following:
The GX1 Scanner may not have finished starting up. Wait for it to fully start, then try again.
The SIM card may not be seated correctly in the GX1 Scanner. Remove and reinsert the SIM card.
There may be no mobile reception in the current location. Move to an area with coverage and try again.