This article explains how to share files with Emesent through a secure SharePoint folder. Emesent provides a SharePoint folder link on request, or when a support ticket requires assessment of a dataset. The steps cover opening the shared folder, accepting access, uploading files, and confirming that the upload is complete.
What you will need
The following are required before starting:
The secure SharePoint folder link from Emesent.
Access to the email address the link was shared with.
Accepting the SharePoint invitation adds the associated Microsoft account as a guest in the Emesent Microsoft 365 tenant. This grants Emesent access only to the account information identified in Step 4.
If this access is not acceptable, share the files using another transfer method. SharePoint is the preferred method because it provides the fastest and most reliable transfer process. Alternative services may extend ticket resolution times when downloading the files is restricted, unreliable, or difficult to complete.
Procedure
Step 1: Open the shared folder
Locate the SharePoint invitation email.
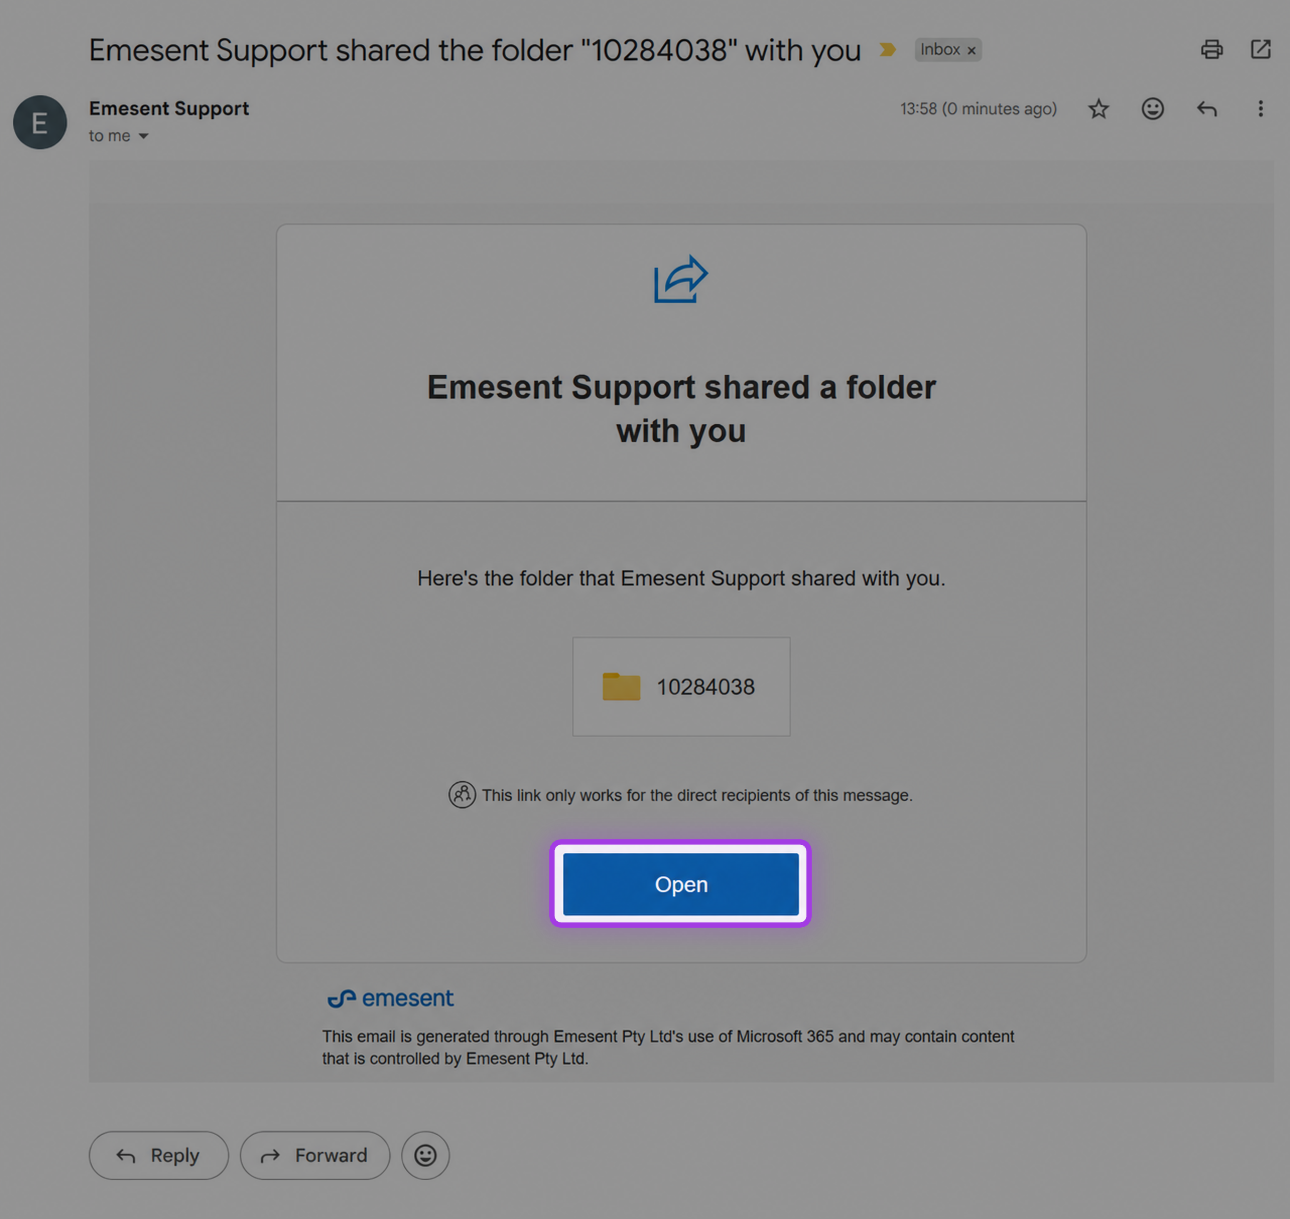
Select Open to access the shared folder. This opens a new tab in the default web browser.
The email notification appears as shown below.
Step 2: Sign in with an email address
In the new browser tab
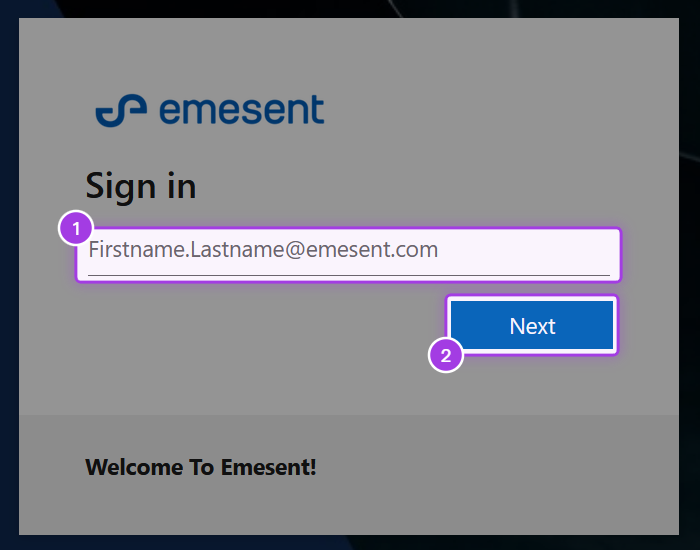
Enter the email address the SharePoint folder was shared with
Then select Next.
The sign-in screen may look like it needs an Emesent account or a Microsoft account. Ignore this. Neither account is required. Enter the email address the SharePoint folder was shared with and continue.
Step 3: Verify the email address
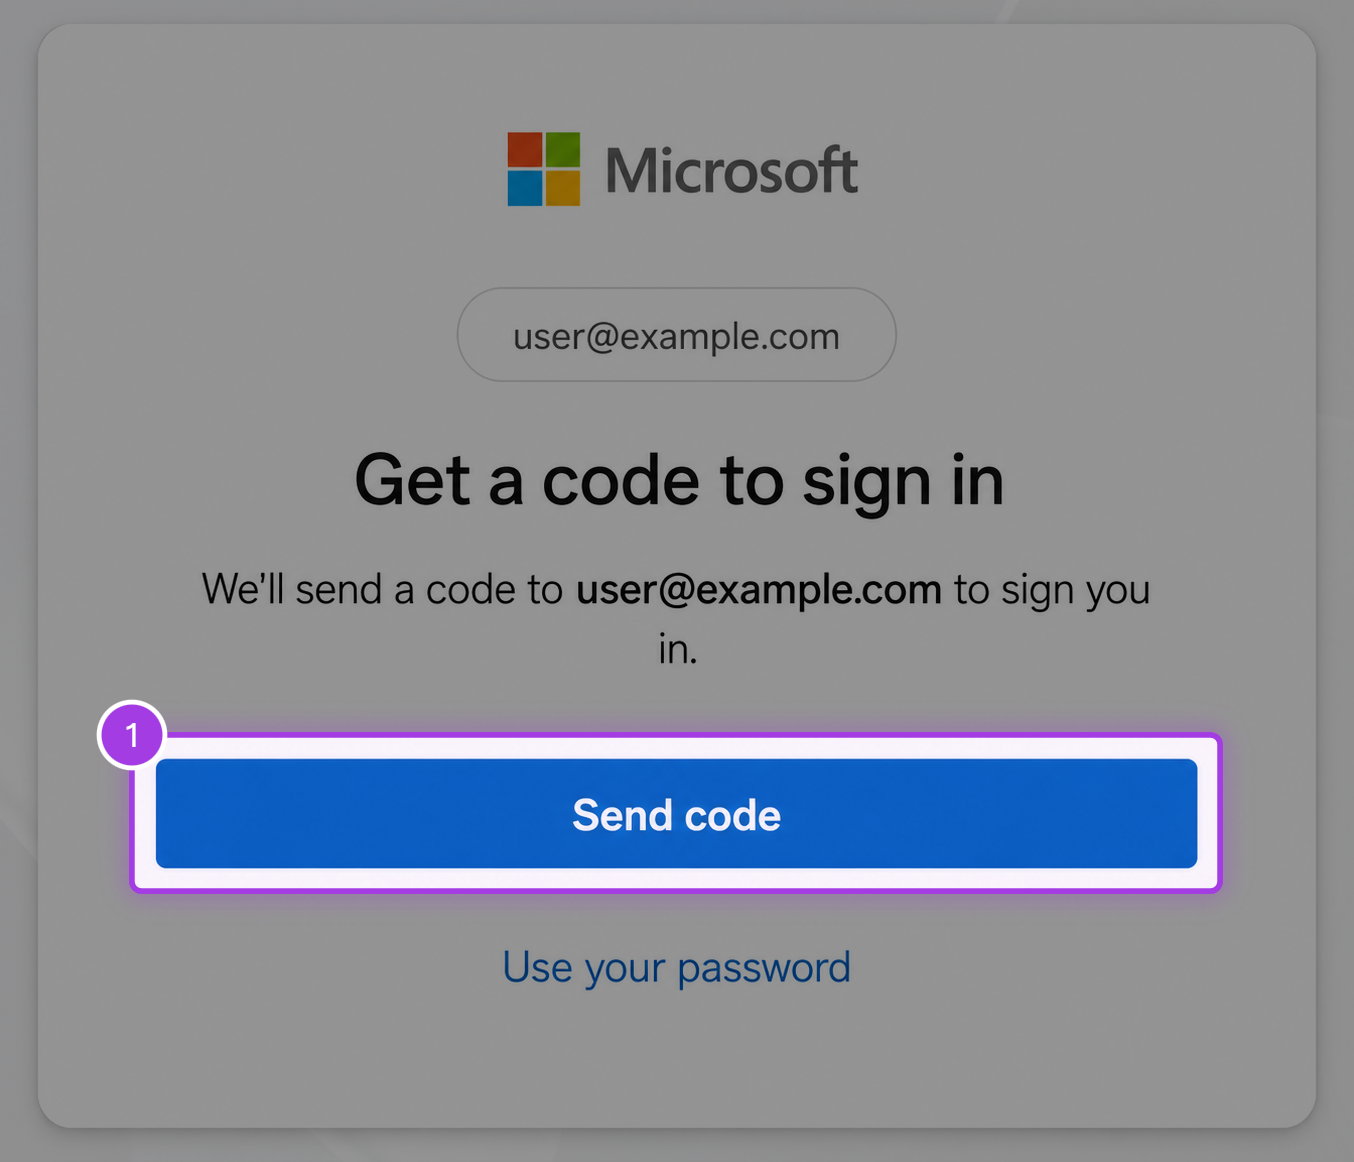
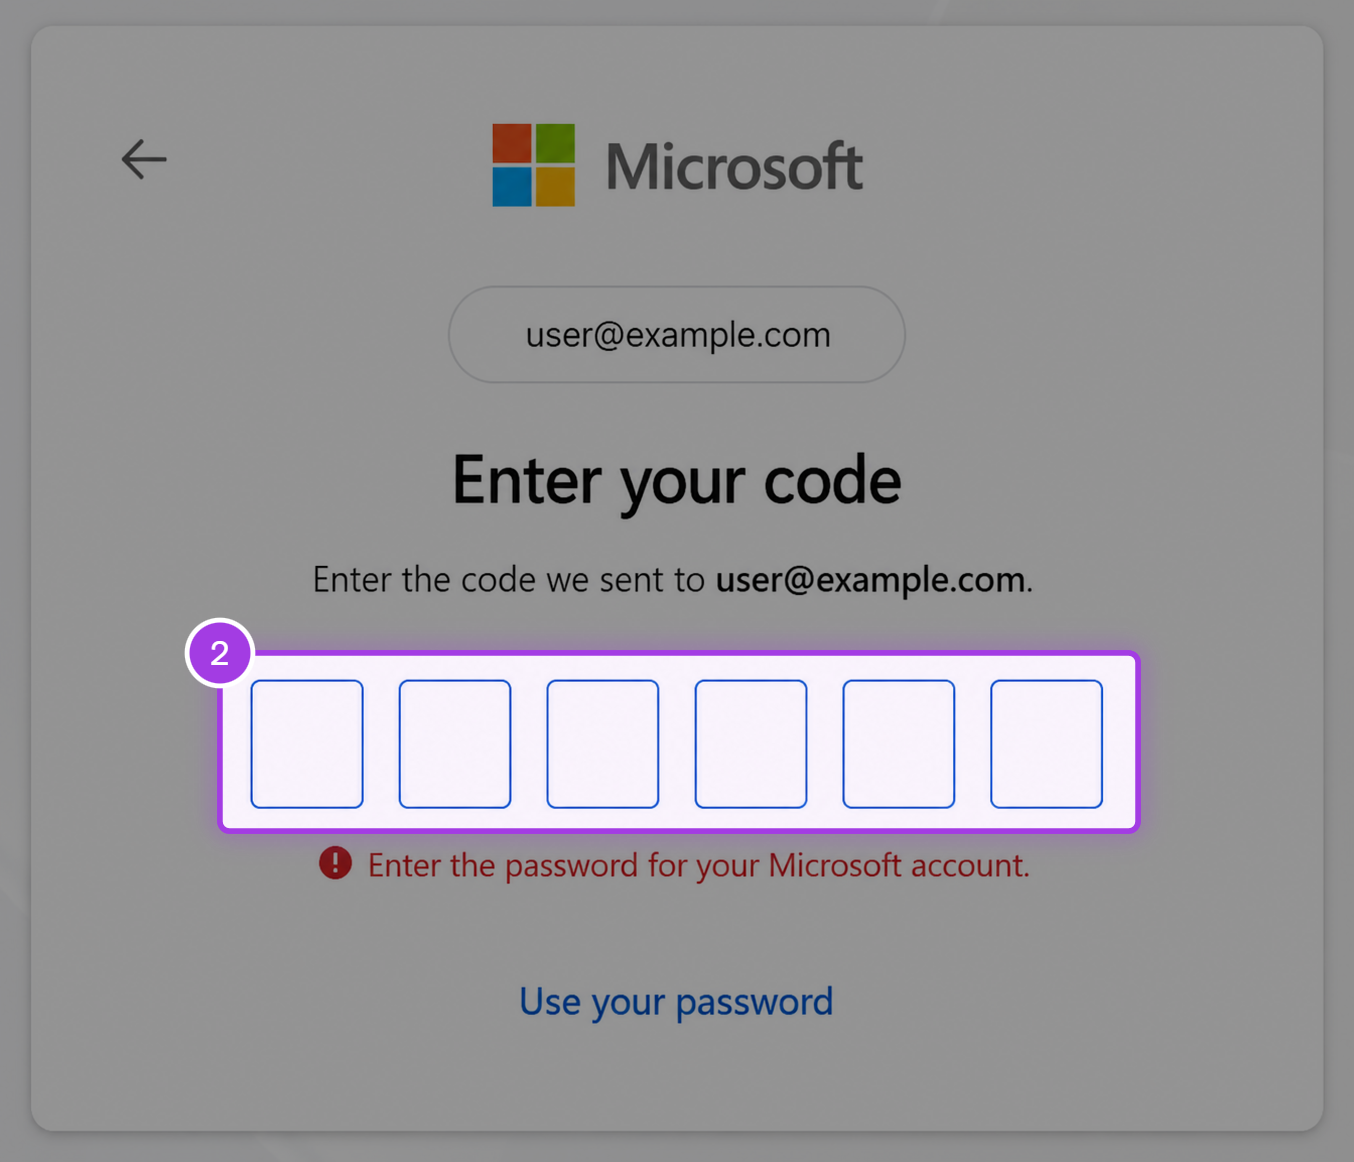
If the email address is not associated with existing Microsoft credentials, a one-time code prompt appears.
Select Send code to receive a verification code by email.
Enter the code from the email in the fields provided to continue.
|
|
Step 4: Accept access permissions
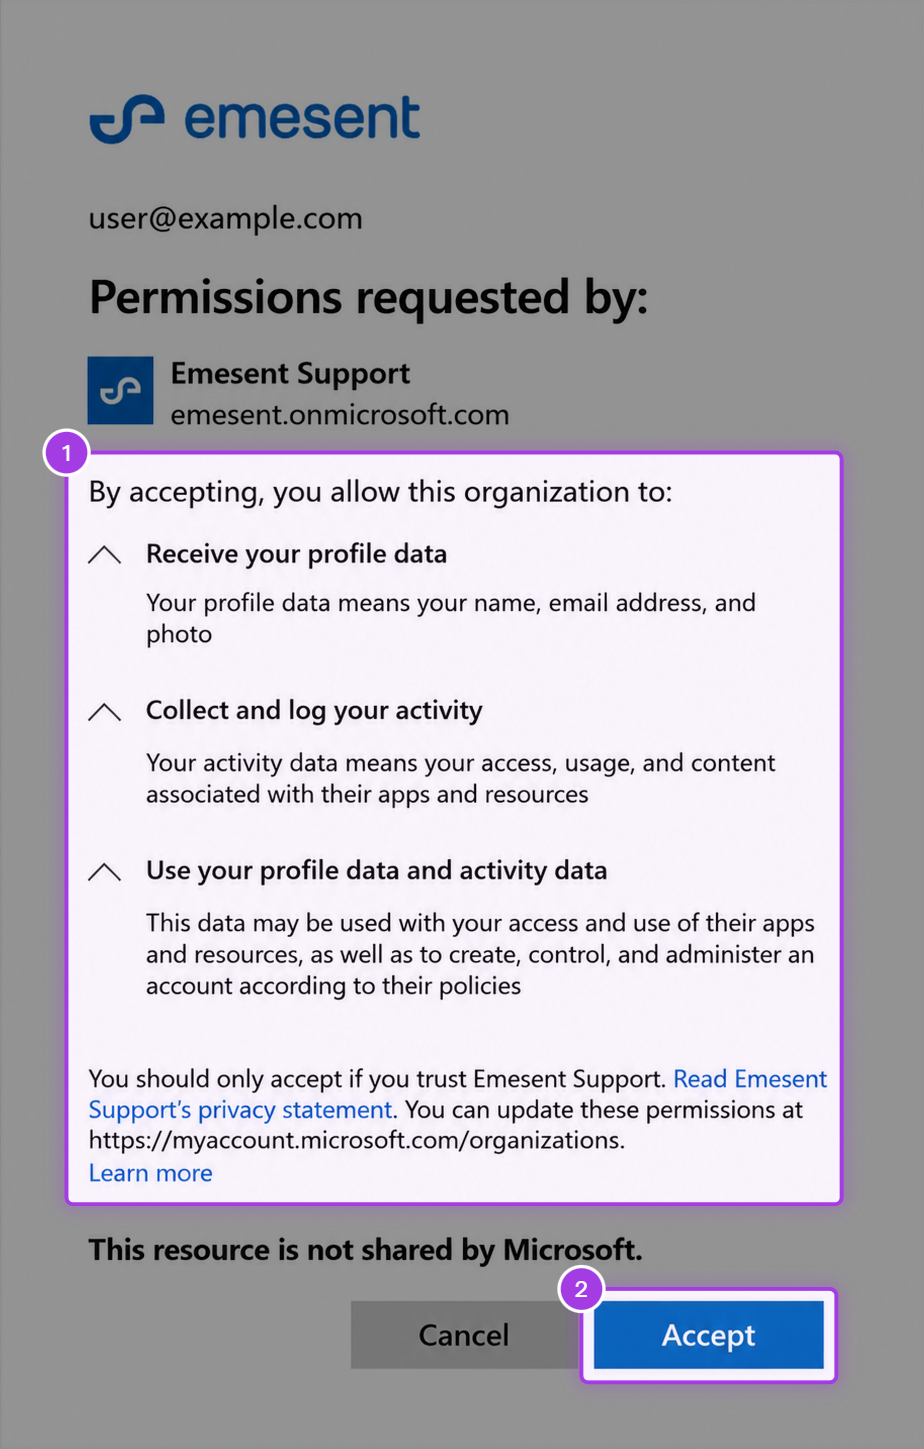
On the first sign-in, Microsoft displays a permissions request from Emesent Pty Ltd.
Review the requested permissions
Press Accept to continue.
Step 5: Open the shared folder and upload files
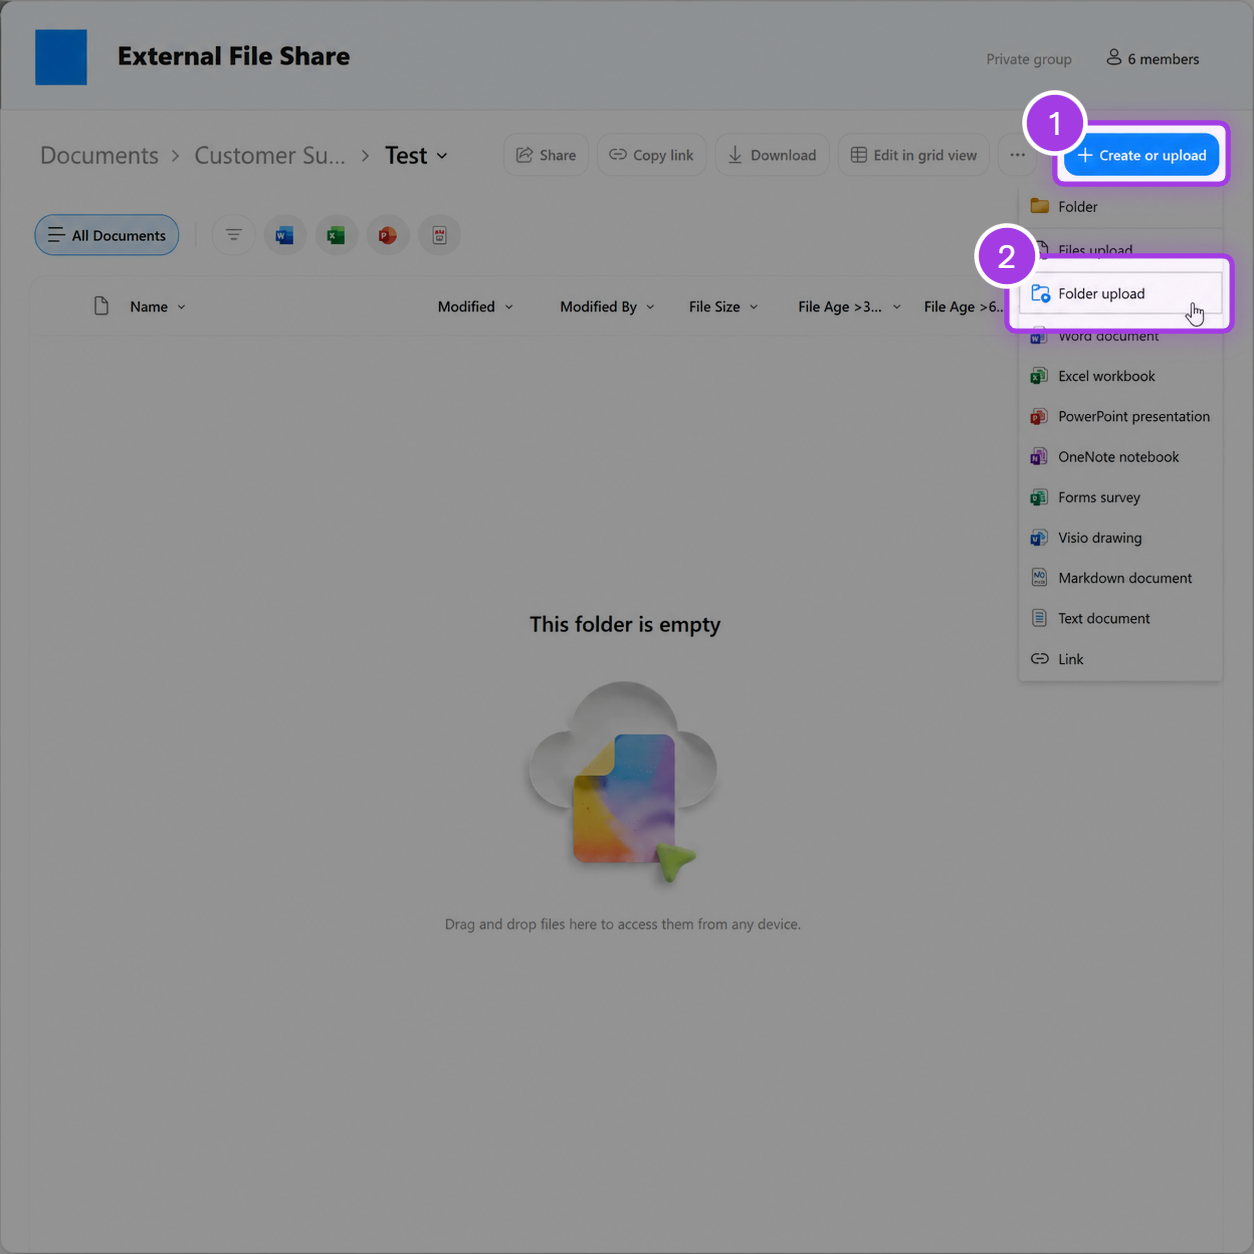
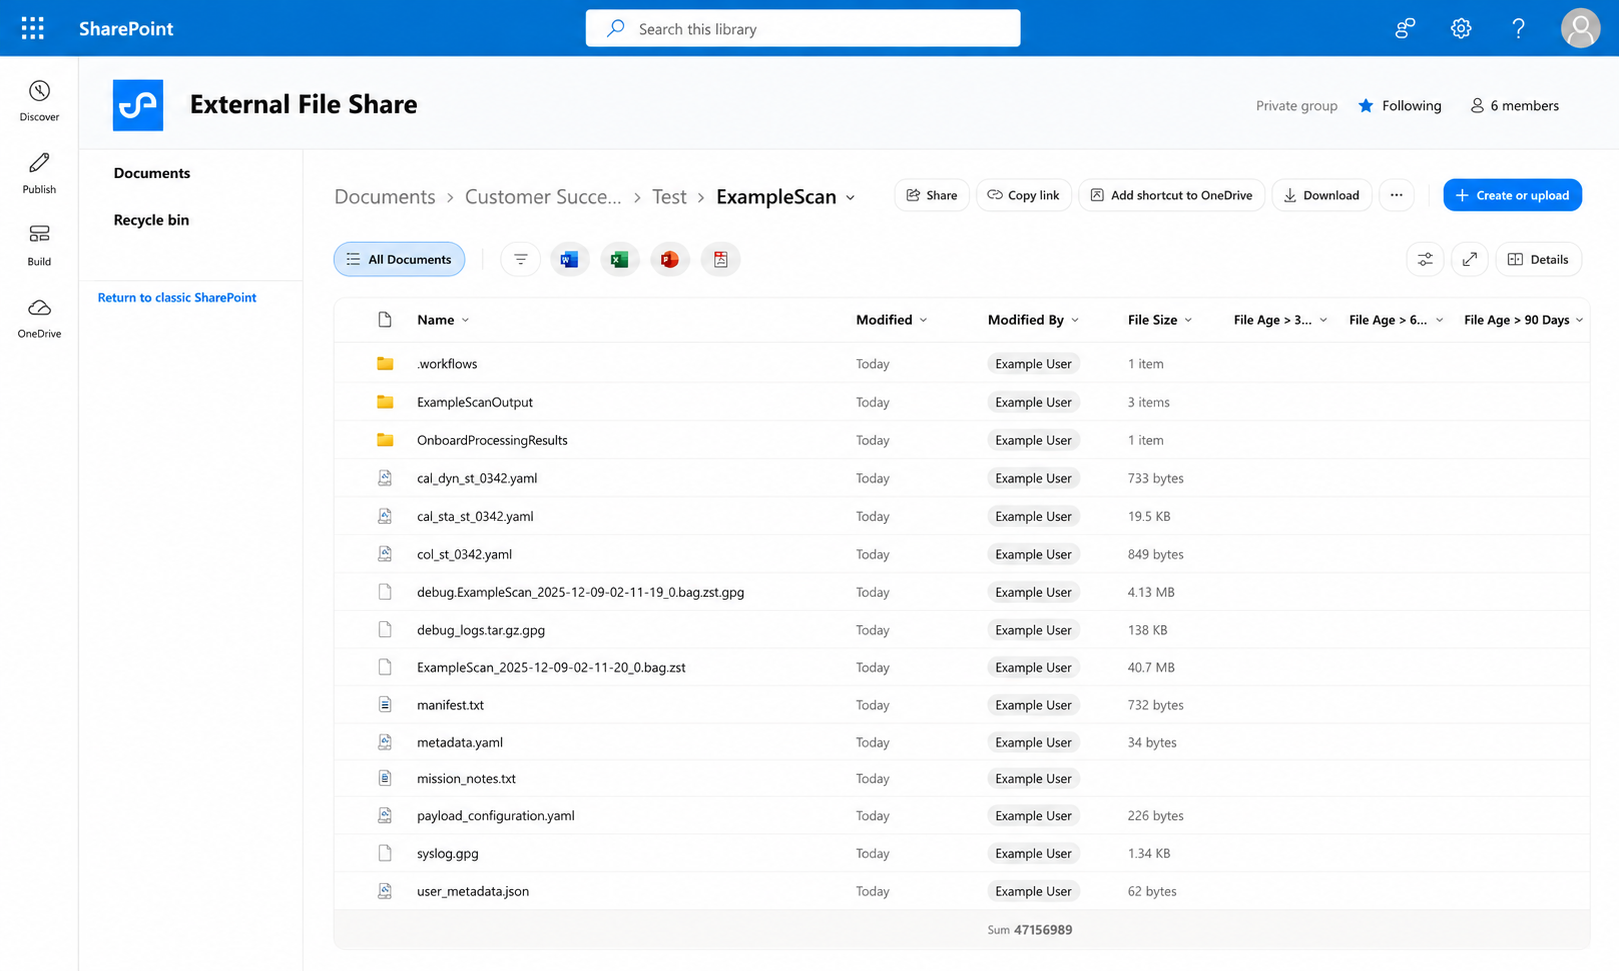
After sign-in, the shared SharePoint folder opens with the name External File Share. The folder remains empty until files are uploaded.
Select + Create or upload.
Select Folder upload.
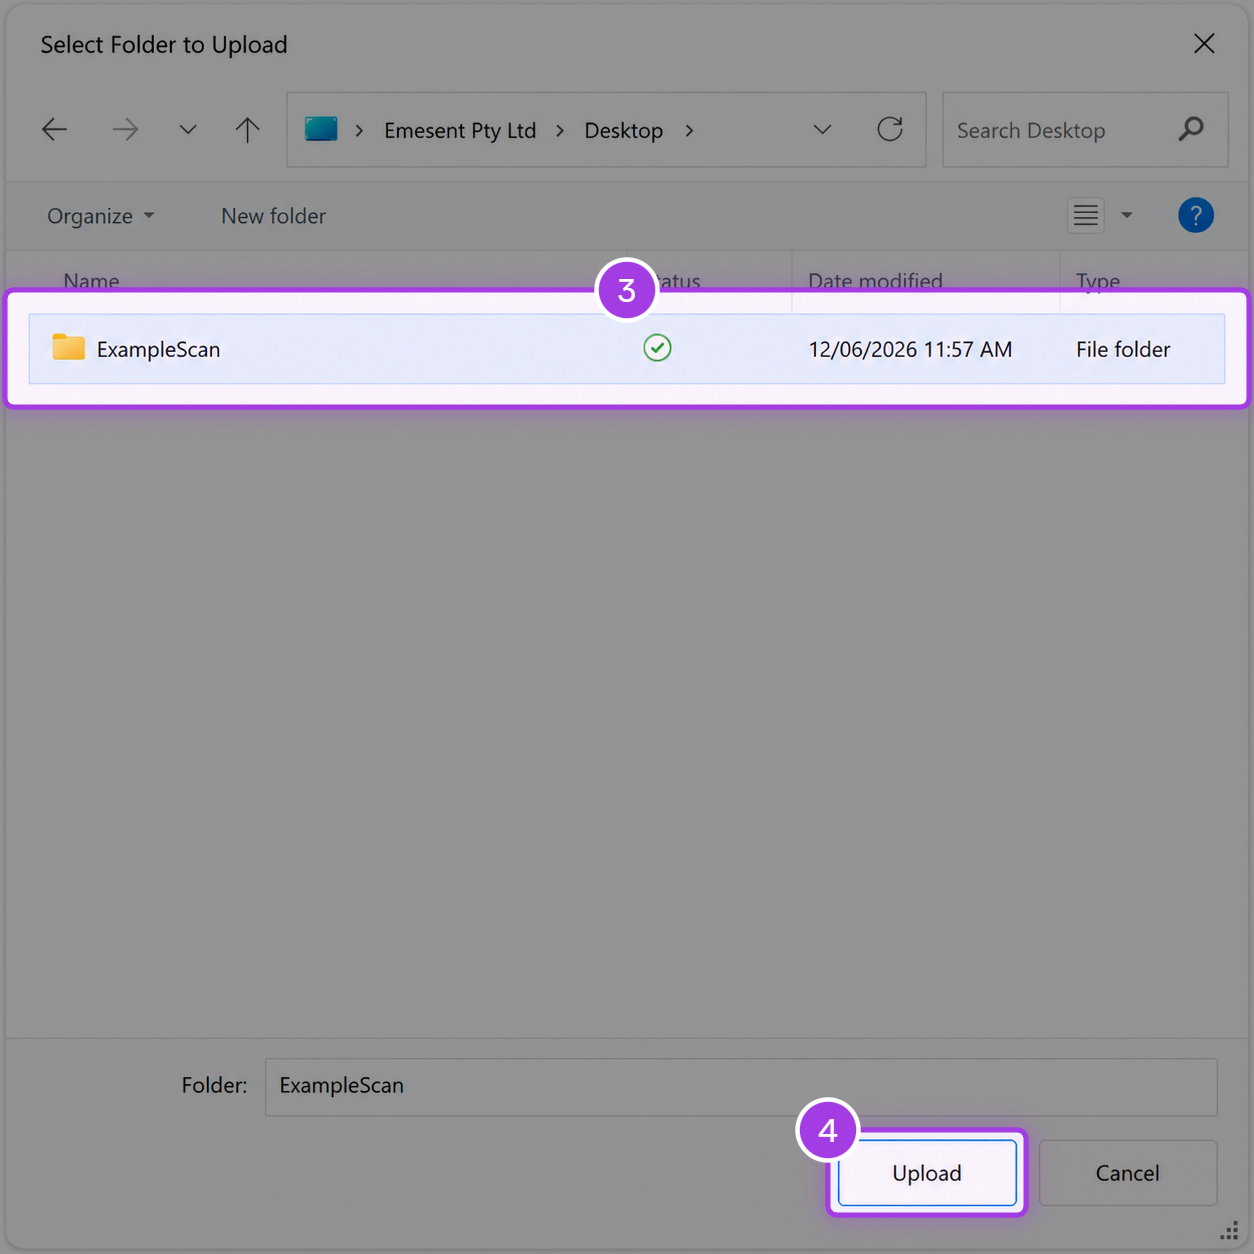
In the file browser, select the folder to upload.
Select Upload.
If a confirmation prompt appears, select Upload to proceed.
Files can also be uploaded individually by dragging them into the browser window, or by selecting Files upload instead of Folder upload.
Uploading the complete folder is recommended. Scan data is typically offloaded from an Emesent scanner or exported from processing software as a folder containing multiple related files.
|
|
Step 6: Confirm the upload
A progress indicator shows the upload in progress.

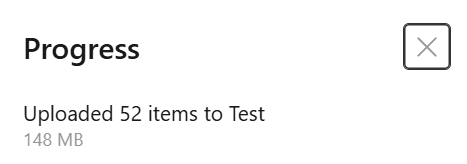
Once the upload finishes, the uploaded files appear in the folder. Ensure all files are present an are of the expected file size.
Step 7: Notify Emesent support
Emesent begins assessing the dataset once notified that the upload is complete, allowing the support team to review the full dataset without delay.
Monitor the upload until the progress indicator disappears and all files appear in the folder.
Reply to the support ticket, or email the assigned Emesent support representative, to confirm the upload is complete.
Outcome
The shared files appear in the External File Share folder in SharePoint, ready for the Emesent team to access and assess.
Additional information
If SharePoint access is not acceptable, contact the assigned Emesent support representative to arrange an alternative transfer method.
Troubleshooting
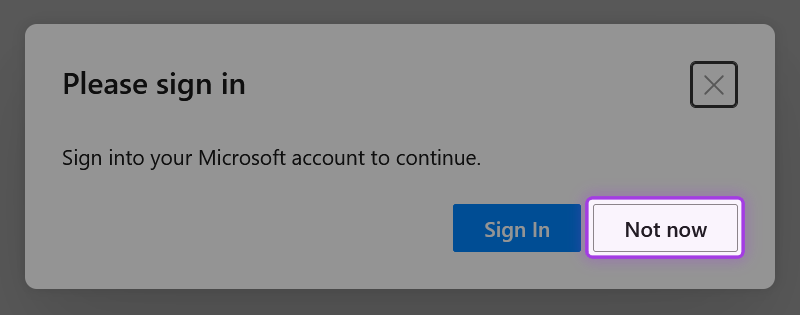
If a Please sign in prompt appears during the upload, select Not now to continue without interruption. Once the upload finishes, the uploaded files appear in the folder.