
For optimal performance and reliability, Emesent recommends running Hovermap on the latest available Cortex version at all times. Keeping Hovermap up to date gives access to the newest features, system improvements, and important safety-critical fixes.
This article explains how to apply a Cortex upgrade to Hovermap. Upgrading the board support package (BSP) and the Hovermap image takes 20 to 30 minutes to complete.
Do not remove power from Hovermap during the upgrade. Interrupting power may render the system inoperable and require return to Emesent for repair.
What you will need
A computer with access to Emesent's Software Downloads page.
A blank USB flash drive.
A fully charged battery for Hovermap.
A supported tablet, Android phone, or computer to connect to the Hovermap Wi-Fi network.
Procedure
Step 1: Download the latest Cortex package
Two separate firmware files require updating: the board support package (BSP) and the Hovermap image firmware (Cortex). Both files transfer using a single USB flash drive, and the update procedure is the same for each.
Navigate to Emesent's Software Downloads page.
Download the latest Cortex package.
Review the release notes for important information before continuing.
.png)
Step 2: Extract Cortex and prepare the USB flash drive
Extract the downloaded .zip file. The package contains two files:
BSP image file (for example, bsp_st_x.x.x.img).
Hovermap image file (for example, hvm_st_x.x.x.img).
Insert a blank USB flash drive into the computer.
Copy both image files to the root directory of the USB flash drive. Do not place them inside a folder.
Safely eject the USB flash drive once the file transfer completes.
Do not connect the USB flash drive to Hovermap until instructed.
.png)
Step 3: Power on Hovermap
Connect a fully charged battery to Hovermap.
Power on Hovermap.
Wait for the startup sequence to complete. Proceed once the status LED displays slow pulsing Emesent blue.
Step 4: Insert the USB flash drive
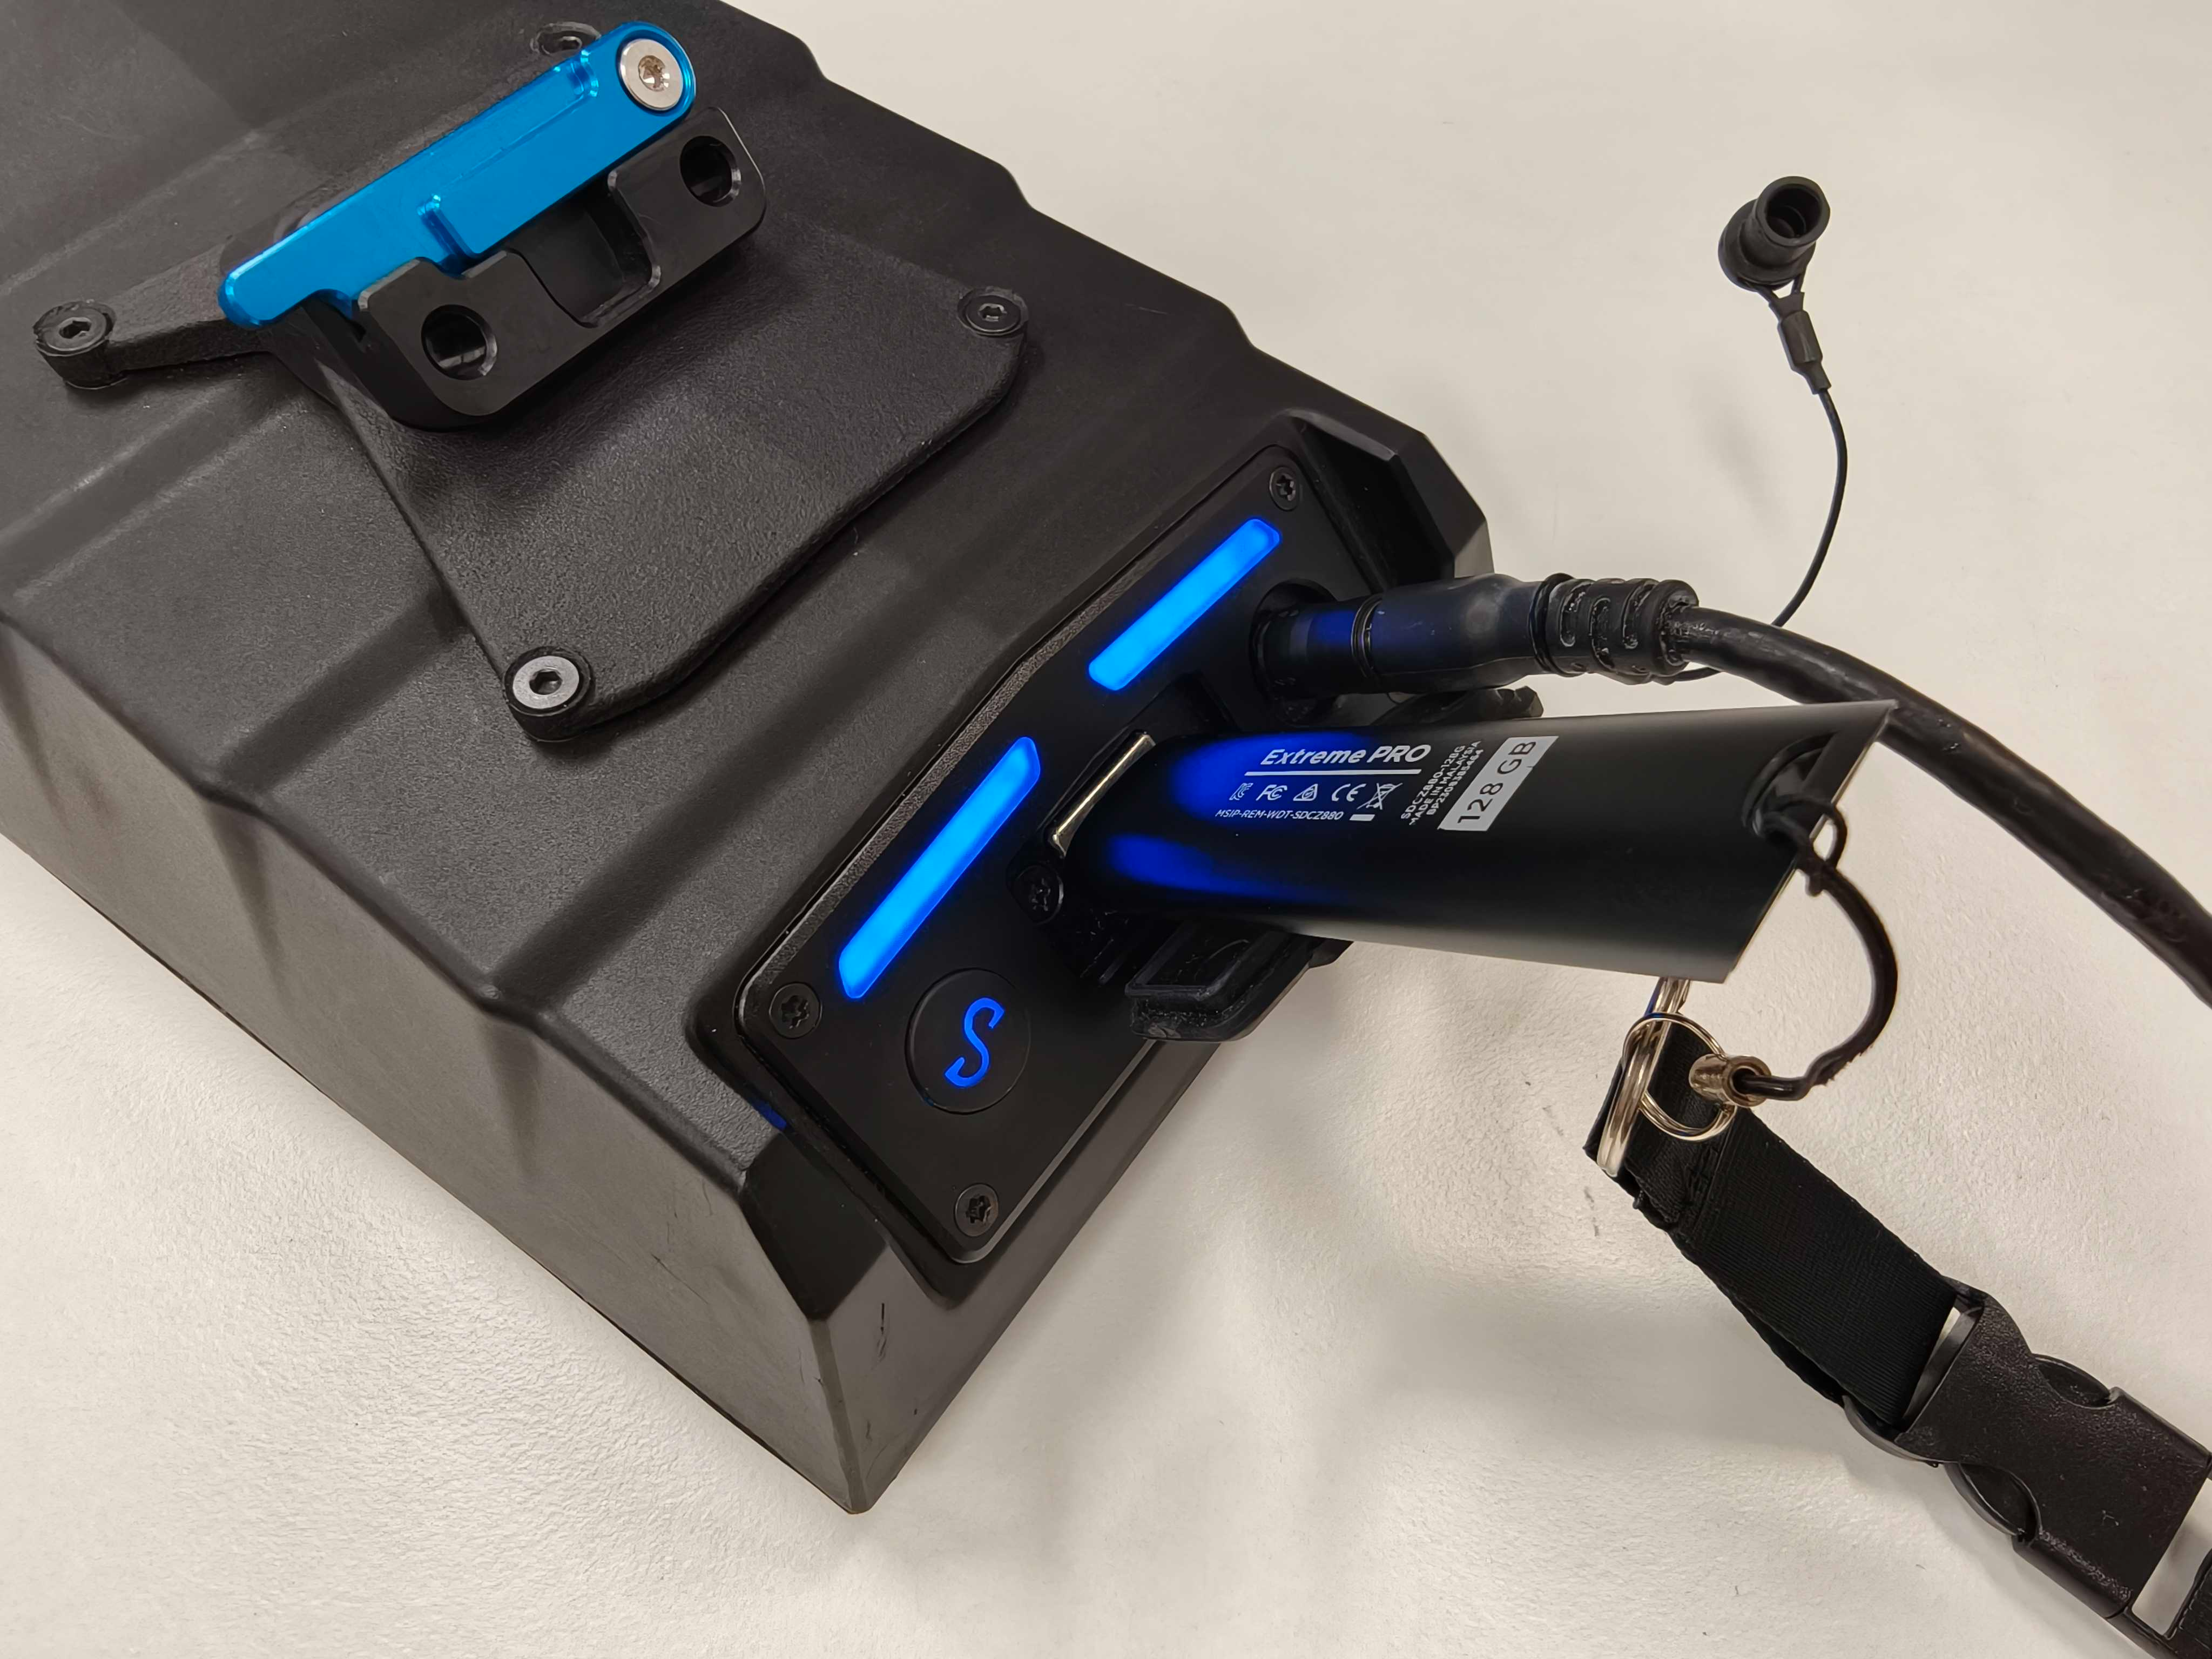
Insert the prepared USB flash drive into Hovermap.
Wait for the status LED to return to slow pulsing Emesent blue before continuing. This may take several minutes if data is being offloaded to the USB flash drive.
Step 5: Connect to the Hovermap network
On a supported tablet, Android phone, or computer, connect to the Hovermap Wi-Fi network using the following details:
Setting | Value |
|---|---|
SSID | st_XXXX, where XXXX is the unit serial number on the serial number sticker. |
Password | hovermap |
.png)
Step 6: Open the firmware upgrade page
From Commander (recommended)
Open the Options menu (☰).
Navigate to About.
Select Upgrade Payload Firmware. The Web UI firmware upgrade page will launch.
The Web UI firmware upgrade page launches.
.png)
Alternative: using a web browser
The upgrade page is also accessible from any browser on a computer or mobile device, without Commander.
Connect to the Hovermap Wi-Fi network.
Open a web browser and navigate to hover.map.
Open Device → Upgrade Firmware.
Step 7: Upgrade the BSP firmware
Ensure the USB flash drive is connected to Hovermap and the status LED displays slow pulsing Emesent blue.
In the Firmware Upgrade page, select Search to check for available updates.
Not all Cortex upgrades require a BSP update. If no BSP update is detected during installation, this is expected. Proceed to the Hovermap image upgrade in Step 8.
.png)
If a BSP update is detected, select Next to prepare the installation. Hovermap prepares the BSP for upgrade.
When prompted, remove the USB flash drive.
After removing the USB flash drive, select Install to begin the upgrade.
.png)
Hovermap flashes red during installation and restarts automatically. Wait for the status LED to return to slow pulsing blue before proceeding. This may take up to 20 minutes.
What Hovermap is doing | Status LED | Duration |
|---|---|---|
Installing firmware | Flashing red | Up to 20 minutes |
Restarting after upgrade | Flashing red | ~90 seconds |
Ready for use | Slow pulsing Emesent blue | — |
Step 8: Upgrade the Hovermap image (Cortex)
The Hovermap image firmware upgrade follows the same process as the BSP upgrade.
If Hovermap does not automatically reconnect, manually reconnect to the Hovermap Wi-Fi network after the restart from the BSP upgrade (see Step 5).
Attach the USB flash drive and wait until the status LED displays slow pulsing Emesent blue.
Once reconnected, refresh the Upgrade Payload Firmware page. If the page is not already open, return to it (see Step 6).
Select Search to check for available updates.
When the Hovermap image firmware is detected, select Next to prepare the installation. Hovermap verifies the image before upgrading.
When prompted, remove the USB flash drive.
After removing the USB flash drive, select Install to begin the upgrade.
Do not remove power from Hovermap during the upgrade. Interrupting power may render the system inoperable and require return to Emesent for repair.
Hovermap begins flashing red while the image installs and restarts automatically once the upgrade is complete. This process may take up to 20 minutes.
During the upgrade, the LEDs may turn off for several minutes. This is expected behaviour.
Outcome
Hovermap is running the latest Cortex firmware and is ready for use, indicated by the status LED showing slow pulsing Emesent blue.
Additional information
For issues encountered during the firmware upgrade, see Troubleshooting Cortex upgrade.
Review the release notes for details on what's included in each Cortex release.