
This article explains how to create a custom image mask for use in 360 image extraction or colorization in Aura. The result is a PNG mask file that can be loaded into the Mask template list and applied to extracted frames.
When processing a dataset with 360 video for image extraction or colorization, a mask is applied to the extracted frames to hide areas that should not be shown. Aura includes several pre-defined masks for common camera mount configurations. If none are suitable for the dataset, a custom mask can be created using any image editing software.
What you will need
A processed scan with 360 video data, open in Aura.
Image editing software. This article uses GIMP (free); the techniques apply to any image editor.
Access to the Aura predefined mask folder at Program Files > Aura > Aura > Plugins > EmtProcessWorkflows > Content > ProcessWorkflows > ImageMasks.
Procedure
Step 1: Extract frames without masking
Run an Extract 360 images workflow with Image masking turned off.
.png)
Once the frame extraction process is completed, navigate to the extracted frames folder.
For large videos, sub-sample first by setting a high Frame interval (e.g. 250) to reduce processing time.
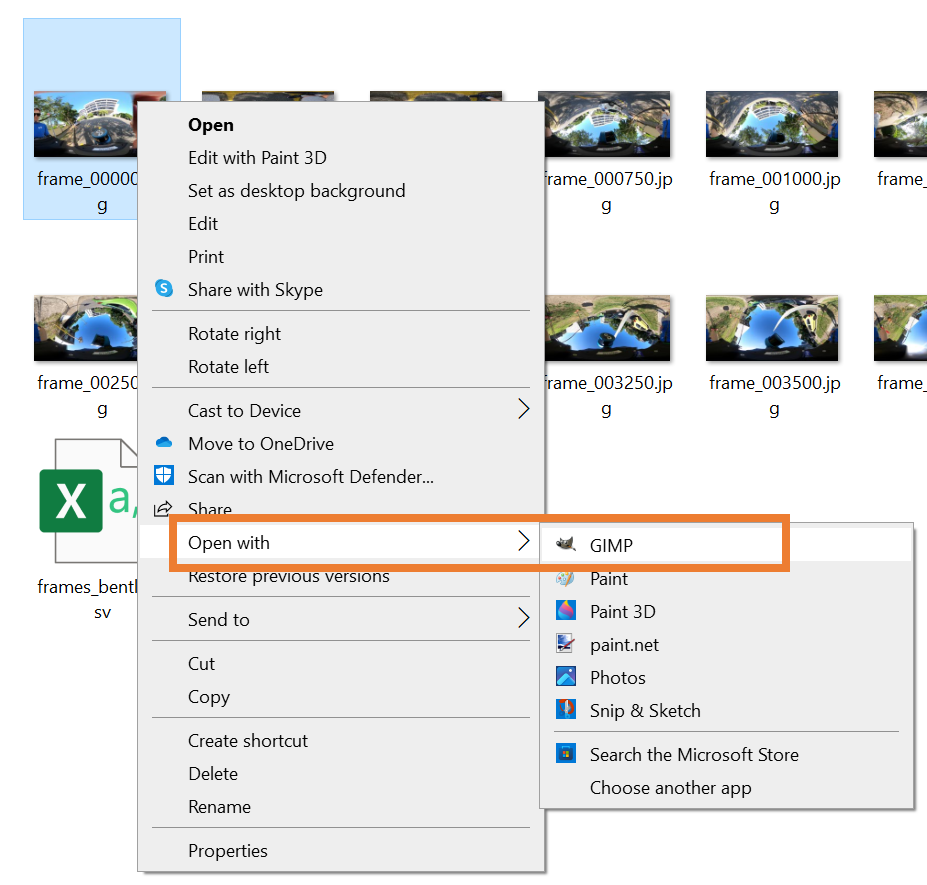
Step 2: Open a frame in GIMP
Select a frame to create a mask for and open it in GIMP.
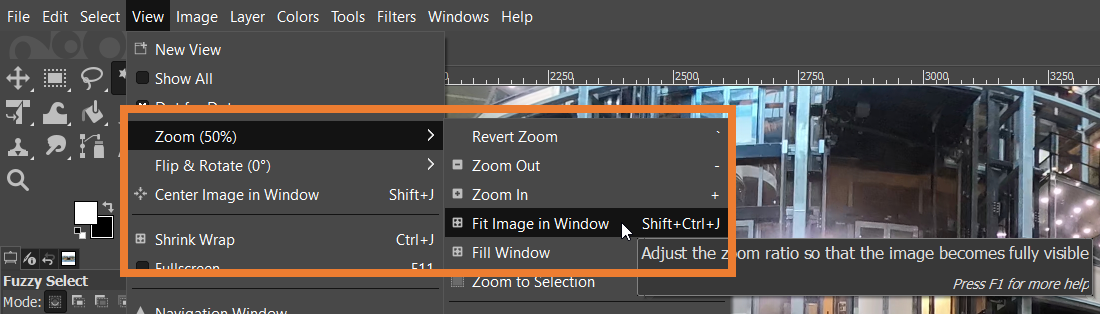
Adjust the display to ensure the image fits the screen properly.
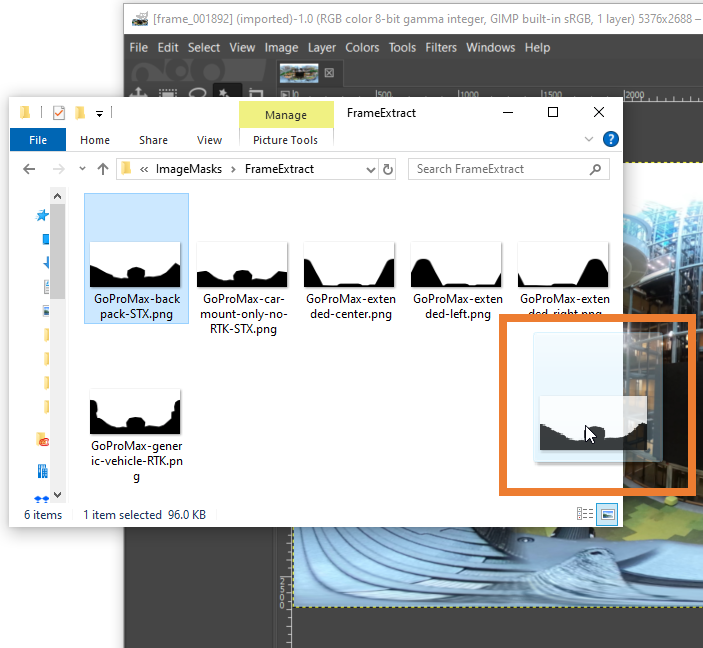
Step 3: Load a predefined mask as a starting layer
Start with an existing mask instead of creating one from scratch.
Open the folder containing the predefined masks: Program Files > Aura > Aura > Plugins > EmtProcessWorkflows > Content > ProcessWorkflows > ImageMasks.
Select a suitable mask from either the Colourise or FrameExtract folder.
Drag the mask onto the current image in GIMP. It appears as a new layer.
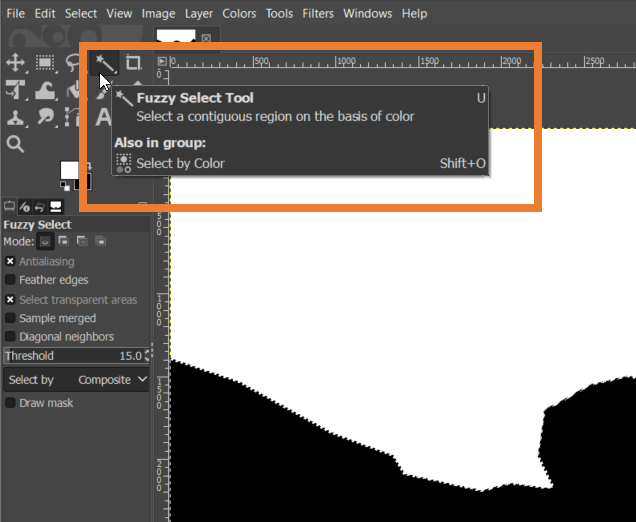
Step 4: Select the masked area
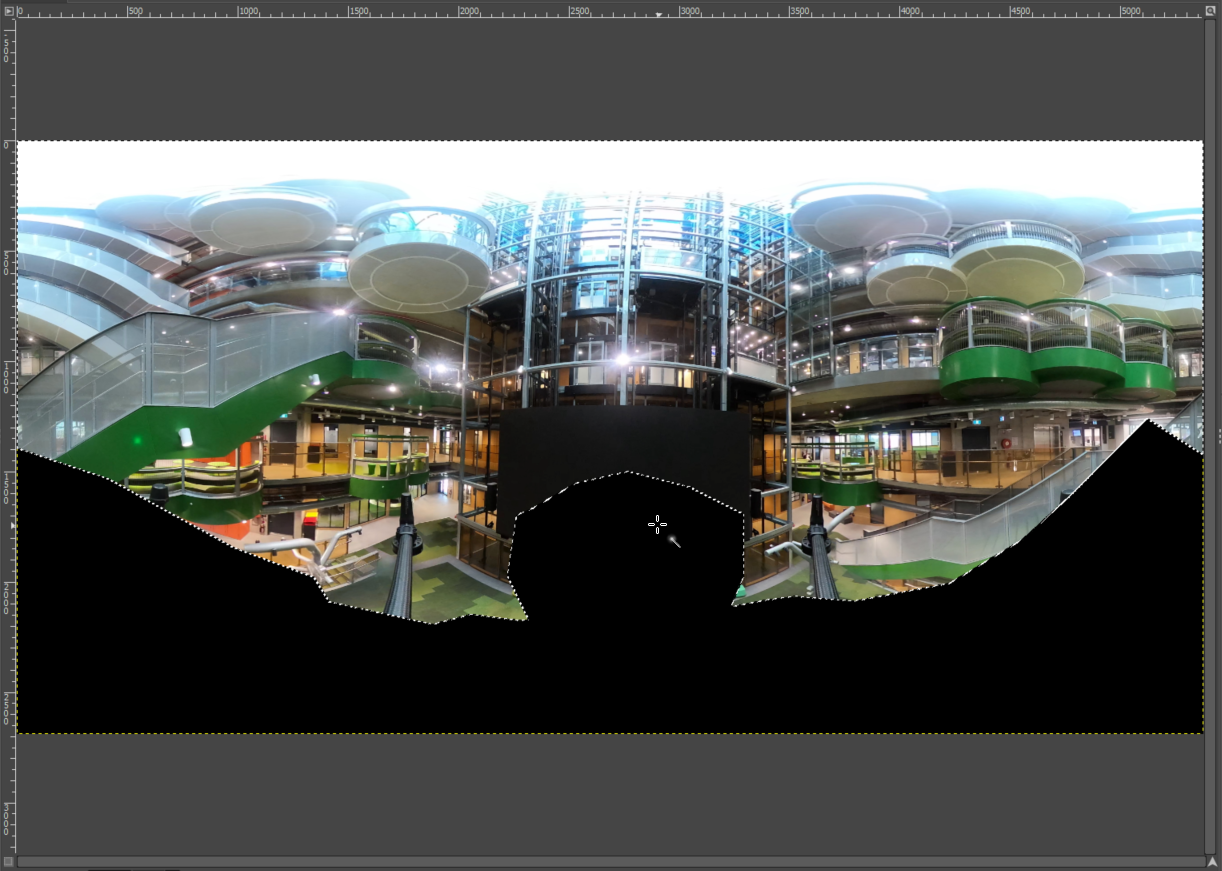
Use the Fuzzy Select Tool (also known as the Magic Wand) and click the black area of the mask layer to select it.
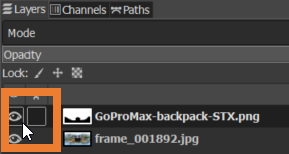
In the Layer panel on the right, click the Eye icon before the mask layer to hide the mask. Each layer appears as a thumbnail, and the upper layer in the list is the first one visible.
The selected mask area is now visible on top of the image.

Step 5: Refine the mask selection
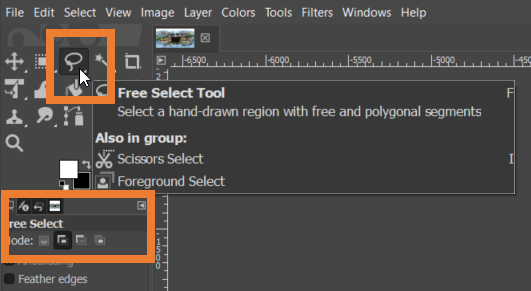
Use the Free Select Tool to add or refine areas as needed.
Ensure the Mode is set to Add to the current selection. Click the second mode icon or hold the Shift key while selecting.
Press Enter to add each area to the current selection.
Keep the frames folder handy and add more frames if necessary. Review each added frame, adjusting the mask to ensure proper coverage, especially around challenging areas like hands or cables.
Step 6: Convert the selection to a mask image
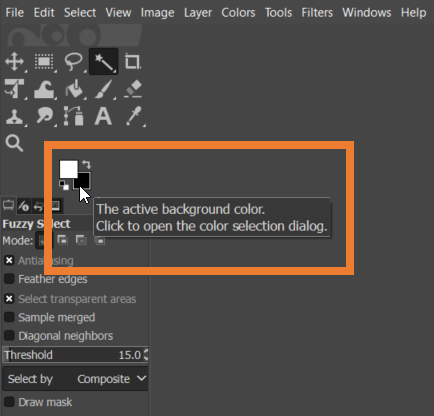
Ensure the active background color is set to black.
In the Layer panel, select the base layer containing the extracted image.

Press Delete on the keyboard.
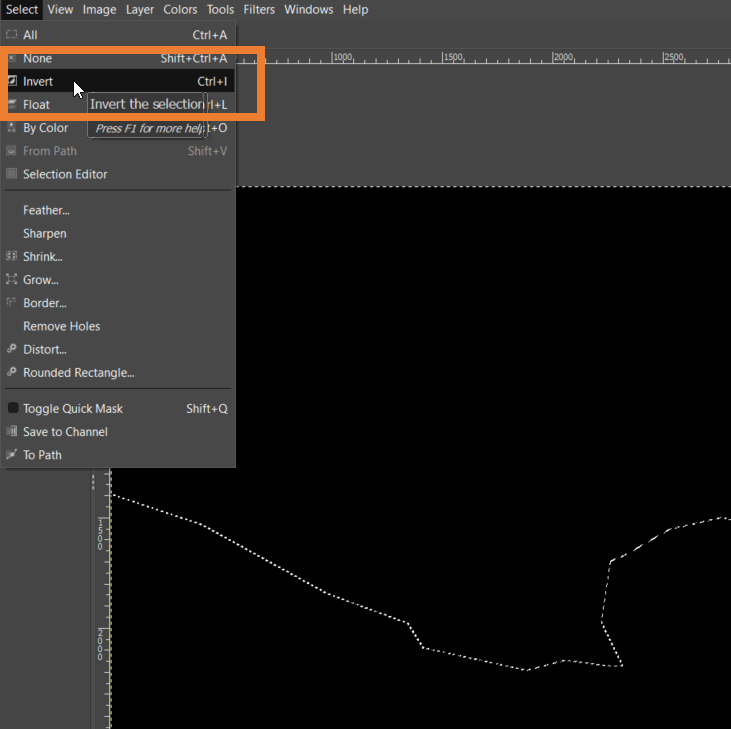
Go to Select > Invert, then press Delete again. The entire image is now black.
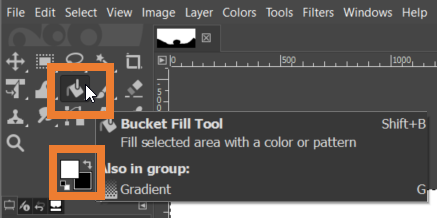
Click the Bucket Fill Tool and ensure the active foreground color is white.
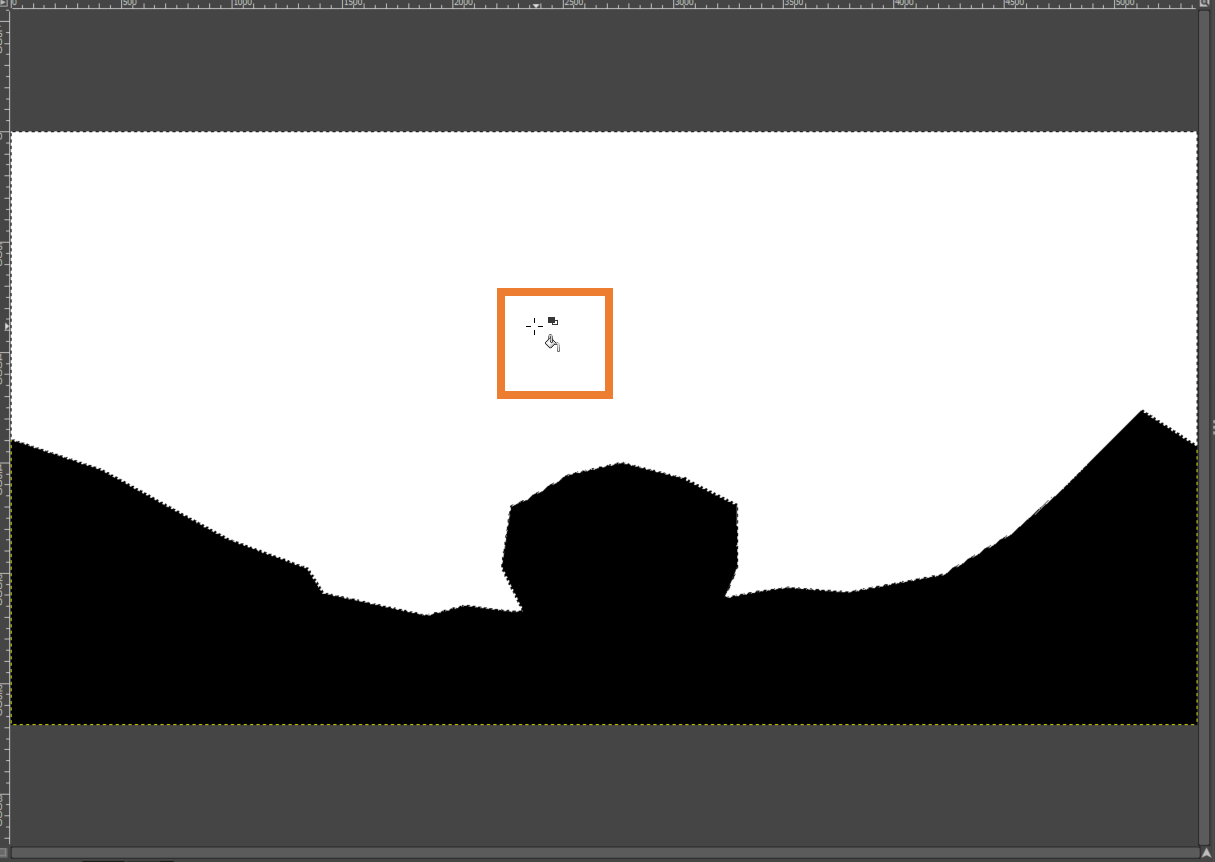
Click the top area to fill it with the active foreground color (white).
Step 7: Export the mask as a PNG
Go to File > Export As.
Save the mask in PNG format to avoid the lossy compression issues associated with JPG files.
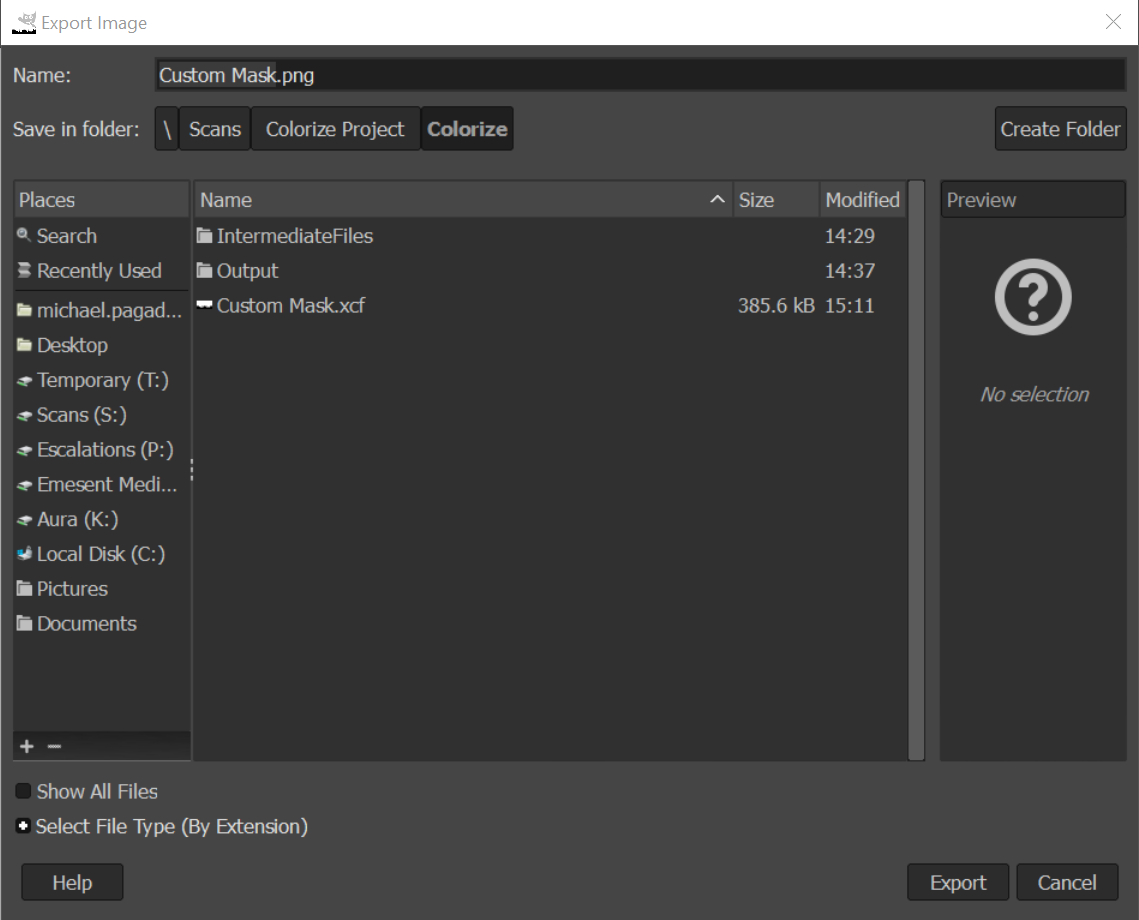
Click Export.
Close GIMP and return to Aura.
If using Aura 1.5 or earlier, change the pixel format to 8bpc RGB before exporting.
Step 8: Add the custom mask to Aura
Run a Colorize or Extract 360 images workflow.
Click Processing Settings.
In the Colorize or Extract 360 images tab, enable Image masking.
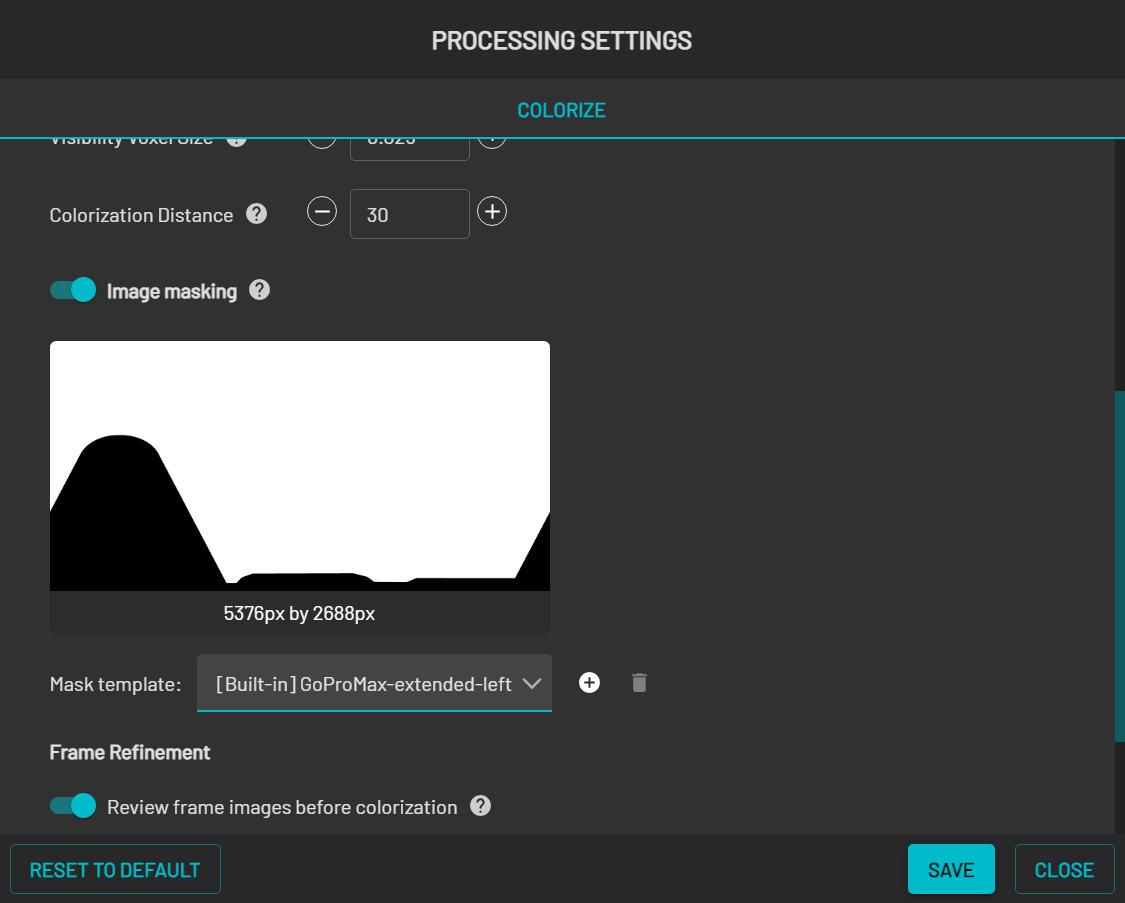
In Mask template, click the + icon.
Enter a name for the new mask, click Create, then browse for the newly created mask file.
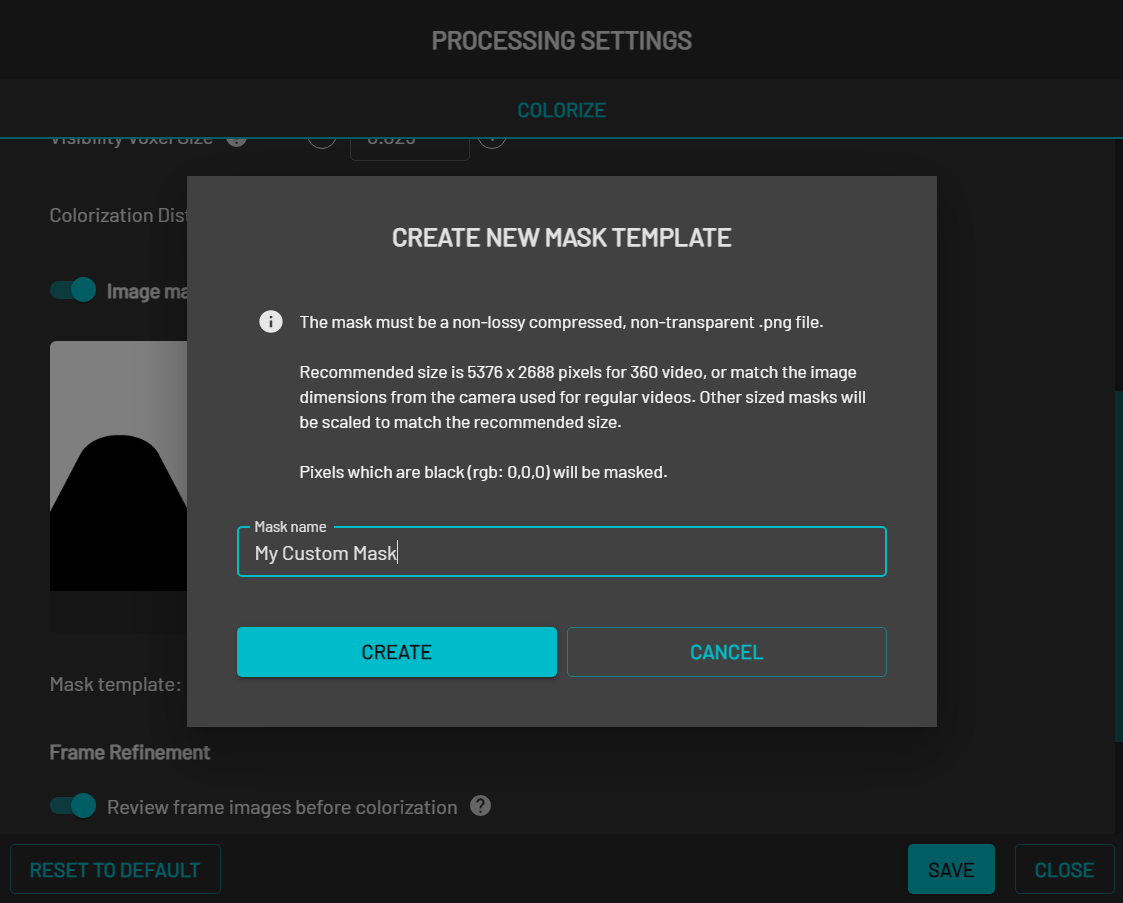
Click Save to finish adding the custom mask to Aura.
.png)
Outcome
The custom mask is saved as a PNG file and loaded into Aura's Mask template list. It can now be selected when running Colorize or Extract 360 images workflows.
Additional information
For the standard 360 image extraction workflow, see Process a 360 scan and extract images in Aura.
The built-in mask profiles (right-handed, left-handed, centre) are documented in Process a 360 scan and extract images in Aura under Additional information.