
LHD Mission Review and data processing
With recent changes in Commander 2.1 and Cortex 4.0 processed .laz files can
now be saved directly to the tablet.
This allows network transfer of processed data, eliminating the need for USB extraction from Hovermap. This is especially useful on worksites with USB restrictions and improves integration with third-party software.
Step 1: Complete the Mission
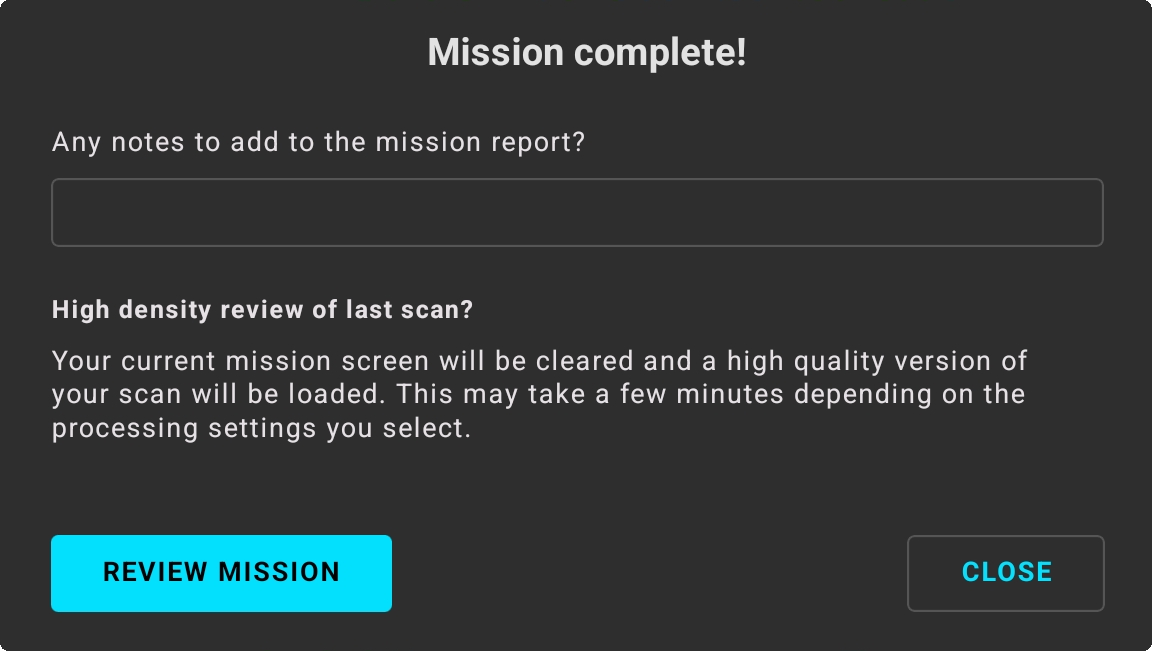
When the scan has stopped, a Mission Complete pop-up appears. Select Review Mission to open the mission review screen.
(Optional) You may enter a note for the mission report.
For additional information on the Review Mission Function see the Emesent
Step 2: Select a Scan
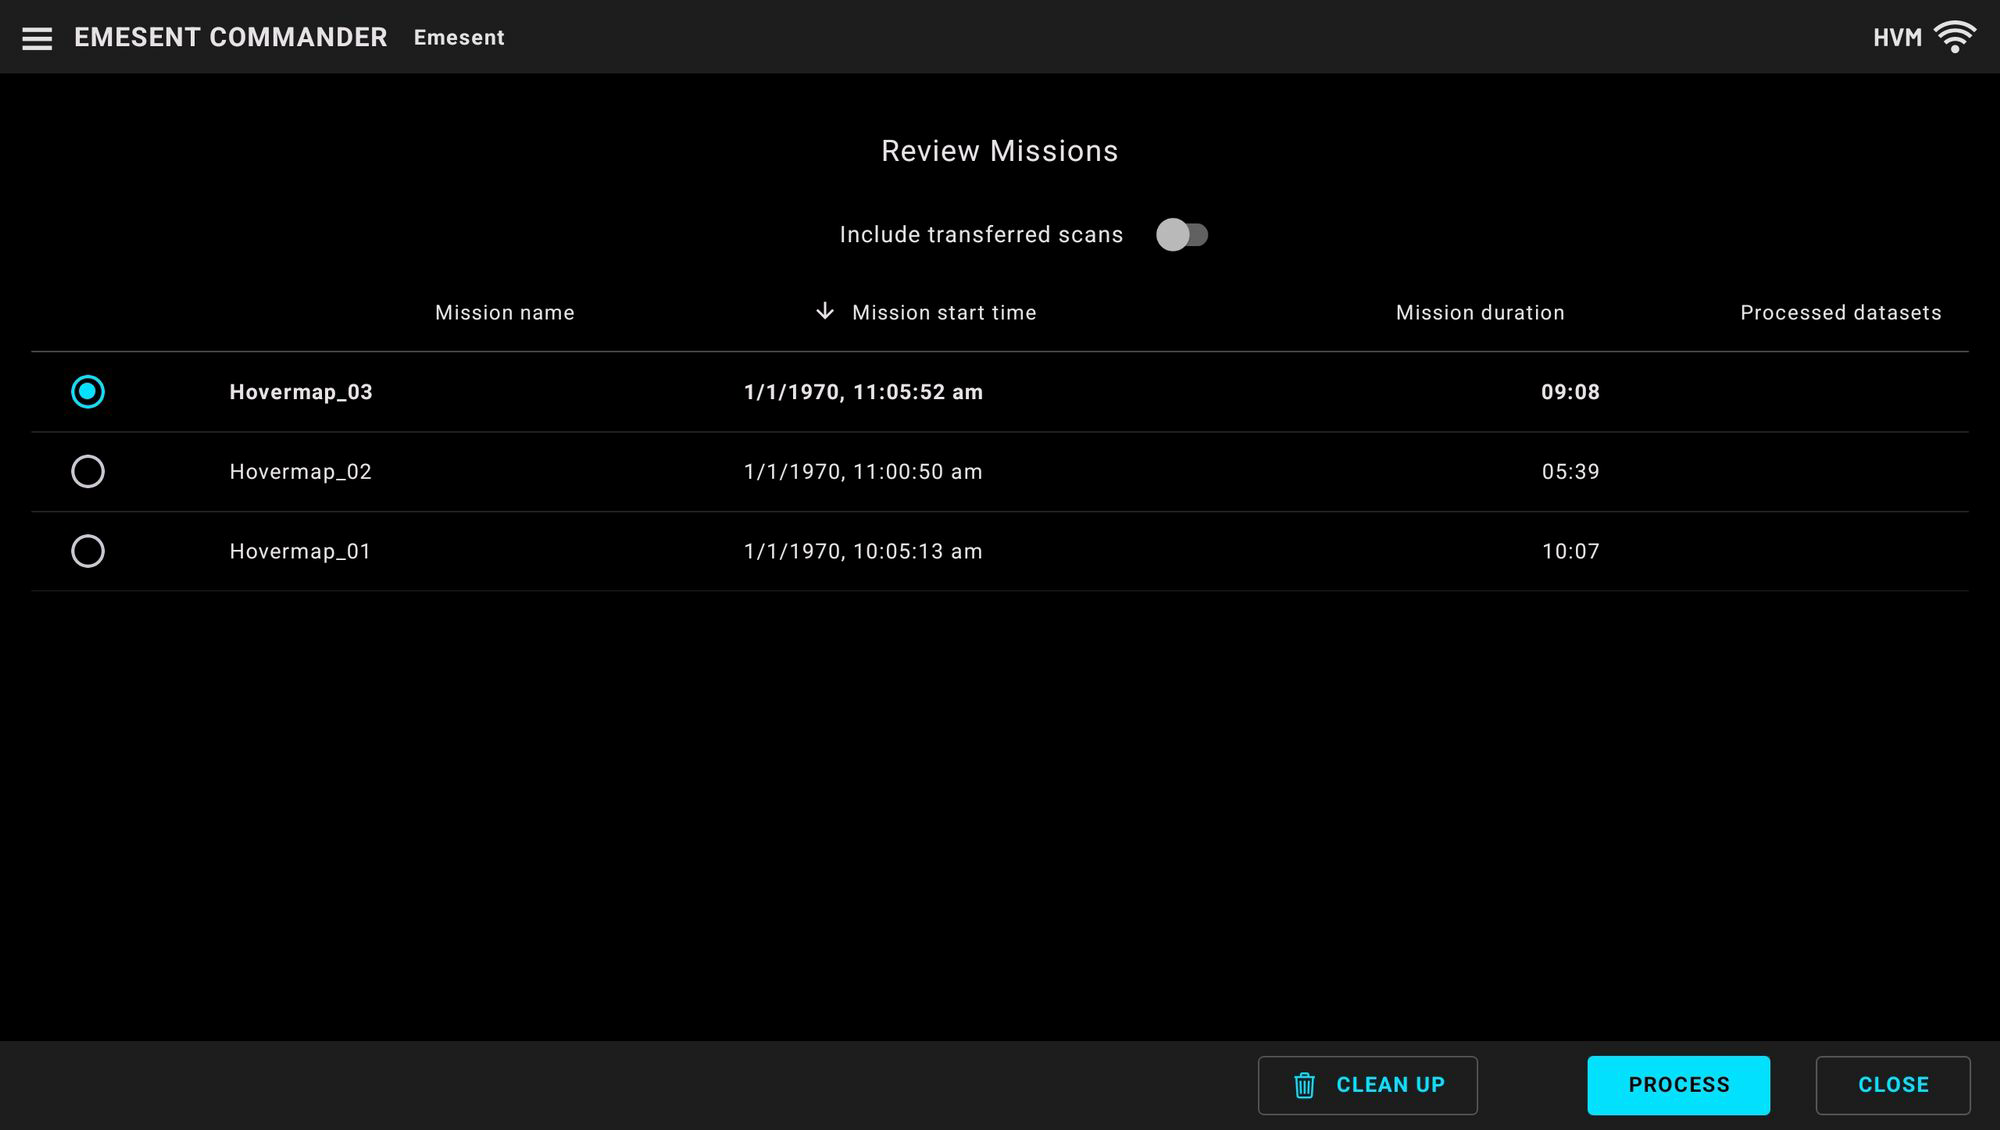
Select the scan you wish to process.
Tick the checkbox on the left side of the mission name to select it.
Step 3: Start Processing
 Select Process at the bottom right of the screen.
Step 4: Configure Onboard Processing
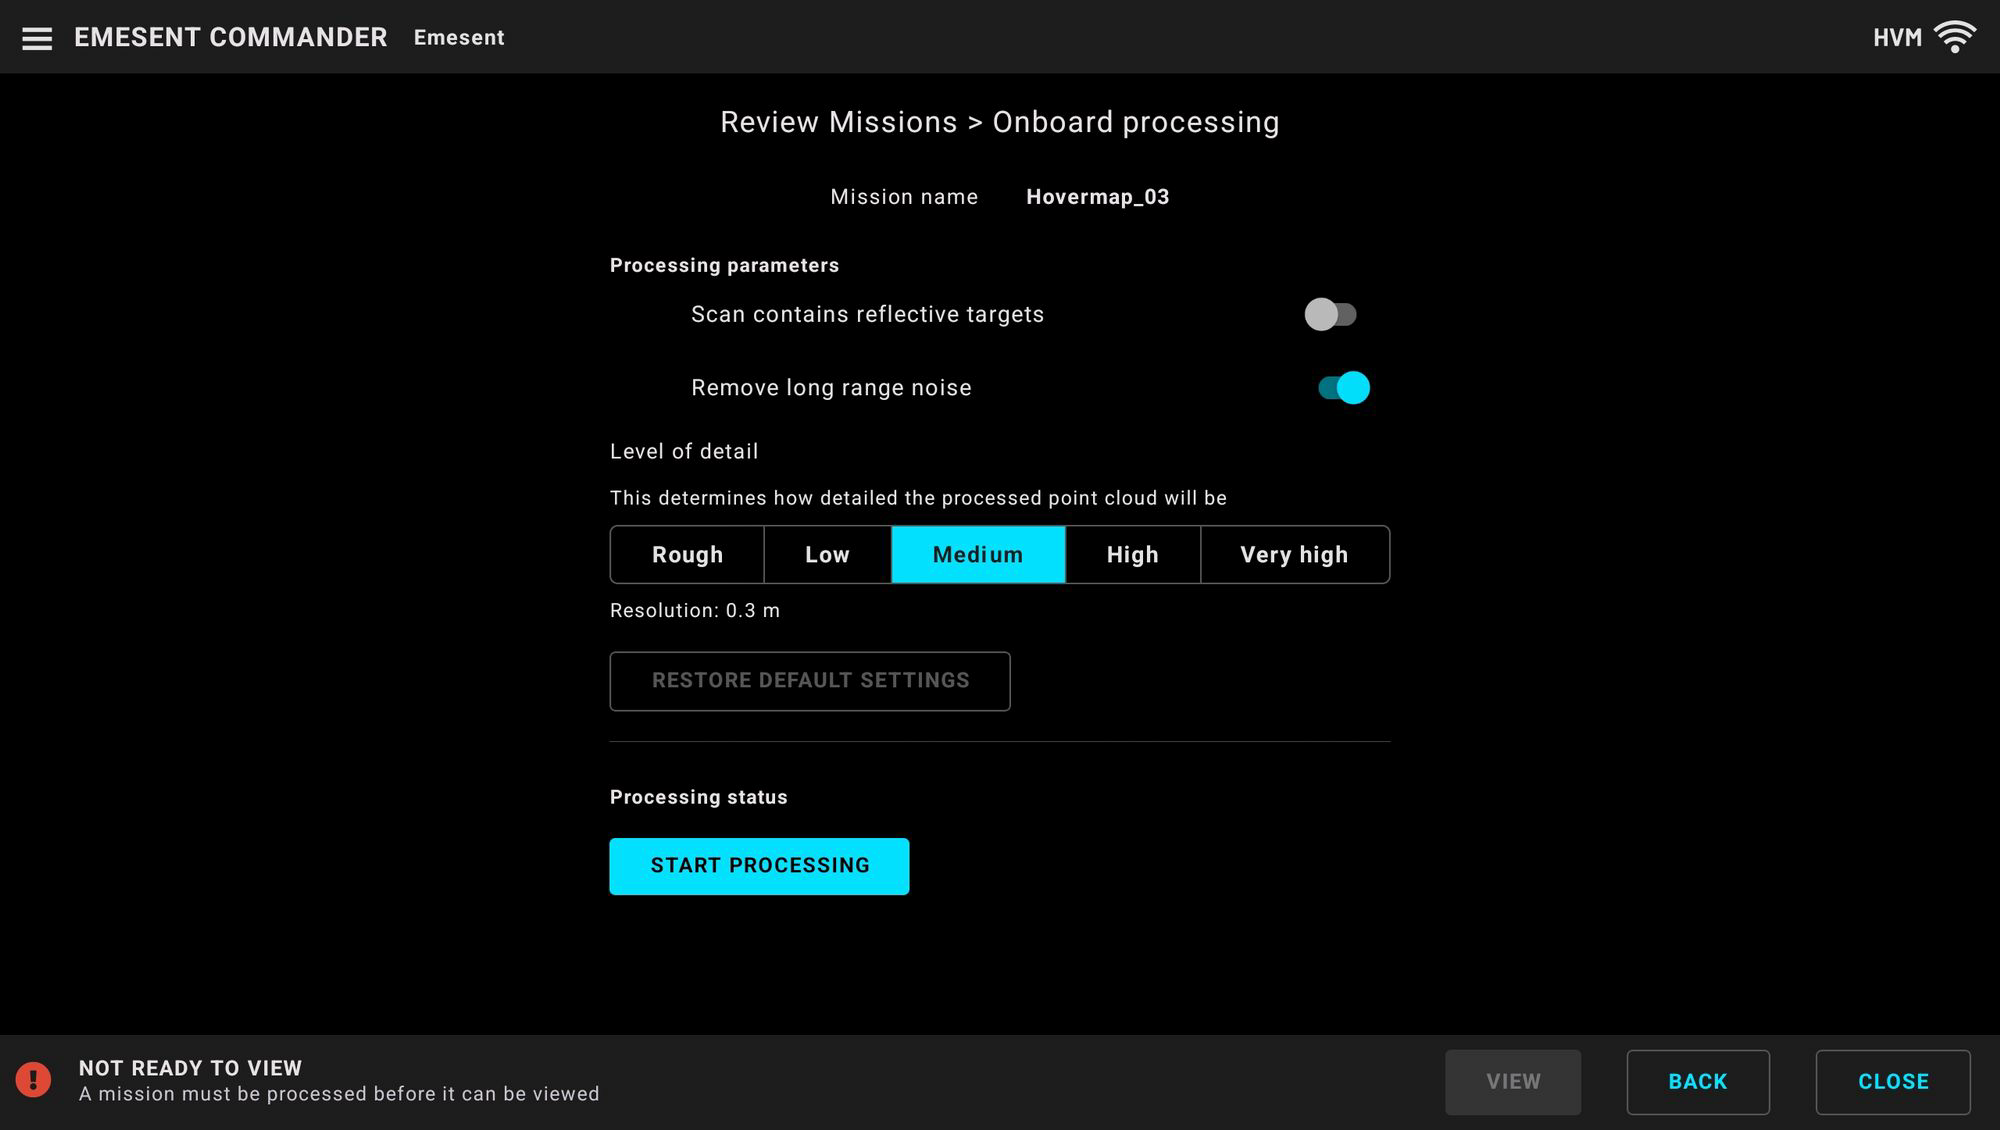
Select a Level of Detail.
Available levels are Rough, Low, Medium, High, and Very High.
Optional parameters can also be configured at this stage. These include:
Enable processing for scans containing reflective targets
Enable the removal of long-range noise
Step 5: Start Processing
Select Start Processing.
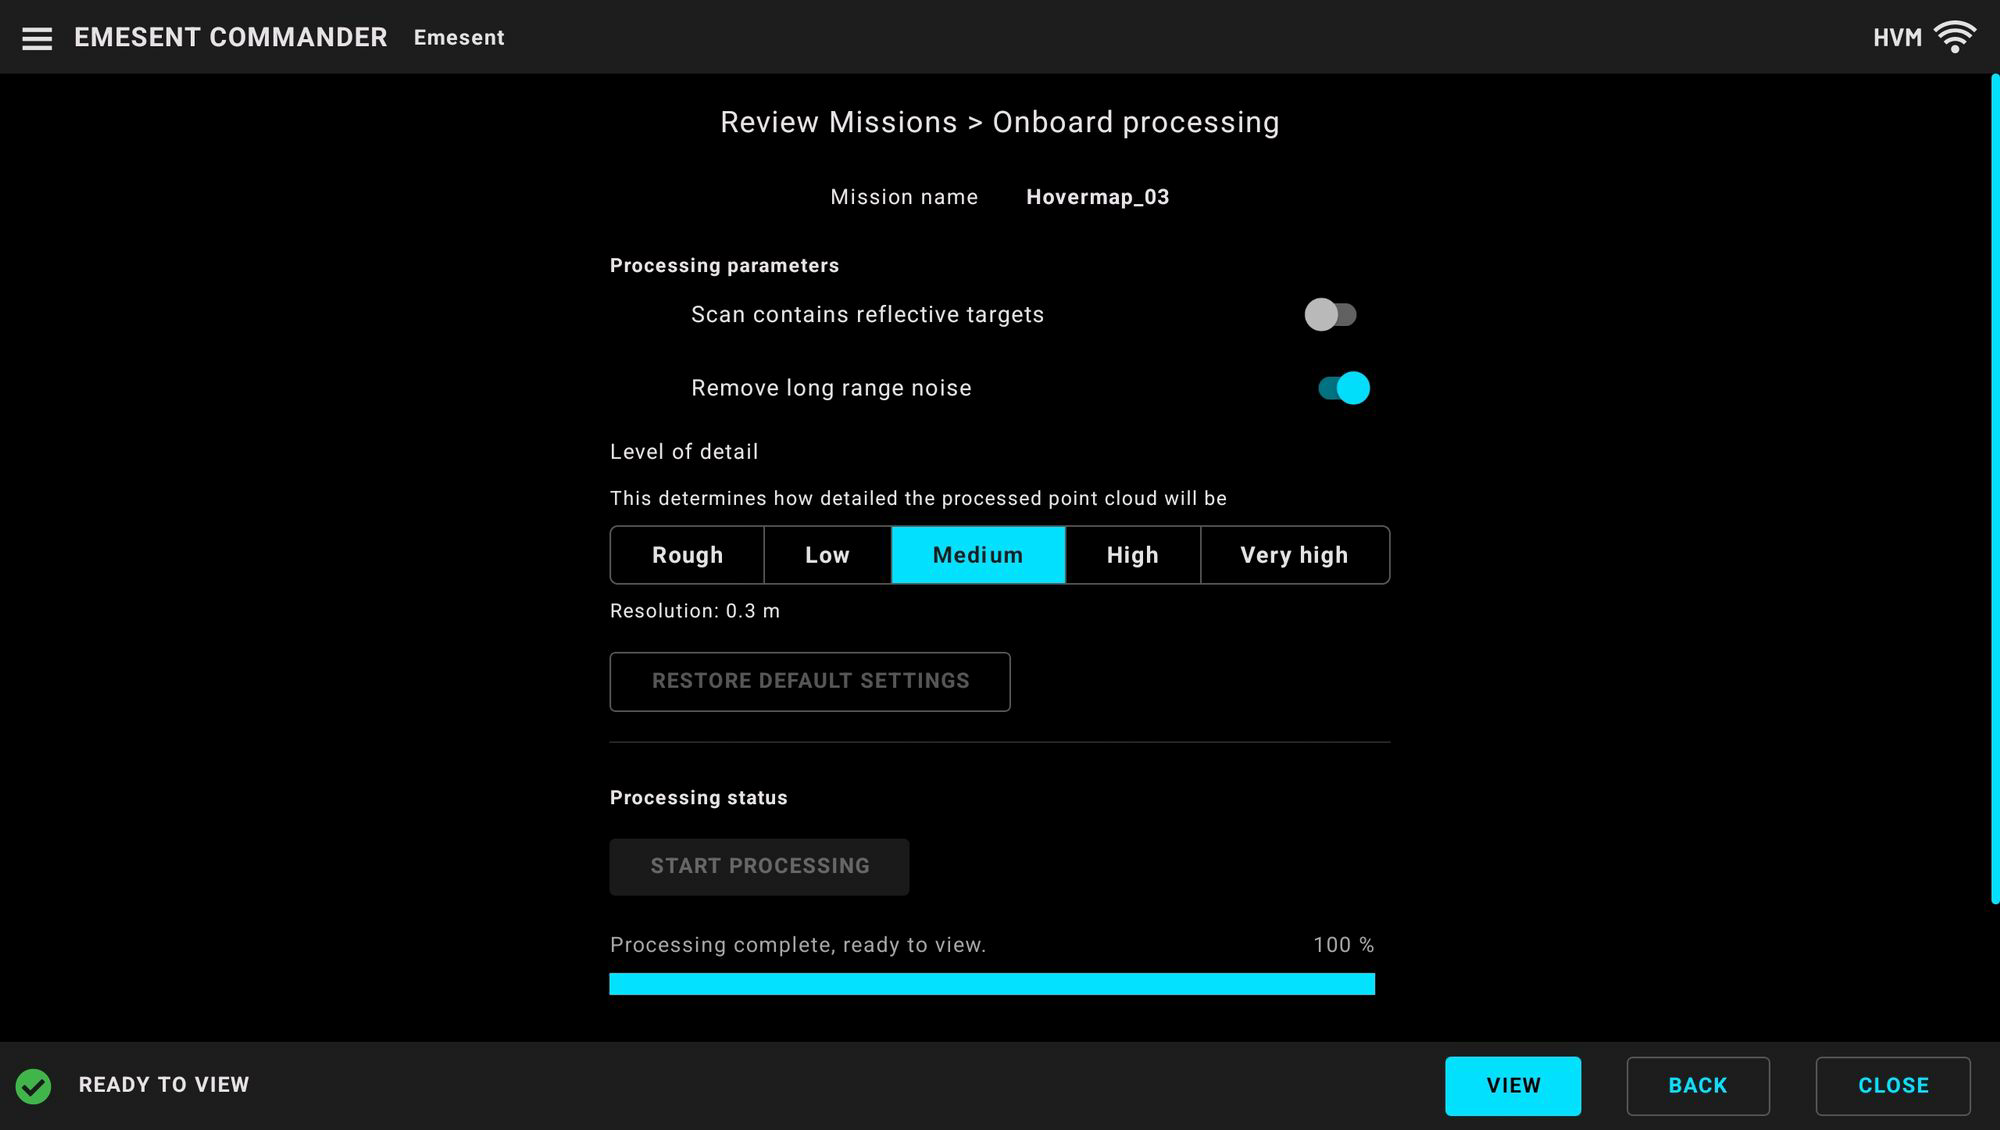
 The scan will begin processing. This may take several minutes depending on the scan duration.
Step 6: View the Processed Mission
When the status indicator shows Ready to View in green, select View at the bottom right to open the processed mission.
Step 7: Interacting with the Scan
Use the following gestures to interact with the scan and move the camera:
Pinch with two fingers to zoom
Drag with two fingers to pan
Drag with one finger to rotate (in perspective camera view)
Double-tap to teleport to a new view location
To change how the point cloud is displayed, open the Display Settings using the icon to the right of the camera tools. Display Settings allows you to enable and configure clipping planes and a variety of 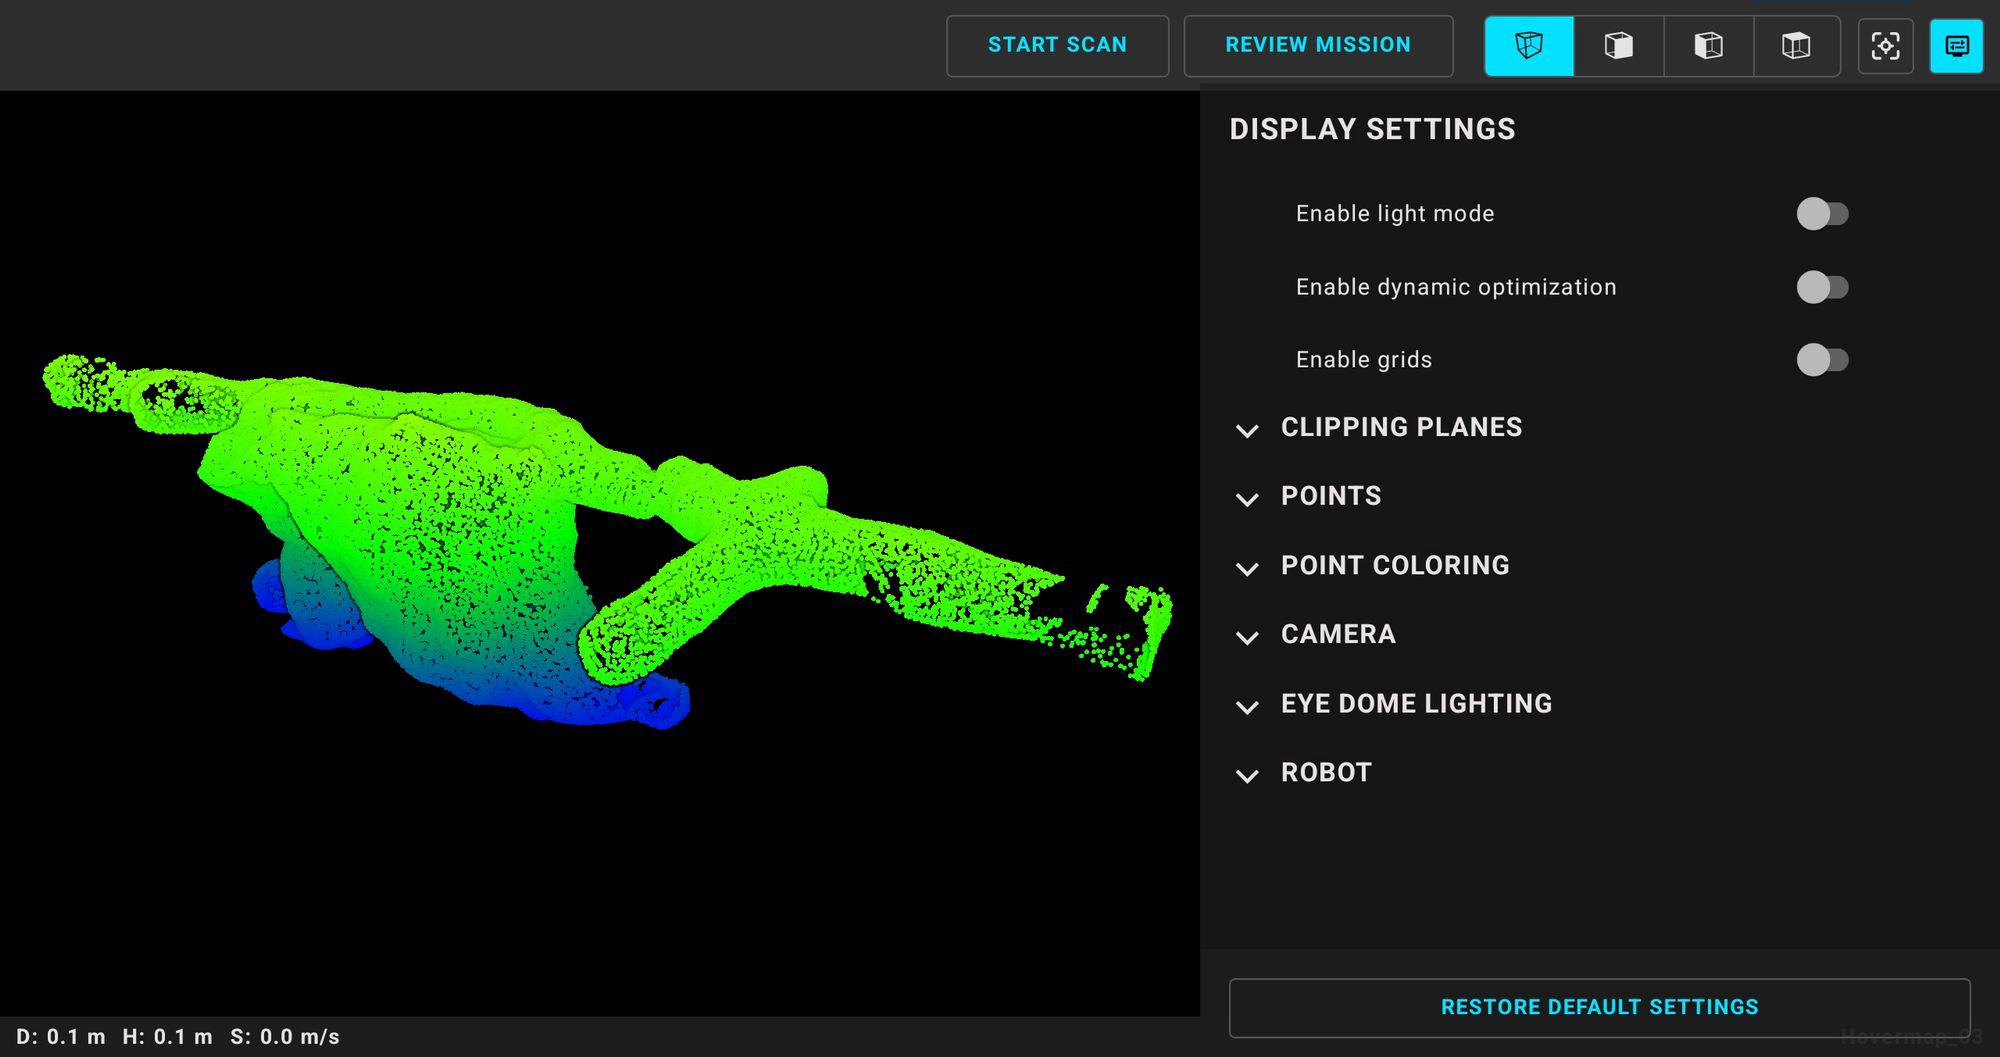 other settings. These tools provide greater control over scan visualisation and review.
Step 8: Review Processed Missions
Once processing is complete, each mission can be expanded to show details of individual scans.
To expand a mission:
Select the dropdown arrow on the right side of the mission entry.
The expanded view allows you to:
View each processed scan
Review the processing settings used
View the file location if the scan has been transferred to the device running Commander
Reprocess the scan with different settings
 Delete scans that are no longer needed
Step 9: Transfer Onboard Processed Files
Scans processed in Commander are processed on the connected Hovermap unit. They are not automatically transferred to the device running Commander.
To transfer a processed scan to your device:
View the scan in Commander.
This action initiates the file transfer from Hovermap to your local device.
Once transferred, the scan files are saved on Hovermap at the following path:
Downloads/Processed_<ID>/<scan name>
Export scan data from this location as required.
To locate the exact download path, go to Review Missions and expand the dropdown arrow beside the relevant mission.