
Before using Hovermap for colorization, the GoPro camera must be paired, updated, and configured with the correct settings.
This ensures:
Optional remote start/stop recording through the Quik app
Up-to-date firmware for stability and compatibility
Correct video configuration required for successful processing
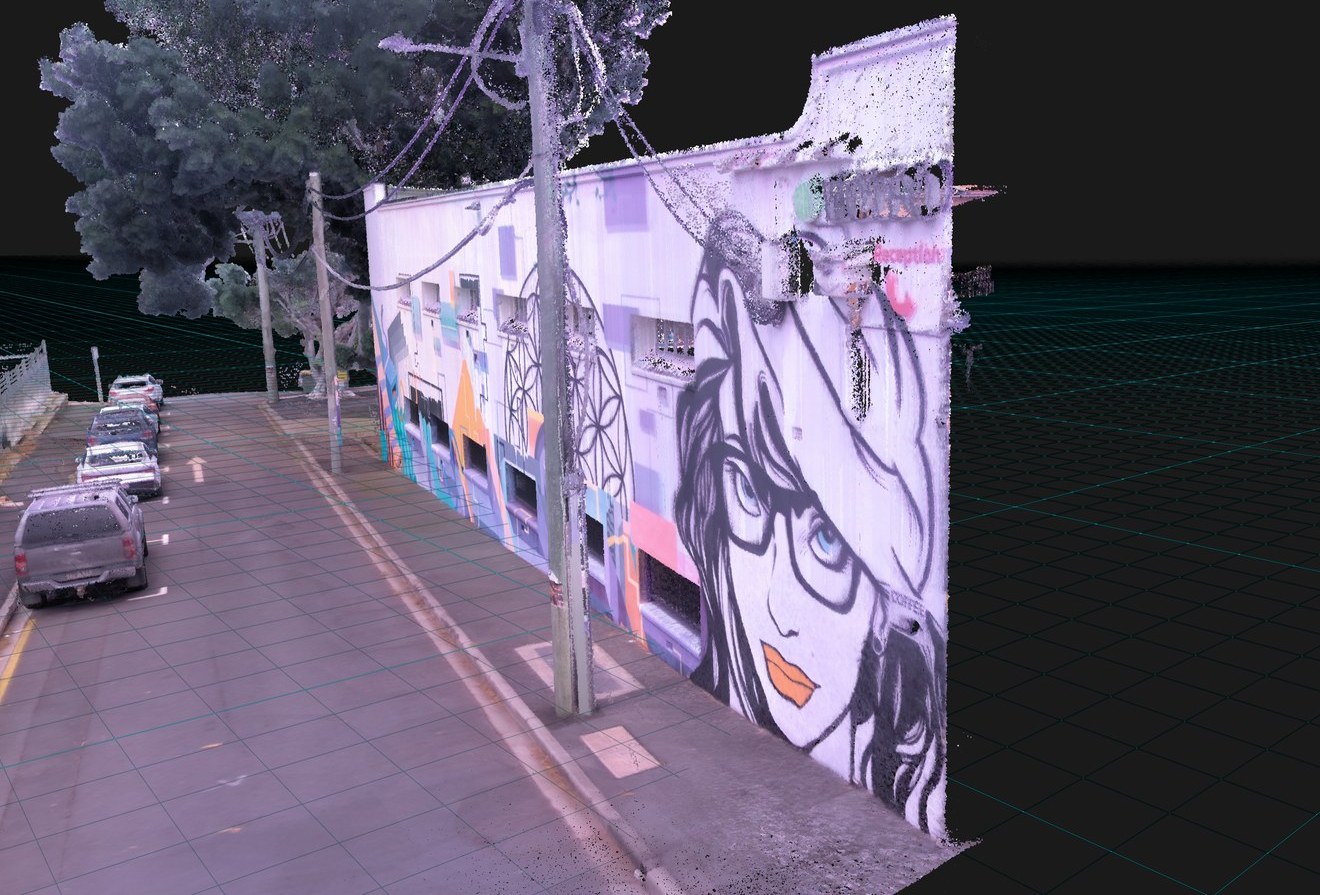
Colorized point cloud
Requirements
To complete this setup, you will need:
A supported GoPro camera (Max, Hero 7, Hero 8, Hero 9, Hero 10, Hero 11)
A stable internet connection (for firmware updates)
(optional) The GoPro Quik app (installed on a phone or tablet)
Procedure
Step 1: Pair the GoPro Camera (optional)
Pairing is optional. Pair the GoPro with the GoPro Quik app to start and stop the recording from a phone or tablet. This is easier when the Hovermap is on a backpack or a vehicle, where the GoPro is difficult to reach. If the GoPro is not paired, push the Record button on the GoPro.
Follow the instructions on the GoPro support website for the camera model.
Enabling Bluetooth reduces GoPro battery life. If remote control is not required, disable these features and start video manually to extend available recording time.
Step 2: Update Camera Firmware
Keeping firmware updated ensures stability and compatibility.
Follow the instructions on the GoPro support website for the camera model.
A firmware update can reset the GoPro settings. After each firmware update, do Step 3 again.
Close other apps during the update. Some may cause Bluetooth conflicts and interrupt the process.
Step 3: Adjust Camera Settings
Set the video settings that Aura needs to colorize the scan. Do this step before the first scan and again after each firmware update.
Incorrect GoPro settings are the most common cause of failed colorization.
If a setting is incorrect, the data cannot be processed and the scan must be done again.
Open the settings article for the camera model:
Set the Orientation Lock to up, as given in Step 2 of the settings article. If the orientation is not locked, colorization can fail.
Set each value in the settings table of the article.
Before each scan, make sure that the settings are still correct.