
This article covers charging the Core SWX Nano 98S V-Mount battery used to power the Hovermap ST-X and its backpack RTK GNSS receiver. It describes the correct charger and cable, the charging indicators, the expected full-charge behaviour, and troubleshooting when a unit will not charge.
The ST-X battery and charger are not interchangeable with the GX1. The ST-X uses a Core SWX Nano 98S V-Mount battery charged over D-Tap. Do not use a GX1 charger, GX1 battery, or GX1 charge time.
What you will need
Core SWX Nano 98S battery.
Core Nano travel charger with the universal adapter heads.
A standard wall power outlet (AC 100 to 240 V).
The Core SWX Nano 98S is a 98 Wh V-Mount battery. It charges through its D-Tap receptacle using the travel charger, and powers the Hovermap separately through the Fischer-to-D-Tap power cable. The charger and the power cable are not the same lead.
Procedure
Step 1: Connect the travel charger adapter
Locate the travel charger and universal adapter heads supplied with the kit.
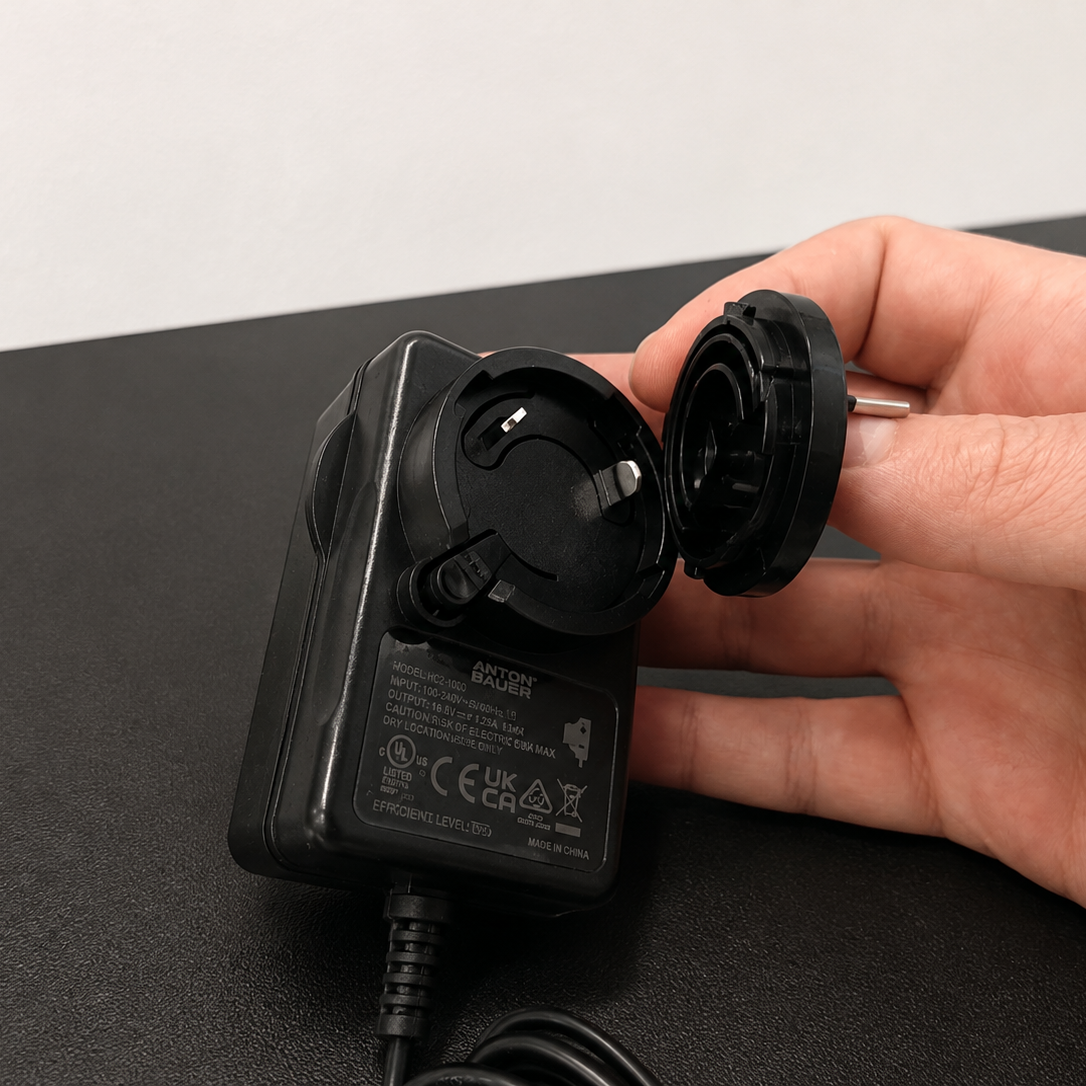
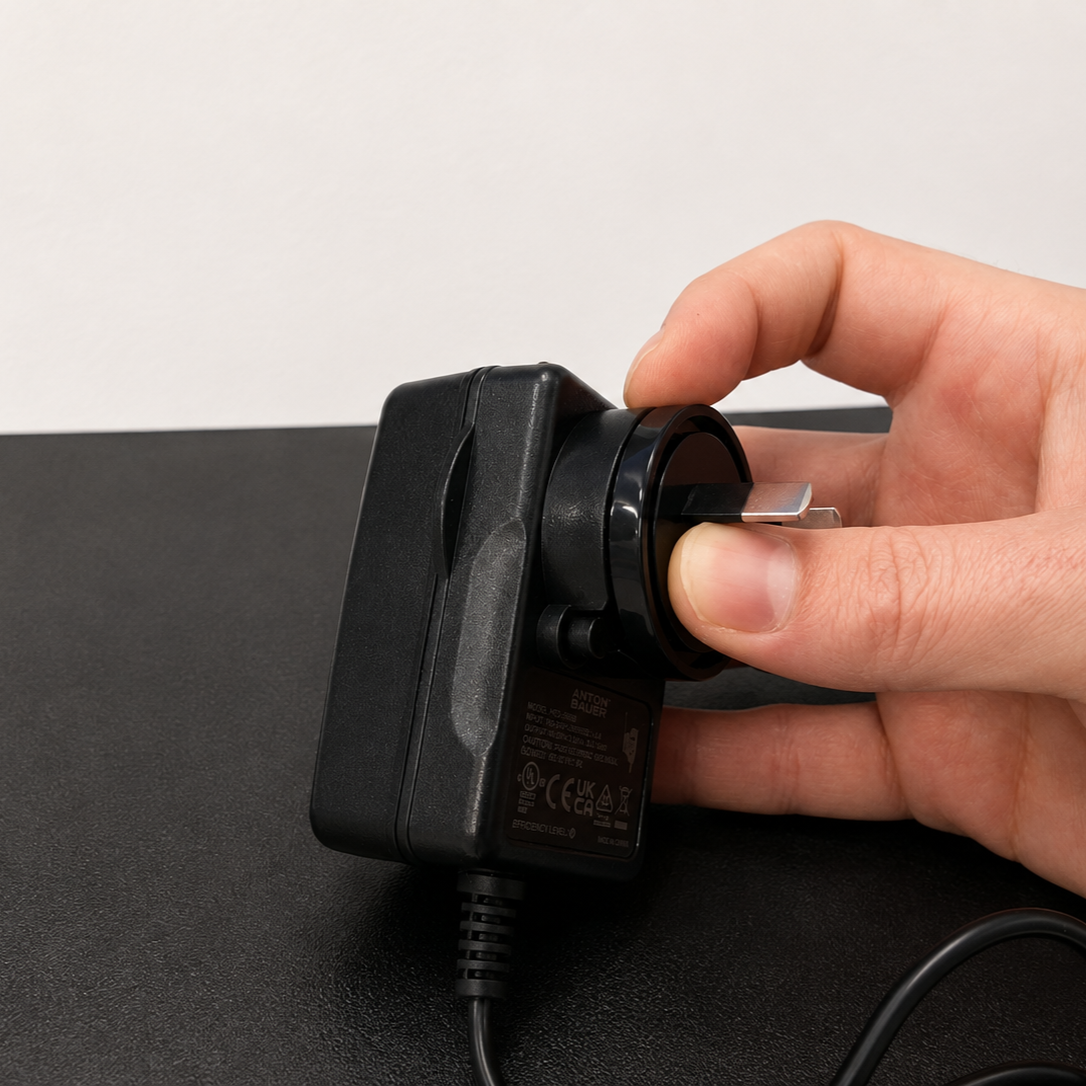
Install the adapter head for the local wall outlet standard. Align it with the charger input and press firmly until it clicks into place.
|
|
Step 2: Connect the charger to the wall outlet
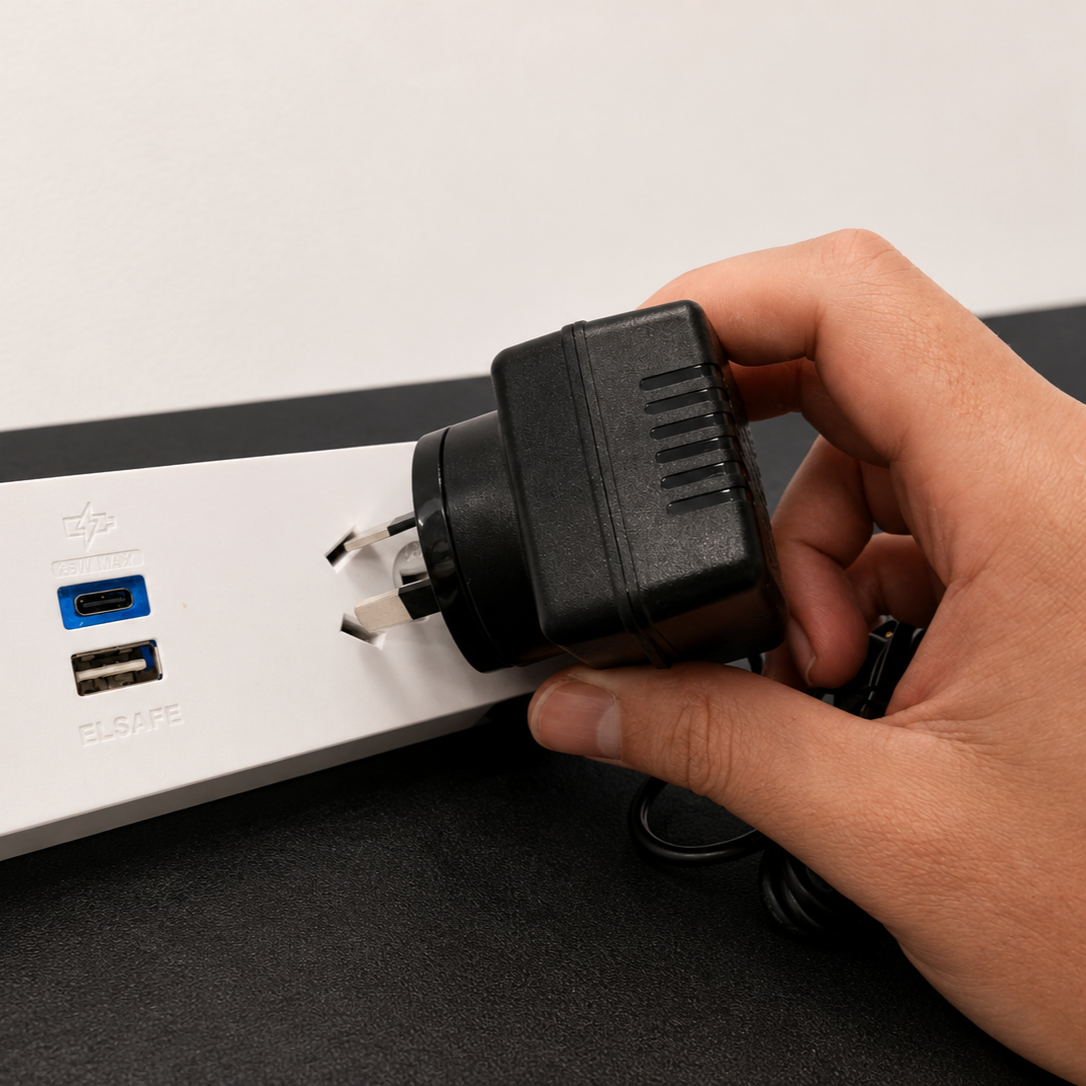
Align the adapter head prongs with the local wall outlet.
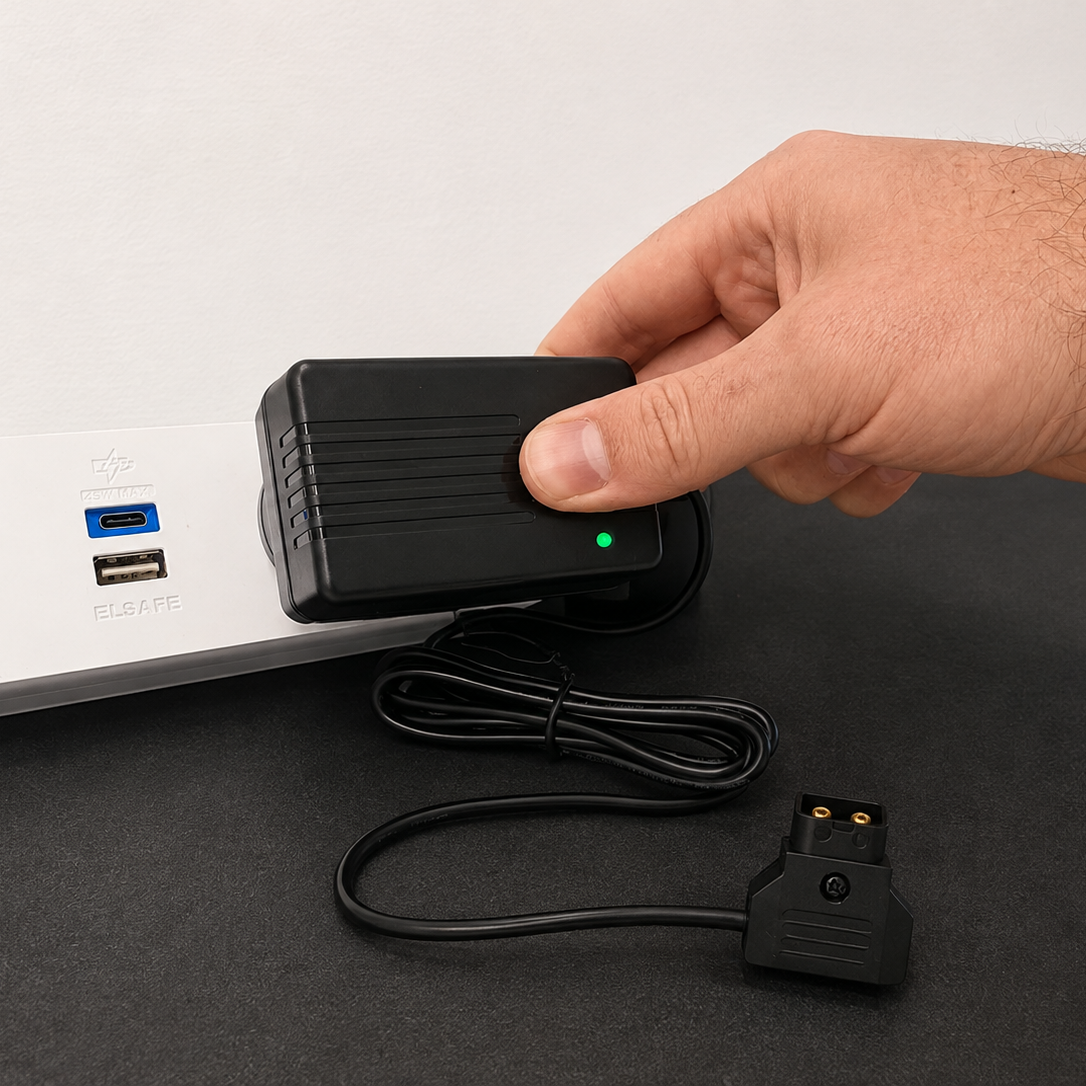
Press the charger in until it sits flush with the wall outlet, then connect it to power.
|
|
Step 3: Connect the battery
Allow the battery to cool to ambient temperature before charging. Charging a battery that is still warm from use can prevent it from charging correctly.
Incorrect connection of the D-Tap plug can damage the charger or battery. Ensure correct alignment before connecting.
Locate the Core SWX Nano 98S battery and identify the D-Tap receptacle on the side.
Align the D-Tap plug from the charger with the receptacle and push it in until fully seated.
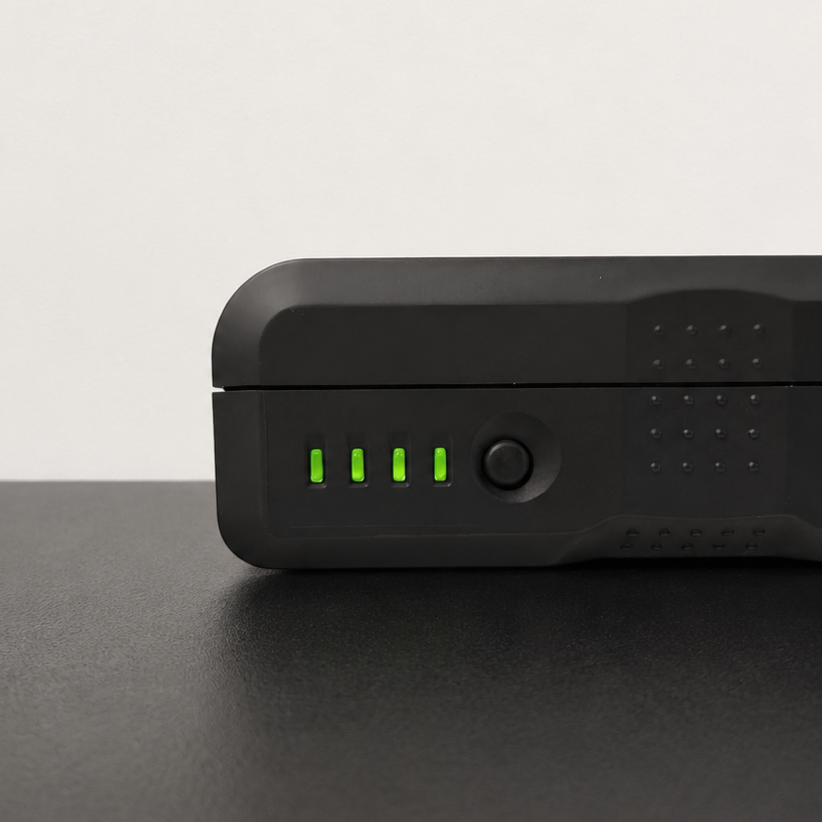
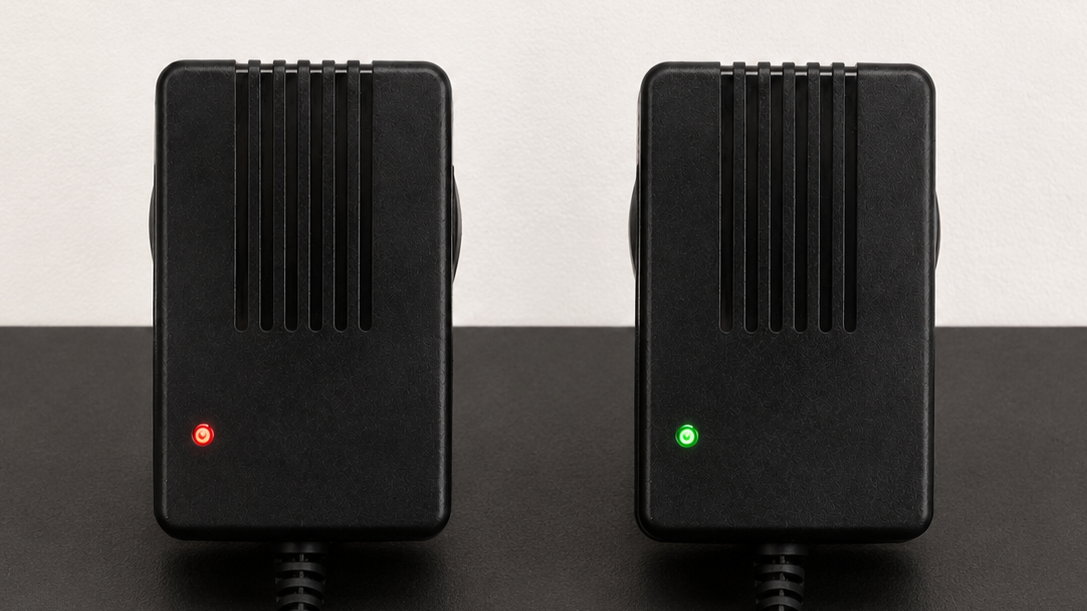
Confirm the charger indicator shows red, indicating the battery is not yet fully charged, and that the battery LED shows green and cycles to indicate charging is in progress.
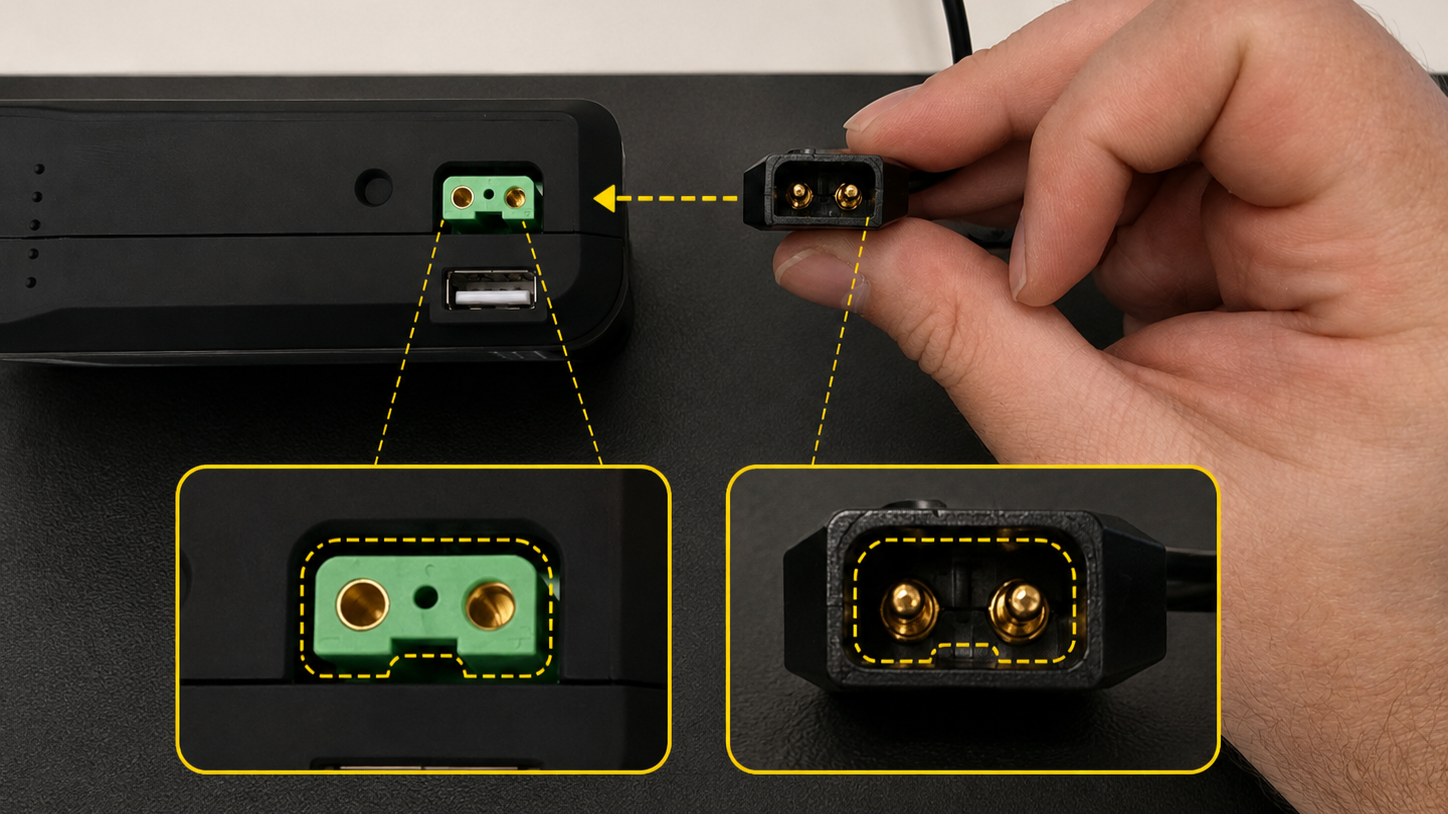
|
|
|
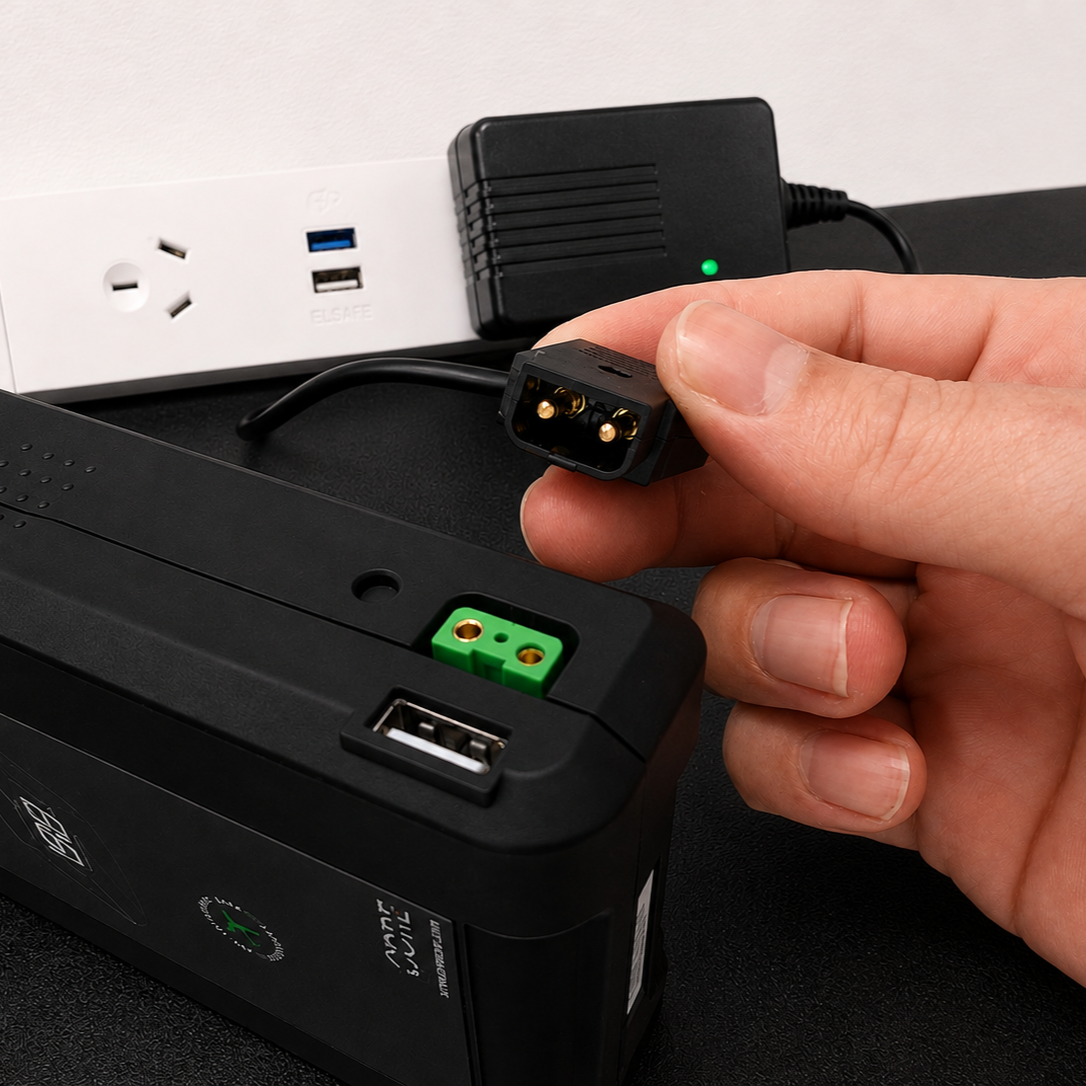
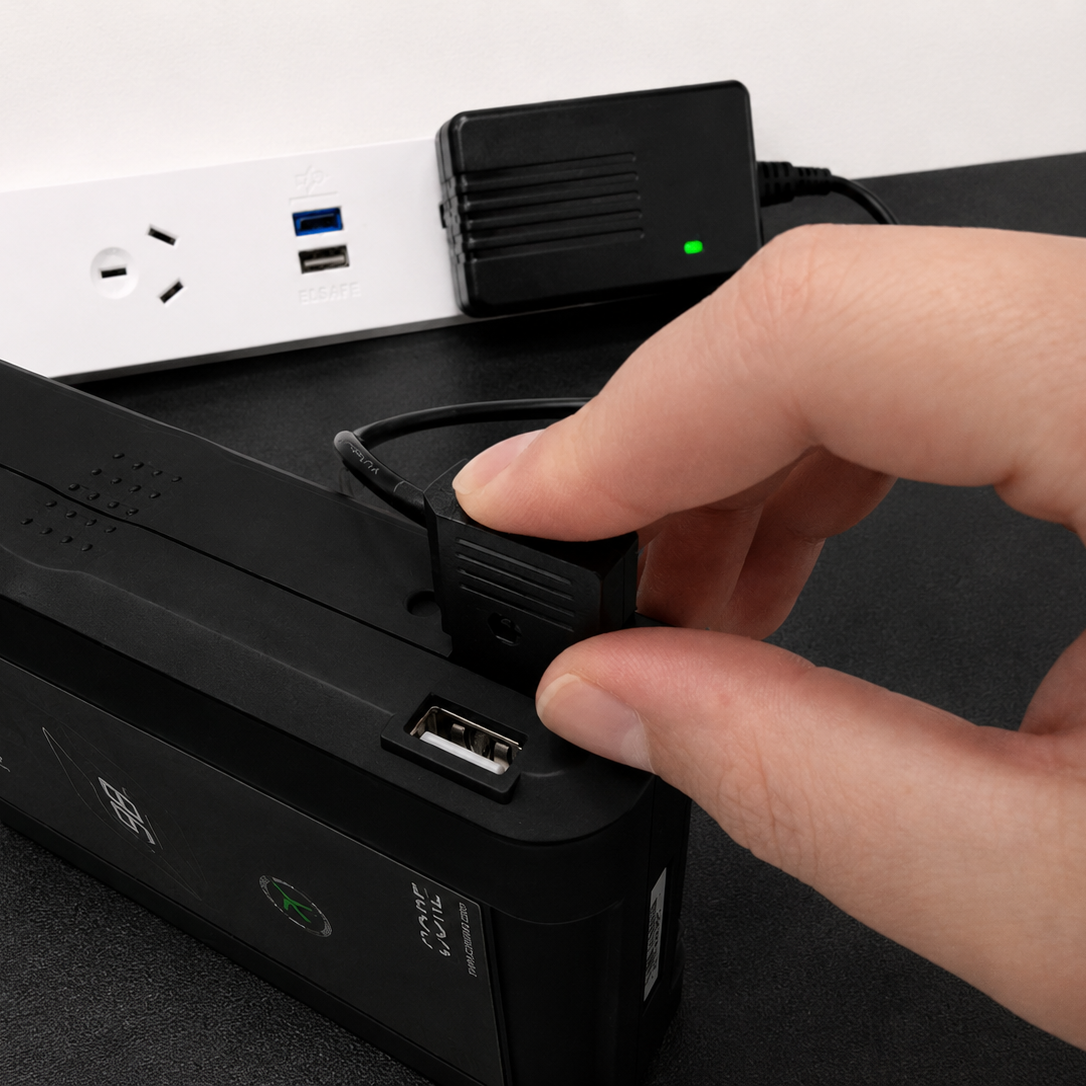
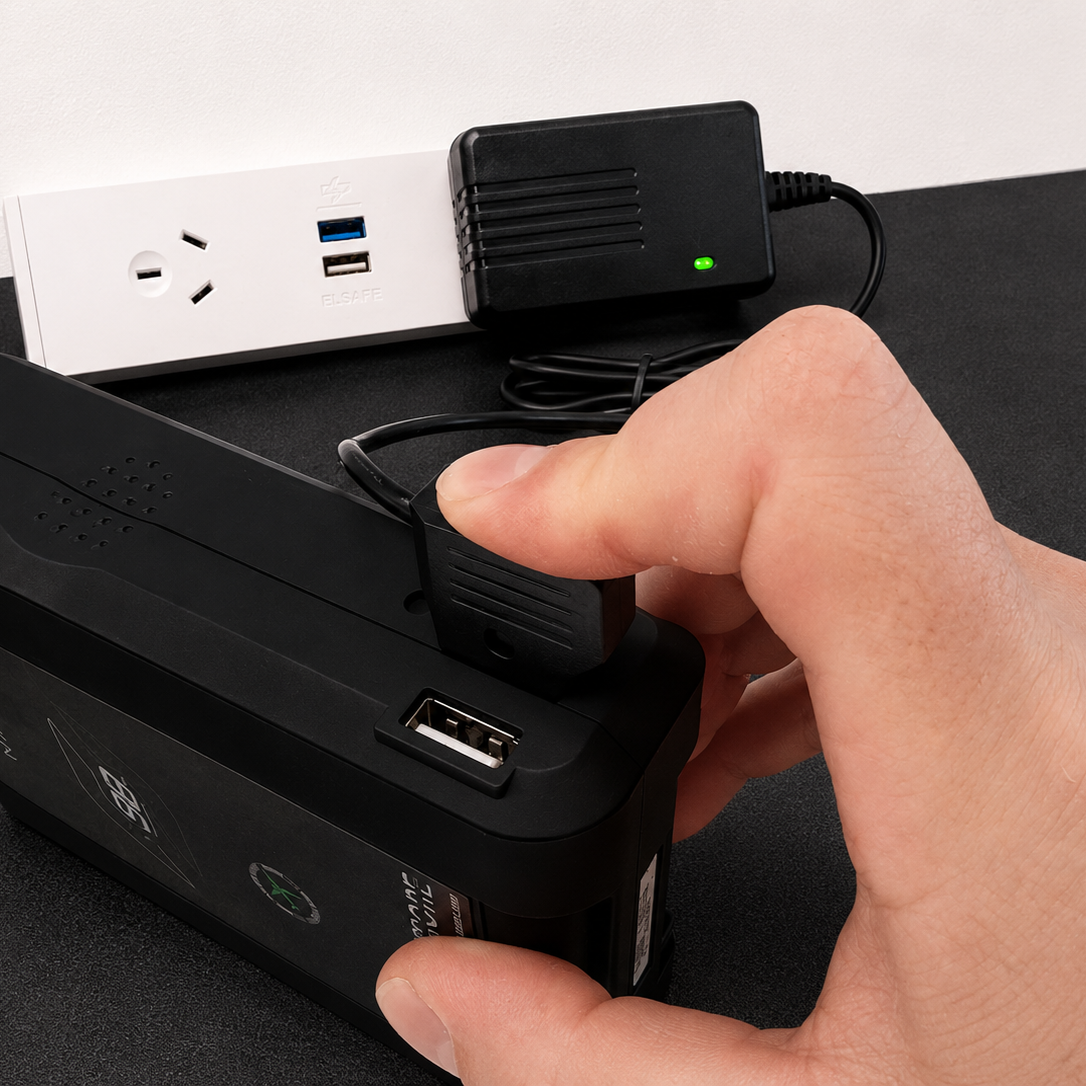
Step 4: Charge to full and disconnect
Wait until the charger's indicator light shows solid green, indicating that charging is complete. [CONFIRM: full-charge time in hours.]
Check the battery charge level by pressing the test button on the battery. All four LED segments illuminate when the battery is fully charged.
To disconnect, grip the D-Tap plug firmly at the base and pull it straight out of the receptacle with steady force.
Charging indicators and expected behaviour
Two separate indicators apply when charging.
Indicator | Behaviour | Example |
|---|---|---|
Battery LED indicator | Four-segment LED display showing approximate remaining charge. Press the adjacent test button to activate it. While charging, the LED shows green and cycles to indicate charging is in progress. All four segments illuminate when fully charged. |
|
Charger indicator | Shows red while charging is in progress, and turns solid green when charging is complete. |
|
Troubleshooting: unit will not charge or will not power the Hovermap
Work through these steps in order. Stop when the battery charges or the Hovermap powers on.
Confirm the wall outlet is live by testing a known-good device in the outlet.
Allow the battery to cool to ambient temperature, then reconnect. A warm battery may not charge.
Reseat both ends of the D-Tap connection. Inspect the plug and receptacle for damage, dust, or debris, and confirm the plug is fully seated.
Check the battery charge level with the test button. If the battery is deeply discharged, it may not immediately power the Hovermap even once charging starts. Charge it before returning to service.
Verify the battery is charged and correctly connected to the Hovermap via the Fischer or LEMO cable, and conduct a pull test to confirm engagement.
If the battery still will not charge, or the charger shows a fault, do not open or disassemble any component. Record the unit serial number and a description of the indicator state, and contact Emesent Support.
Do not open or disassemble the battery, charger, or Hovermap enclosure. These contain no user-serviceable components. Contact Emesent Support for any internal repair.