A continuous red flashing of the rear status LED indicators on Hovermap following the start-up sequence indicates that Hovermap has encountered a critical fault. This typically signifies a hardware or software-related issue within the payload or an interruption to stable power delivery.
Process
Step 1: Understanding the Status Indication
When the power button is pressed to turn on Hovermap, the rear status LED indicators will initially flash red. This indicates that the system is initialising, which is part of the normal start-up sequence.
If start-up completes successfully, the LEDs will transition to a slow pulsing Emesent blue, indicating that the system is ready to scan. This transition typically occurs within 90 seconds of power-on.
If the LEDs continue flashing red beyond this period and do not transition to a slow pulsing Emesent blue, it may indicate that the system did not complete its start-up checks as expected. If the unit remains in this state, proceed to the next step to begin fault isolation.
Step 2: Perform a Restart
If the status LEDs do not change to a slow pulsing blue after about 90 seconds, the system's start-up checks may have failed. In this case, perform the following restart procedure:
-
Press and hold the power button for at least four seconds until the status light turns off.
-
Release the power button.
-
Press the power button again to turn the unit back on.
If the issue persists after restarting, do not attempt another restart immediately. Proceed to the following checks to help isolate the source of the fault before contacting support.
It is important to never unplug the battery while Hovermap is operating, as this may lead to corruption of your scan data.
Step 3: Check Hovermap Battery
-
Confirm that the connected battery is fully charged and operating correctly.
-
If an alternative battery is available, connect it to Hovermap to rule out a battery-related fault.
-
Ensure all power connectors are securely attached and free from corrosion or contamination.
Step 4: Check Cables and Plugs
-
Inspect the power cable for visible signs of damage, including frayed insulation, bent pins, or loose connectors.
-
If available, replace the cable with a known-working equivalent to eliminate cable-related causes.
-
Where possible, test the existing cable with another Hovermap unit to confirm whether the issue follows the cable or remains with the payload.
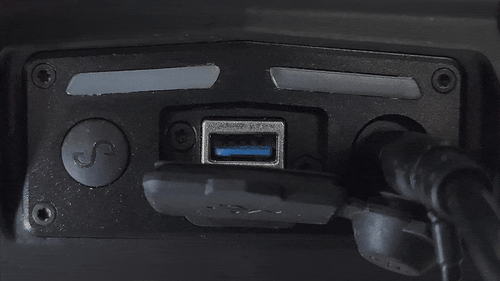
Step 5: Restart the Payload Without Peripherals
-
Disconnect all USB devices and other accessories from the payload.
-
Power cycle the Hovermap, starting with no external devices connected.
-
Observe the LED indicators to determine if the red flashing condition persists.
Step 6: Prepare Diagnostic Information
If the red flashing LED persists after completing the troubleshooting steps, gather the information outlined below and submit it to Emesent Client Support. This will assist the team in identifying the cause and advising on the appropriate next steps, which may include returning the unit for inspection or servicing. Contact Client Support
Required Information
- Hovermap Serial Number:
- Summary of the Issue:
- Troubleshooting Steps Performed:
|
Question |
Response |
|---|---|
|
When did the issue first occur? |
|
|
Was the system in use when the fault was observed? |
|
|
Was a USB device connected at the time? |
|
|
If yes, what type of USB device was connected? |
|
|
Was the USB device full or exhibiting errors? |
|
|
Was a data offload operation in progress? |
|
|
Was the internal Hovermap data drive nearly full? |
|
|
Was a software or firmware upgrade recently attempted? |
|
|
Is the Hovermap Wi-Fi Access Point visible? |
|
|
Does the fan activate during system start-up? |
|